Junior
  
Currently Offline
Posts: 117
A+'s: 1
Joined: Jan 9, 2012 18:18:11 GMT -6
|
Post by dryshave on Feb 1, 2013 15:49:20 GMT -6
.obronze.com/" rel="nofollow" target="_blank"> .obronze.com/ .obronze.com/these are the guys doing the bronze work. Not only did they do the statue of Capt. Vancouver in front of City Hall, but back in the 20s they did all the custom work on one of our most famous art deco buildings in Vancouver (as seen in Fantastic Four movies) the Marine Building. I'm honoured to have such a unique bit of history attached to this ride.
|
|
Junior
  
Currently Offline
Posts: 117
A+'s: 1
Joined: Jan 9, 2012 18:18:11 GMT -6
|
Post by dryshave on Feb 1, 2013 15:44:18 GMT -6
Colds suck!!!! Been knocked down on the sofa for the past week, so had no motivation to get out into the shop. So worked inside (wife at work) on the coffee table mapping out the dash and position of gauges. After all the research I've decided to utilize the mechanics from the elite 250 gauges and sandwich in new faceplates (not that hard). So I've cut out a tray out of a sheet of bakelite?? (salvage from an old hospital bed) It's perfect for this application (hidden) and it's very strong and takes to drilling holes without shattering. I'm going to use a gauge from an old CB350 and re-face it as well. It is removable and bolts right onto the cowl piece. I will sandwich this with the brass faceplate that I'm now having cast (see below) The gasket kit made it in and motor is fully assembled / timed / and bench tested, you can see from the pic that I'm still messing with the hose lines for the air intake - think I've got it sorted... there's still the problem with the plenum chamber, what am I going to do? do I need it? I met with the owner of the foundry that said they were interested in casting the tail piece and headlight eye brows... FANTASTIC MEET!! Not only can they do it, the price quoted was below what I had budgeted for, so I asked them to do the dash as well... all pieces for under $500. Looking to finish the sanding and detail work over the next month, but they are scheduled to go in at the end of this month - 5 day turnaround.... really looking forward to getting them finished, so I can move on to finishing the body panels. Seat guy quoted between $150- 300 for a custom job, hoping to hook up with him about the same time. So I expect to have the dash and gauges completed, the brass work finished and the seat covered by the end of this month. Now I just have to come up with a front grill design, that's been bugging me for awhile. Will submit a couple designs and see which one stands out. 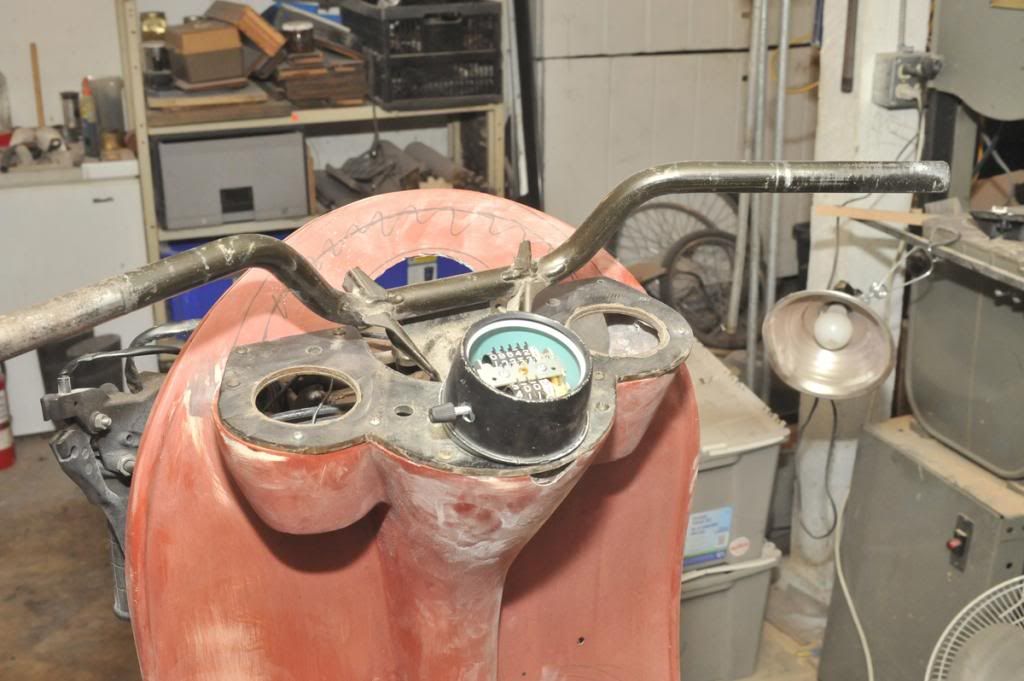 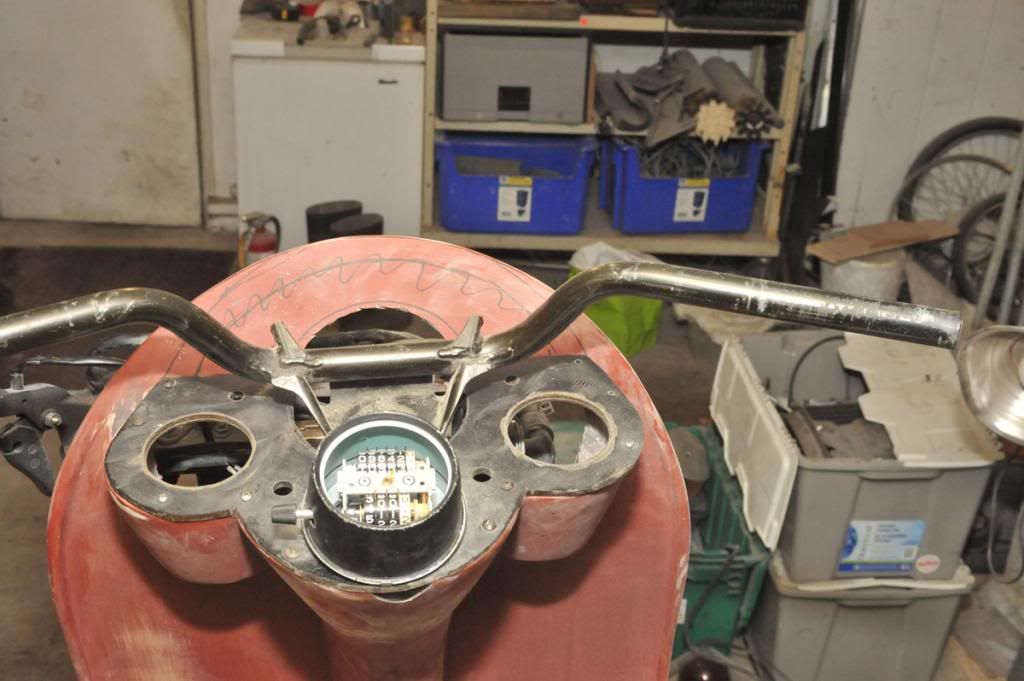 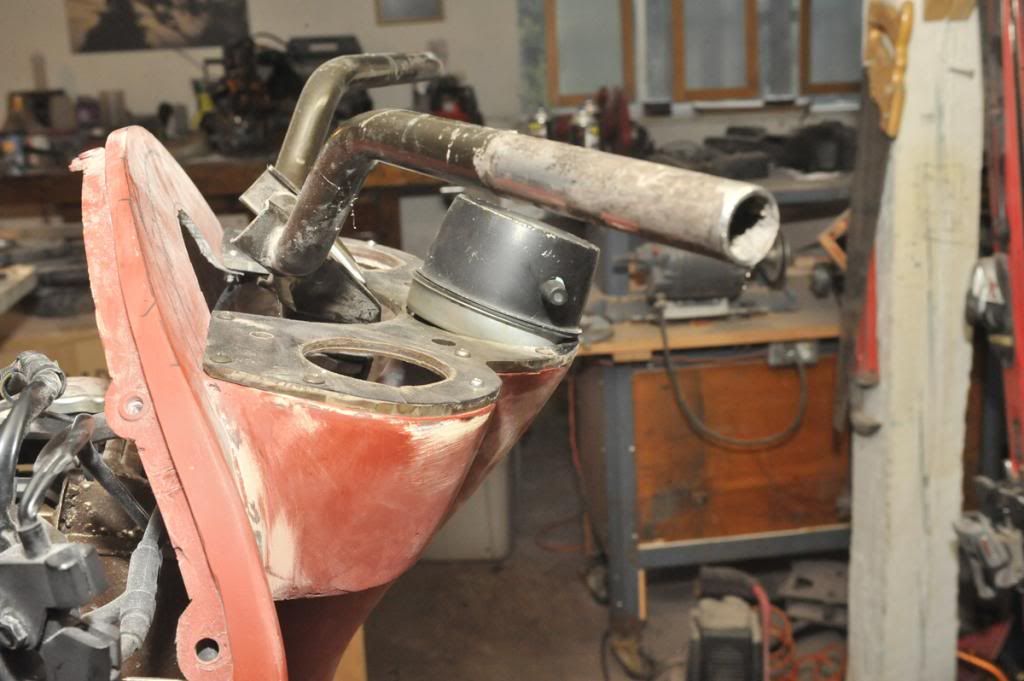 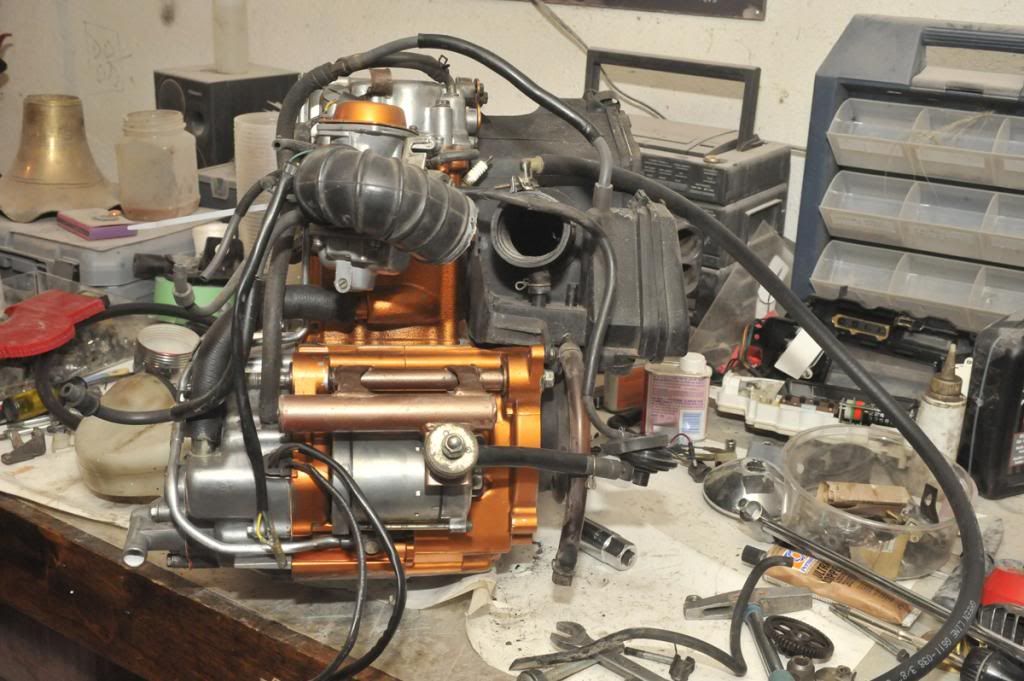 still hanging in there, starting to see a little light at the end of this tunnel.... not there yet, but I'm getting there |
|
Junior
  
Currently Offline
Posts: 117
A+'s: 1
Joined: Jan 9, 2012 18:18:11 GMT -6
|
Post by dryshave on Jan 16, 2013 19:11:03 GMT -6
here's what I'm thinking of doing, but concerned that there's not an "expansion chamber?" which is on the elite and even bigger on the helix... Is that white plastic chamber attached to the carb and expansion chamber... even thought there's not a forced airflow? I'm able to attach the regular curved tube from and elite 150 with a modified connector to and elite 250 airbox, hoping that'll work for now 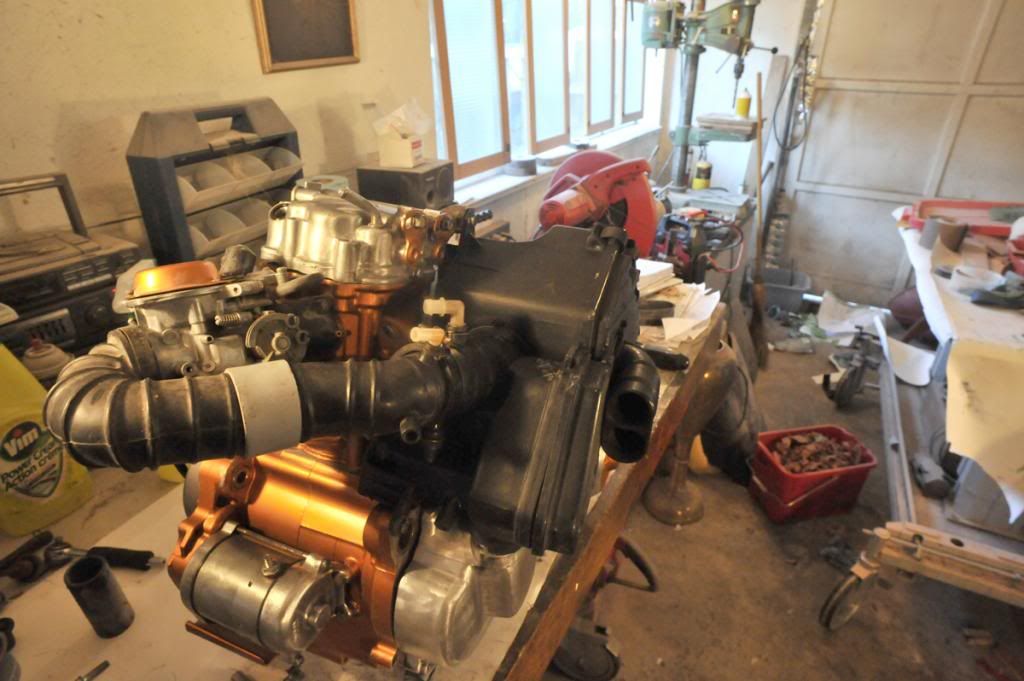 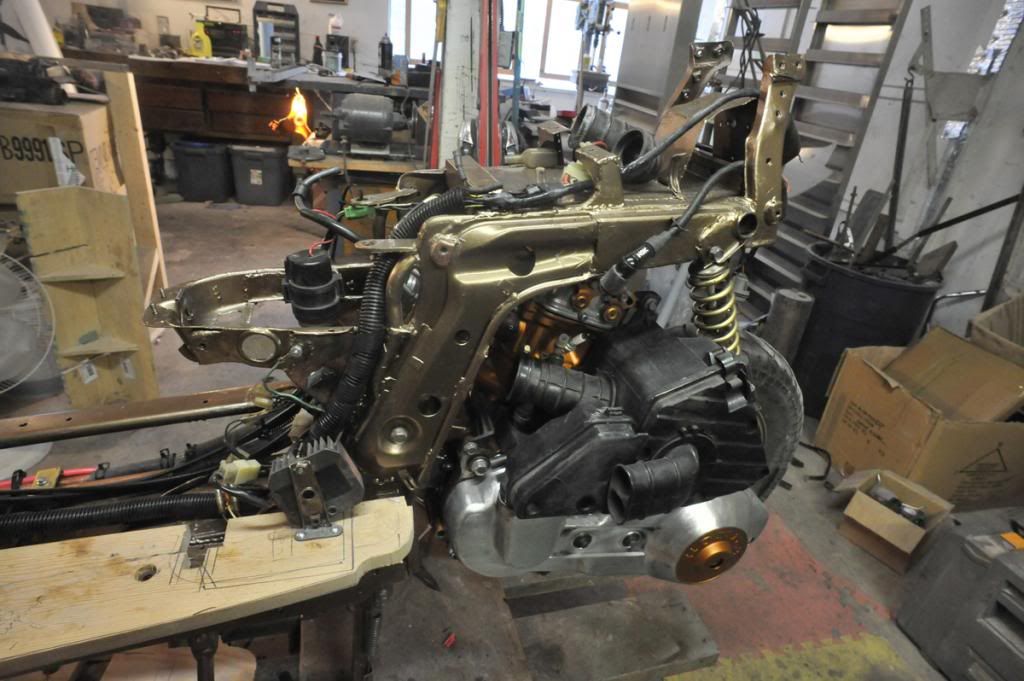 |
|
Junior
  
Currently Offline
Posts: 117
A+'s: 1
Joined: Jan 9, 2012 18:18:11 GMT -6
|
Post by dryshave on Jan 16, 2013 18:58:16 GMT -6
.classicmotorcycleforum.com/index.php?topic=4224.0" rel="nofollow" target="_blank"> .classicmotorcycleforum.com/index.php?topic=4224.0 .classicmotorcycleforum.com/index.php?topic=4224.0a better link on how to make your own brake cable ends... helped me a lot as I've done more research about the subject. Scroll down to the last article... this guy know what he's talking about. The only difference that I did was use a soldering pot. Worked fantastic, will post pics soon. got the muffler cleaned up and have finished roughing in the electronics and run the radiator lines. Everything still tucks away nice and neat. got a quote today on the seat $150-$300 depending on material, meeting with the seat guy this weekend. still waiting for the engine gasket kit (any day now) have cleaned up the handlebars and painted. Cleaned up the switches and all connections for horn/on off/headlights etc. and painted to match. hoping to get the new ignition key by the weekend, waiting to hear from the key guy. Taking the wheels down to my tire guy and have him remove the rims so I can get them cleaned up for paint. Several of these items will get replaced as I continue to work on the project. The exhaust will eventually be replaced along with the rims. There's always something to be upgraded, but I'd like to get it all wired and working before I proceed to the final bodywork stage of painting. 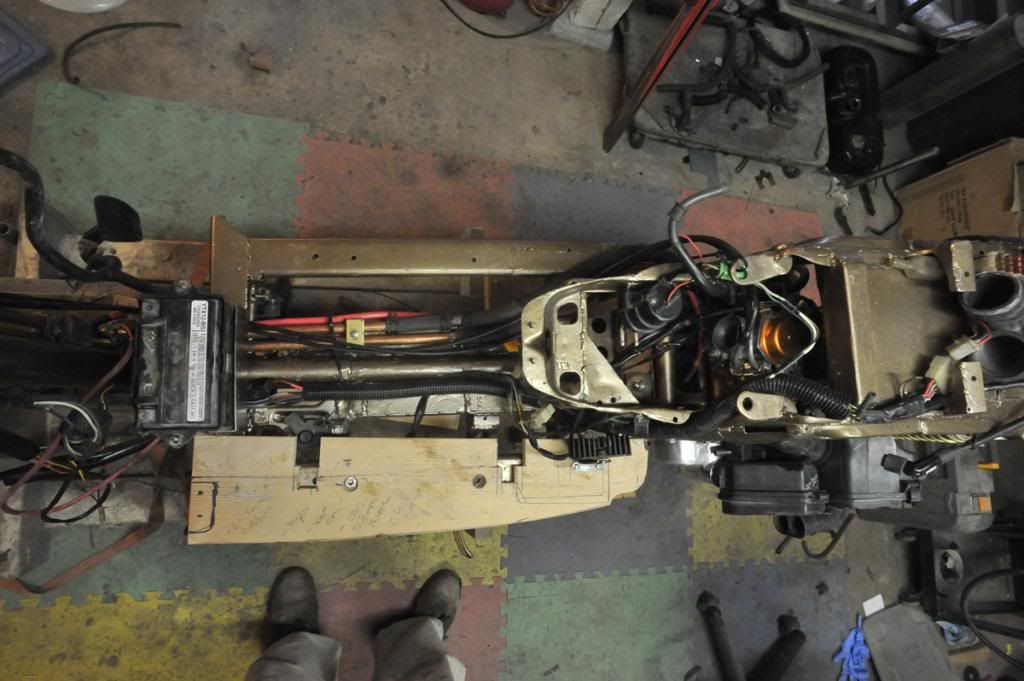  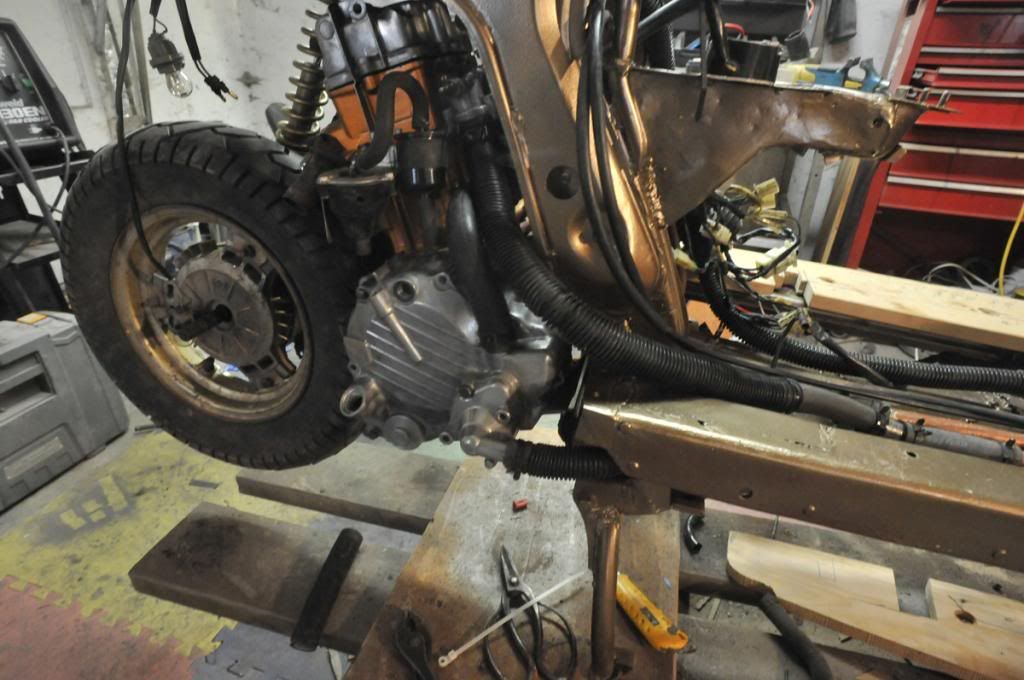 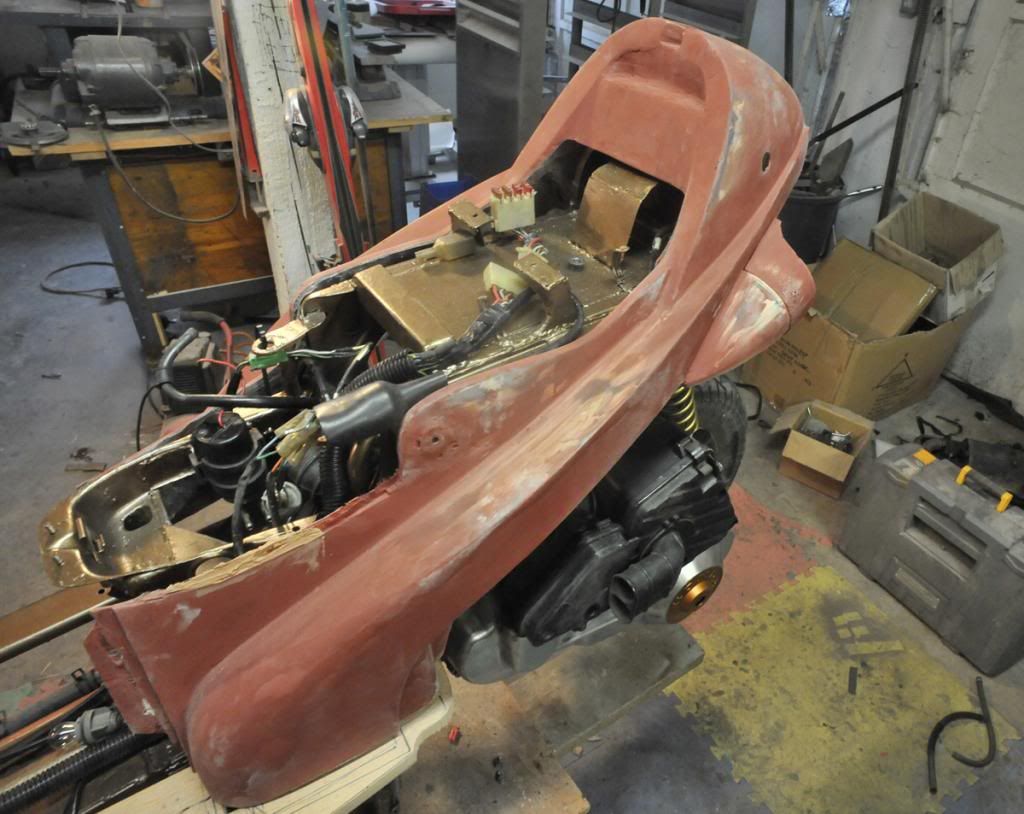 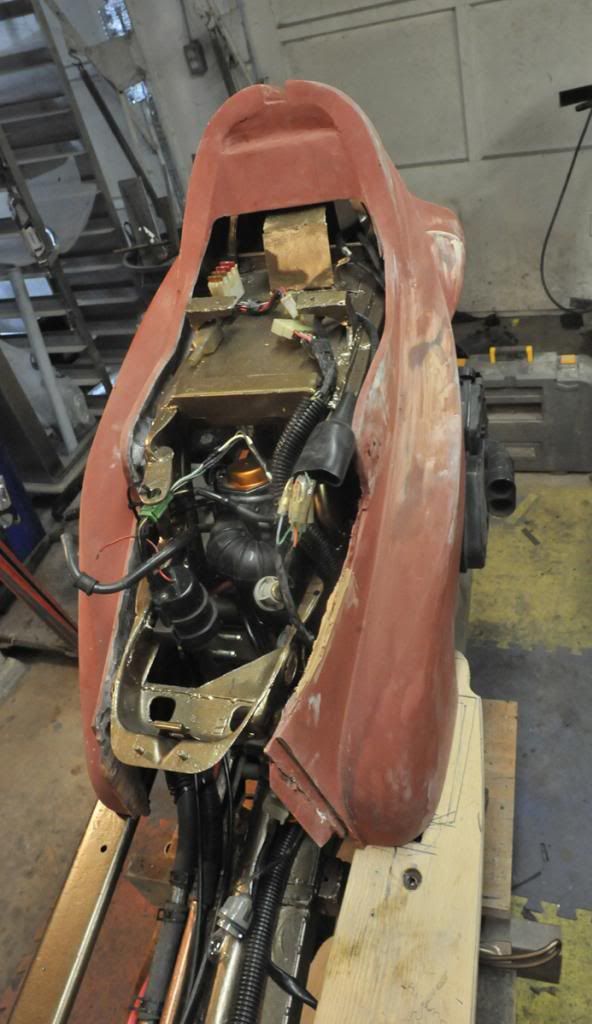 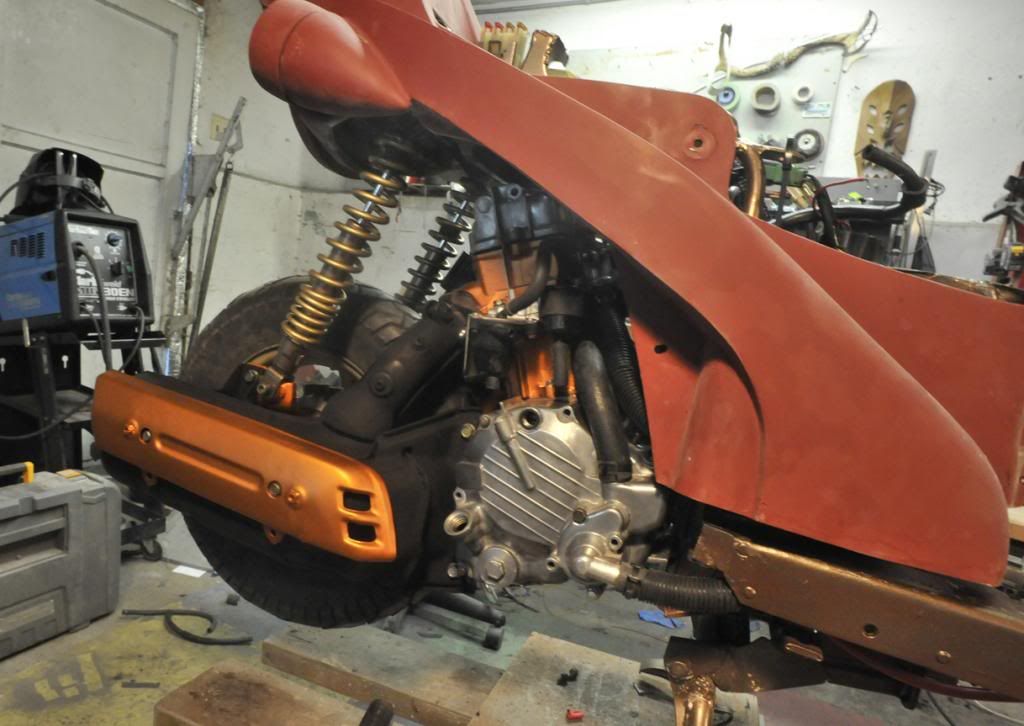
|
|
Junior
  
Currently Offline
Posts: 117
A+'s: 1
Joined: Jan 9, 2012 18:18:11 GMT -6
|
Post by dryshave on Jan 11, 2013 17:18:36 GMT -6
RULE #1 - ALWAYS PUT THE KEY TO THE IGNITION WITH THE REGI WHEN YOU ARE DOING A REBUILD.... I didn't follow Rule #1 and now that I've got the wiring harness sorted... CAN'T FIND THE KEY !! Got all the wiring sorted, new connections added for the electronic fuel pump and the fuel sensor (I somehow missed that one). Rebuilt the starter, and tested - sweet! Just waiting for the engine gasket kit to arrive, hoping to see it early next week, then the motor is complete and ready to lock down. Re-checked the timing marks, ran a magnet inside the open engine casing in case there were loose metal bits - non found. Noticed that there was a difference between the helix valve camshaft and the elite camshaft - stuck with the helix. Got thinking about the airbox, so I've posted a couple pics of what I have available and what I think will work (per tech thread). I realized that there is no forced airflow from the sidecase into the airbox (assumed!!) Since my motor is fully exposed, I'm thinking that an extended tube with a cone filter angled 90 degrees will get more than enough airflow (maybe jetting up one instead of two.... perhaps?). I've wire brushed and done the first 600g aluminum polish on the crankcase (more to be done) and have started brushing off the muffler. I'm getting into the expensive part of the build now... so looking to save for luxury purchases of a new muffler and rims, by cleaning up the original items for the first year. Ordered a new carb kit and will order the gauges by the end of the week - will post which route I decide to go with. Not working on the bodywork for a while (too cold in the shop) so concentrating on getting it barebones ready to run. 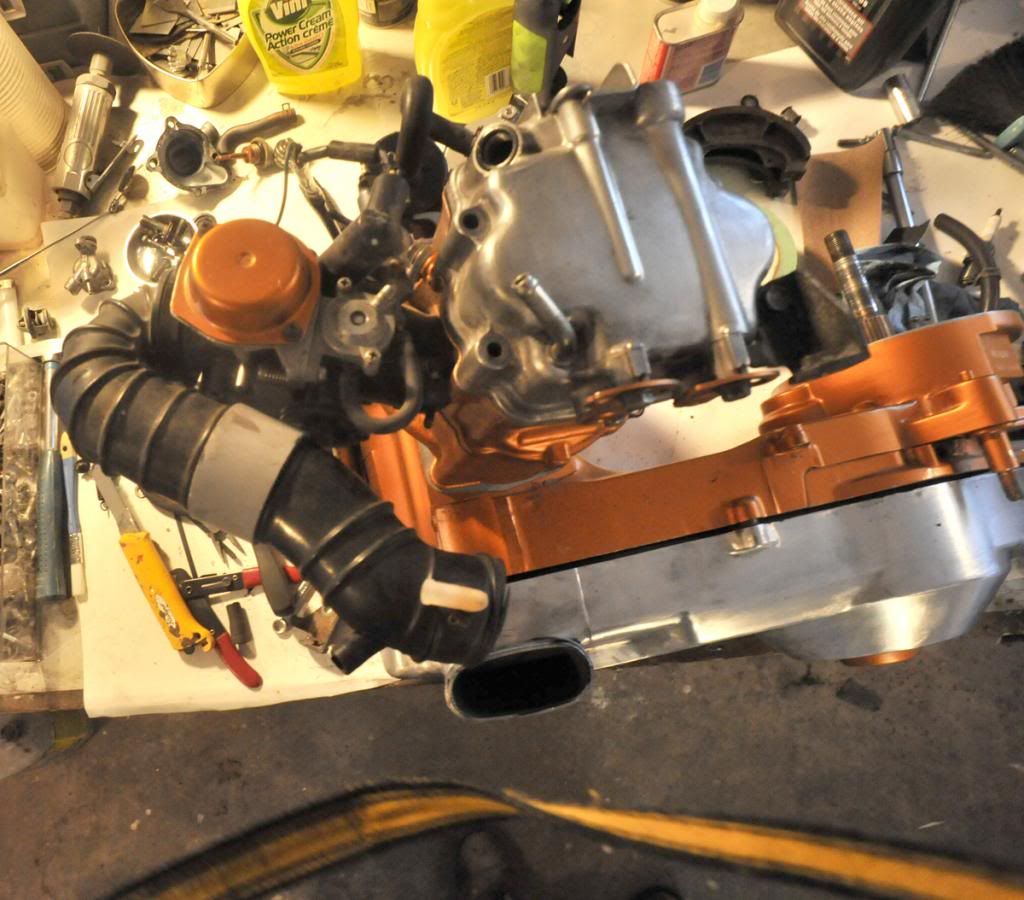 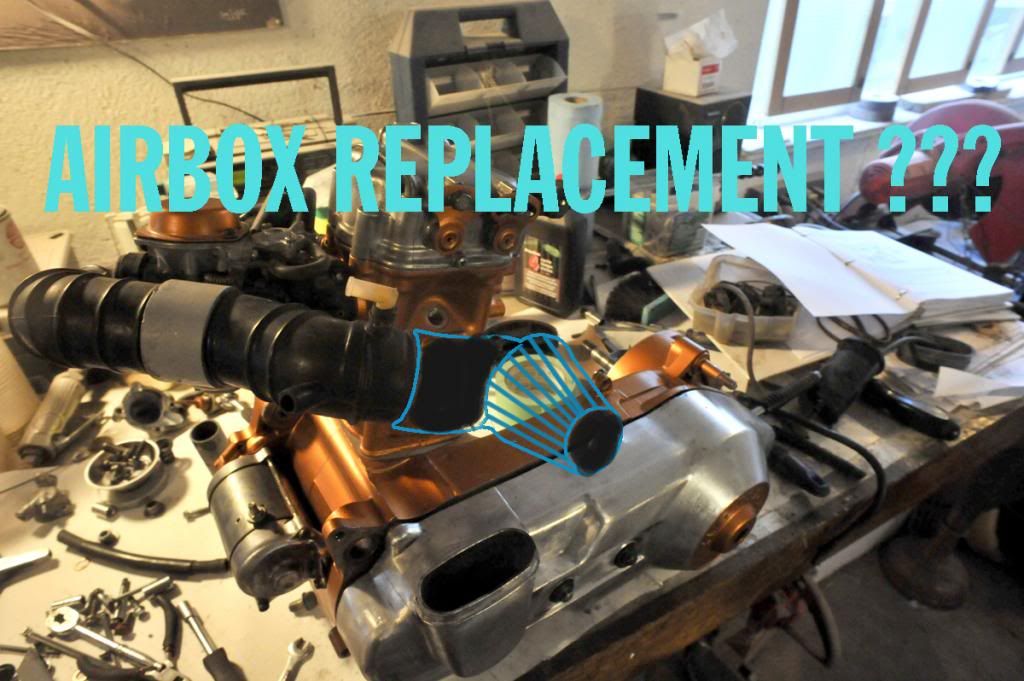  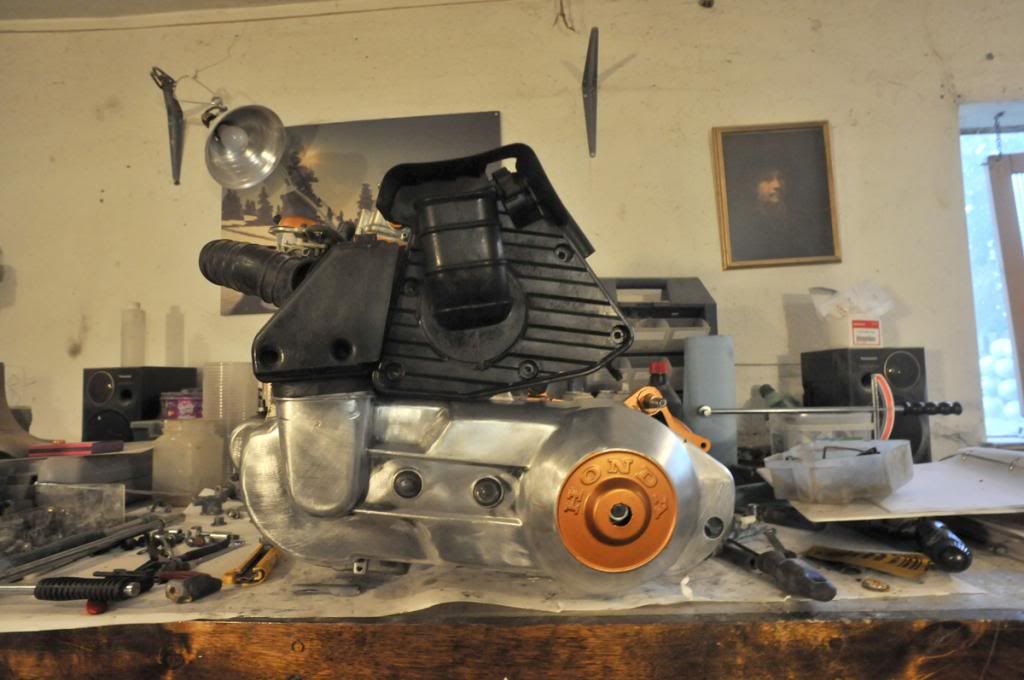 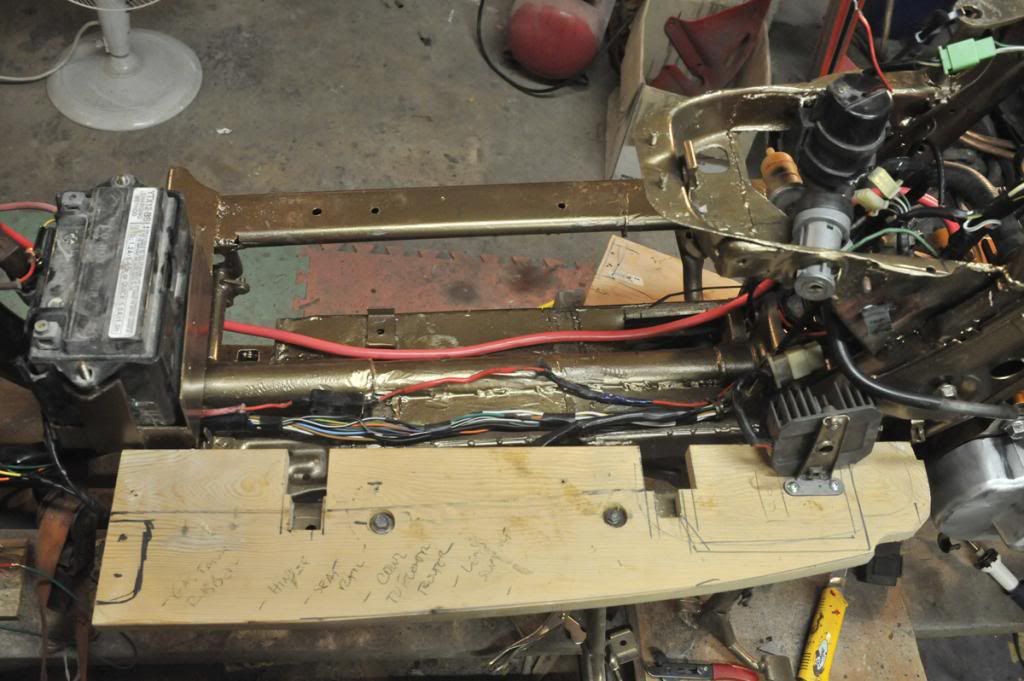 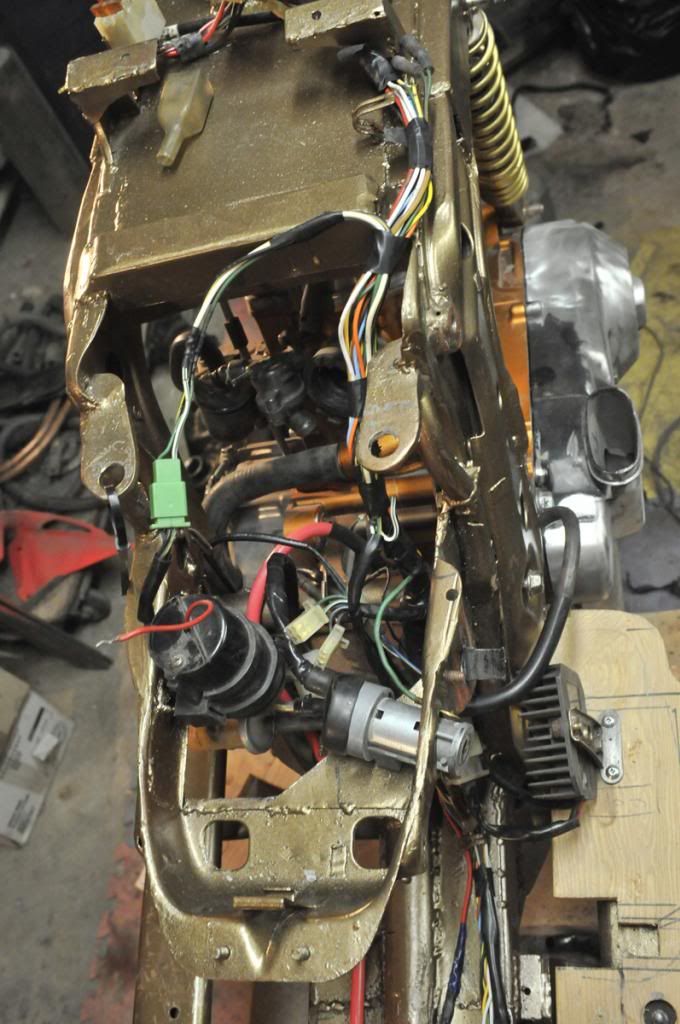 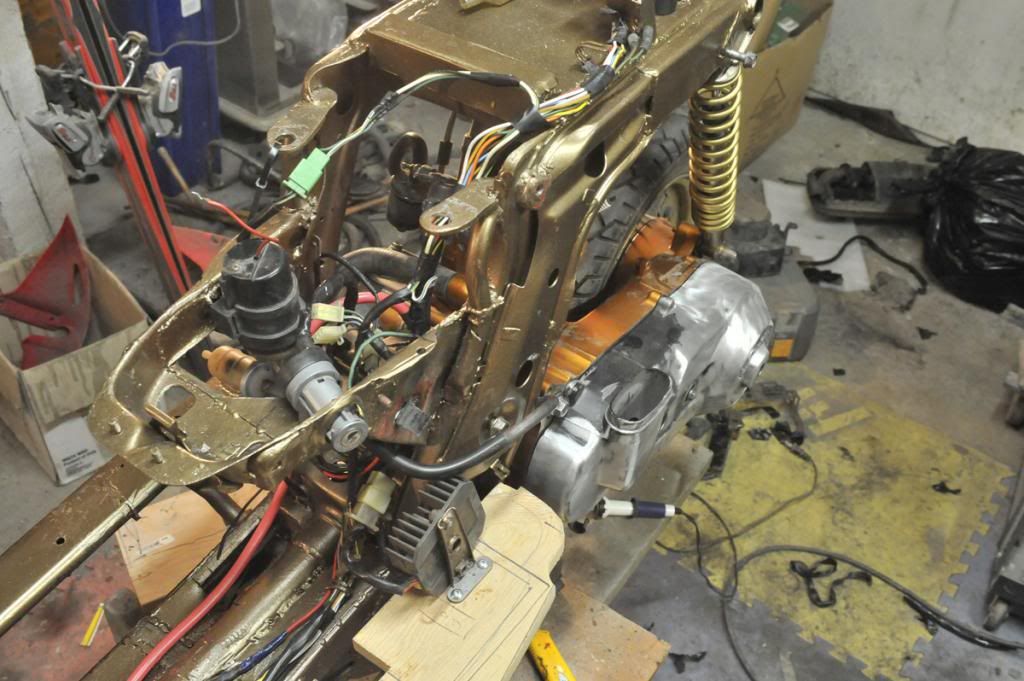 |
|
Junior
  
Currently Offline
Posts: 117
A+'s: 1
Joined: Jan 9, 2012 18:18:11 GMT -6
|
Post by dryshave on Jan 10, 2013 22:09:59 GMT -6
I was pretty sure that would be an issue. By running the free flow filter is there any danger of running too rich or affecting the overall performance.
Will running two sizes bigger cause a reduction in fuel performance?
Looks like I'm going to have to come up with a modified airbox design and I don't imagine that an air scoop would do any good as the airbox is constantly supplying air as the engine is turning over. Will let you know what I come up with - for steampunk scooter project.
|
|
Junior
  
Currently Offline
Posts: 117
A+'s: 1
Joined: Jan 9, 2012 18:18:11 GMT -6
|
Post by dryshave on Jan 10, 2013 17:36:34 GMT -6
I've been working with a completely rebuilt Elite250 engine and hope not to use the old airbox. I won't need the vacuum lines for the fuel tank as I will be using the fuel tank with electric fuel pump from a Helix.
My question has to do with the elimination of the airbox and what I am going to have to change to the motor setup with it's removal. IE: routing of vacuum lines for emissions system, routing of vacuum lines to the air intake (carb). Change in jetting?
I've seen lots of photos where the airbox has been replaced with a cone shaped filter - which is what I am hoping to be able to do.
advice on best way to go would be greatly appreciated.
|
|
Junior
  
Currently Offline
Posts: 117
A+'s: 1
Joined: Jan 9, 2012 18:18:11 GMT -6
|
Post by dryshave on Jan 5, 2013 12:34:28 GMT -6
The benefit for the change on the shock mounts is that I can now use the helix shocks - mucho gusto!
|
|
Junior
  
Currently Offline
Posts: 117
A+'s: 1
Joined: Jan 9, 2012 18:18:11 GMT -6
|
Post by dryshave on Jan 5, 2013 11:28:09 GMT -6
Happy New Year to all!! It's been a relaxing couple of weeks and was glad to get back into the garage again. Glad to have completed the first sanding on all the panels before the end of 2012 (was a goal) and as you can see from the pics... done a dry assembly - to determine any problem points and the check clearance of the newly positioned shock mounts. It was lucky to have a helix frame in the backyard. I removed (cut off) the cross tube that had the shock mounts and carefully positioned the tube after cutting out the original mounts (emphasis on carefully - must have checked my measurements a dozen times). A quick tack weld, followed by additional structural support (overkill - but excellent piece of mind). No significant problems with panel fittings, just a bunch of frame welds to clean up. - Ready now for a mechanical dry assembly. - Round up some extra long battery cables and finish the rear brake extension first. - Hunting down colored fuel/oil/heater hoses to bling the engine. - Dropped off the lens mockups for my brother to make me a couple of vacuum tests (for fit). - no body work until February as I would like to focus on cleaning up and finishing the frame. Looking back over the year.... I've managed to get a lot done and learned a lot about fiberglass and casting. More soon! 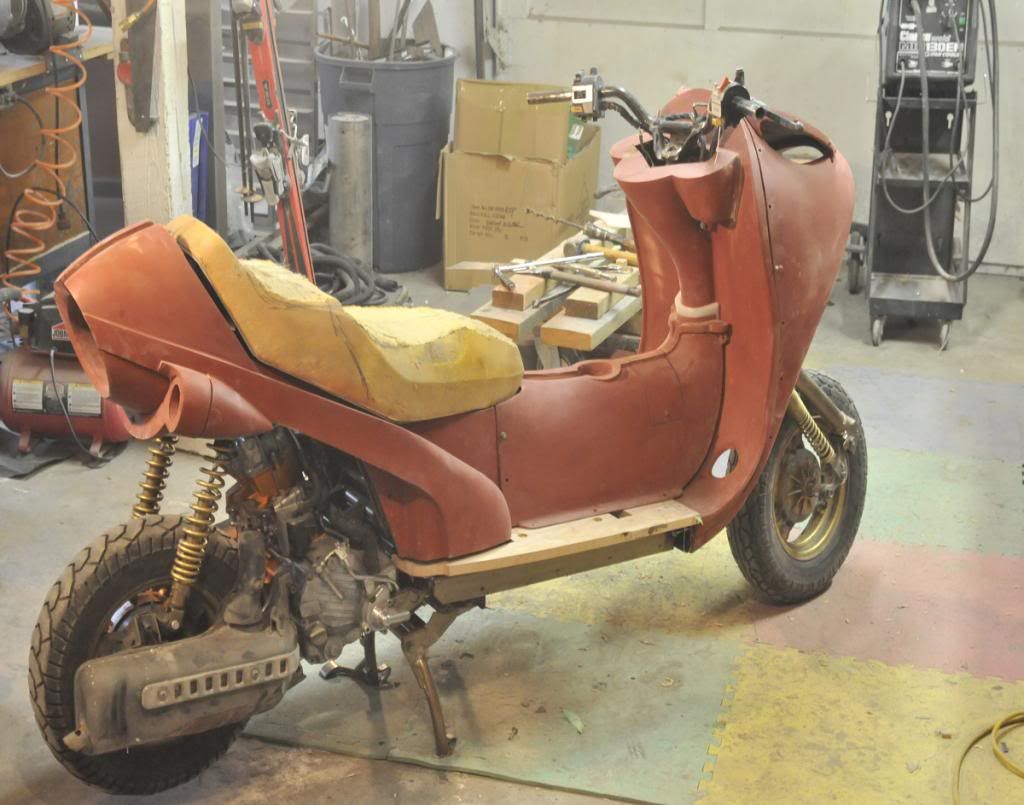 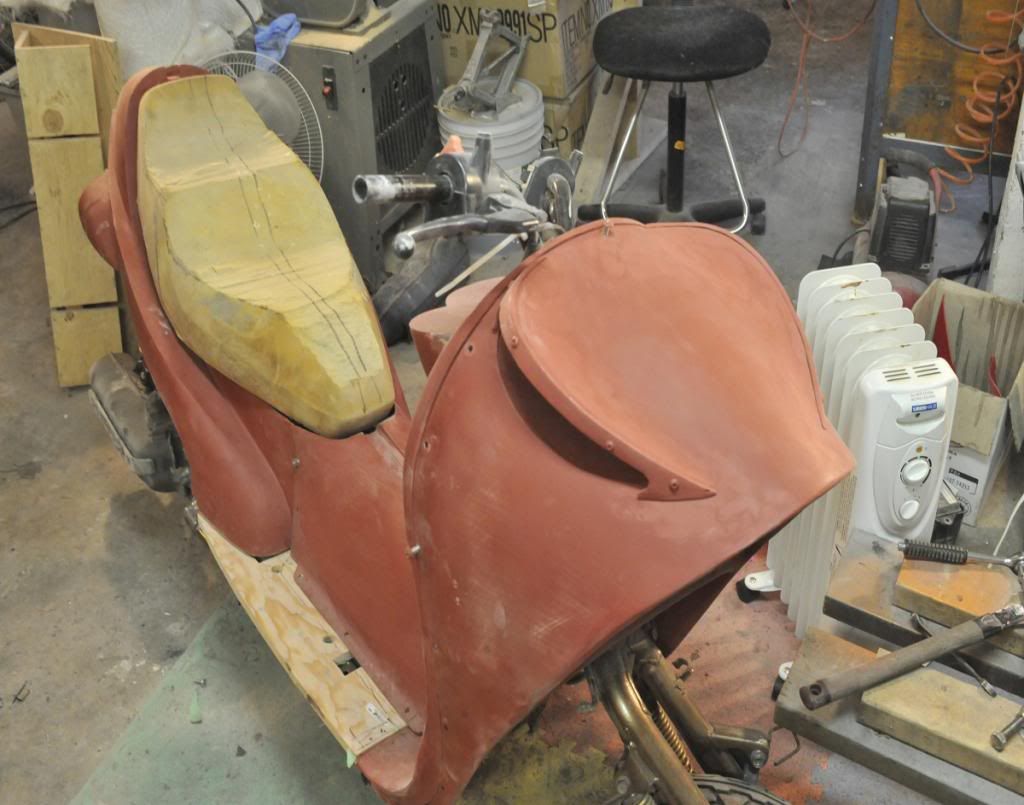 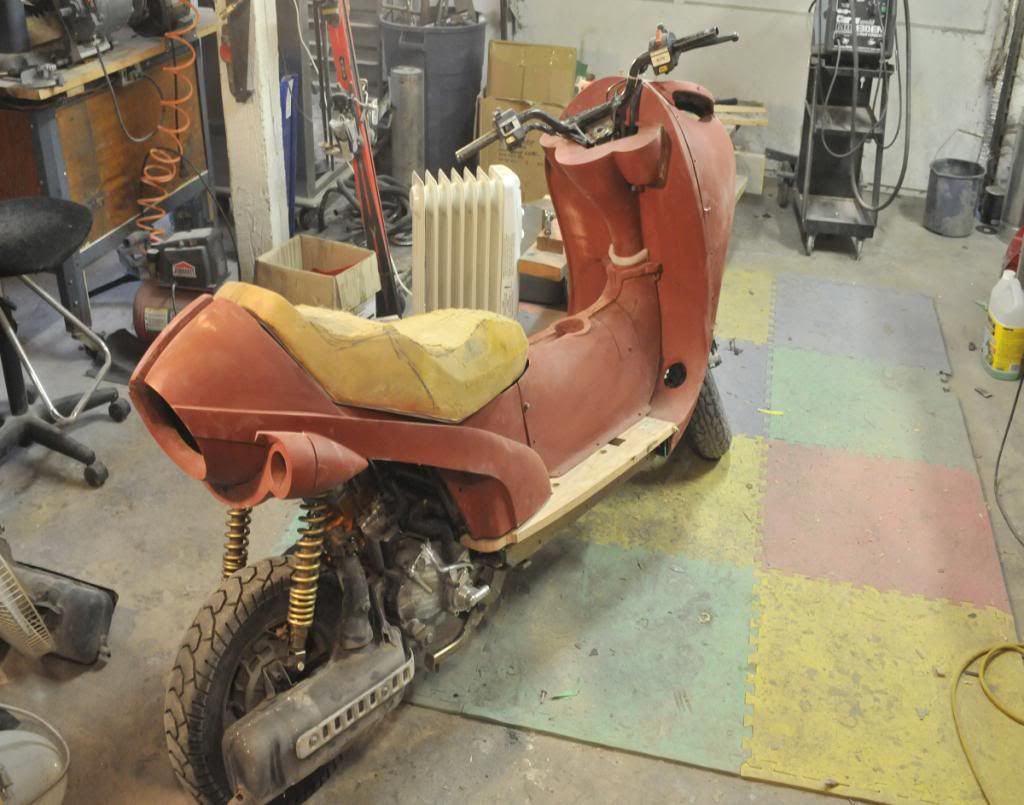 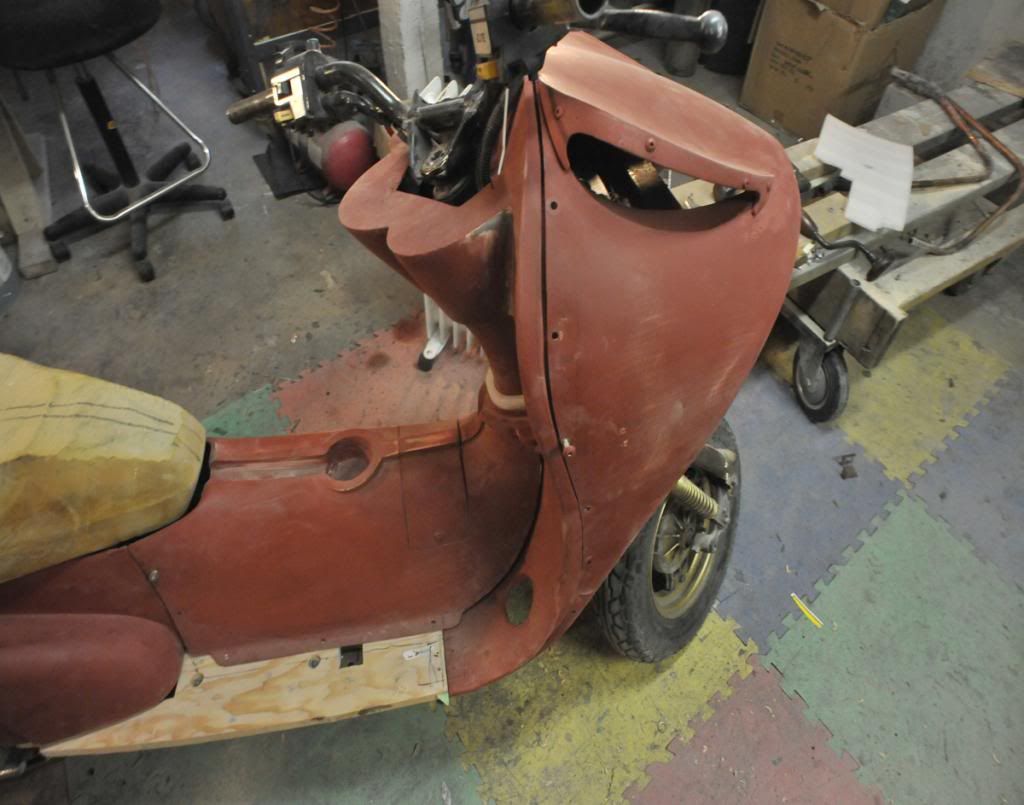 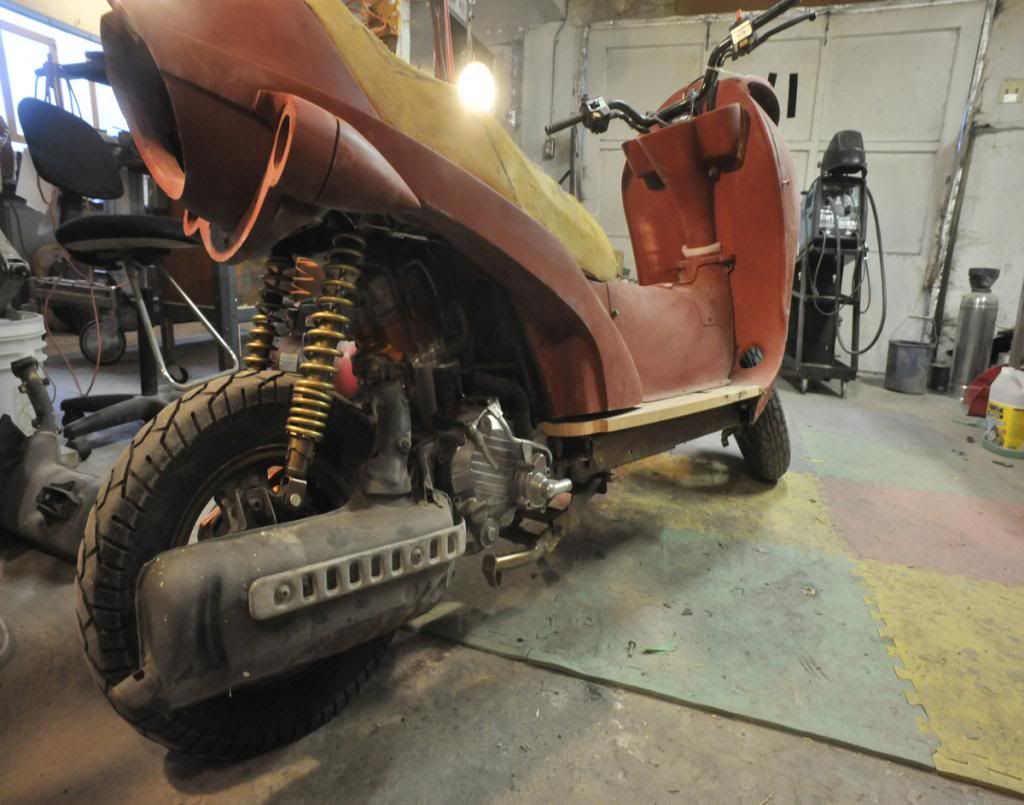 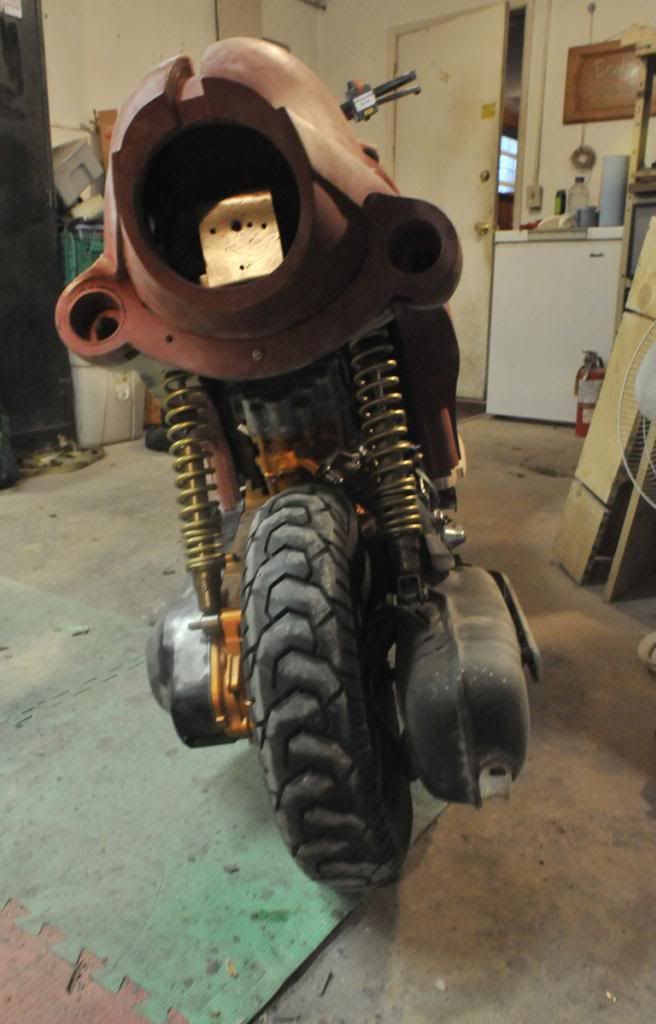 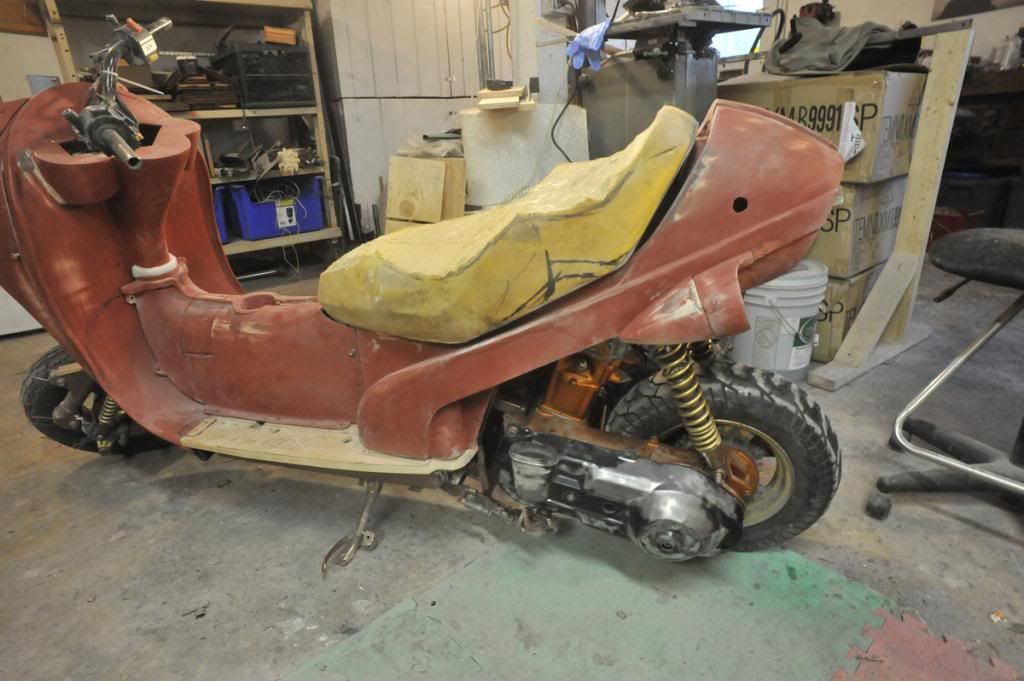 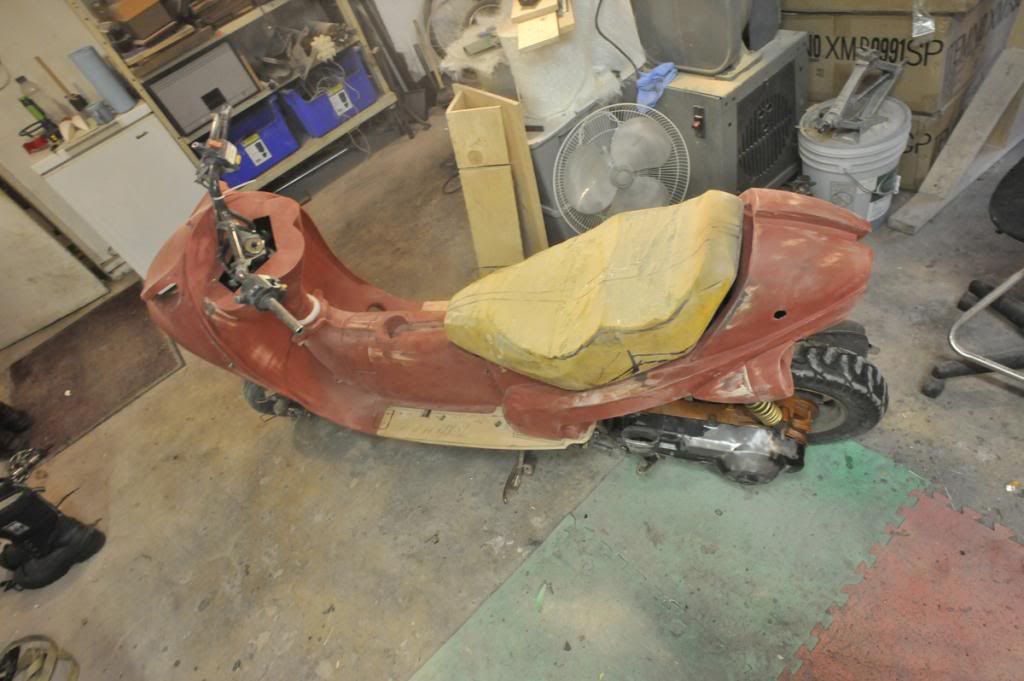  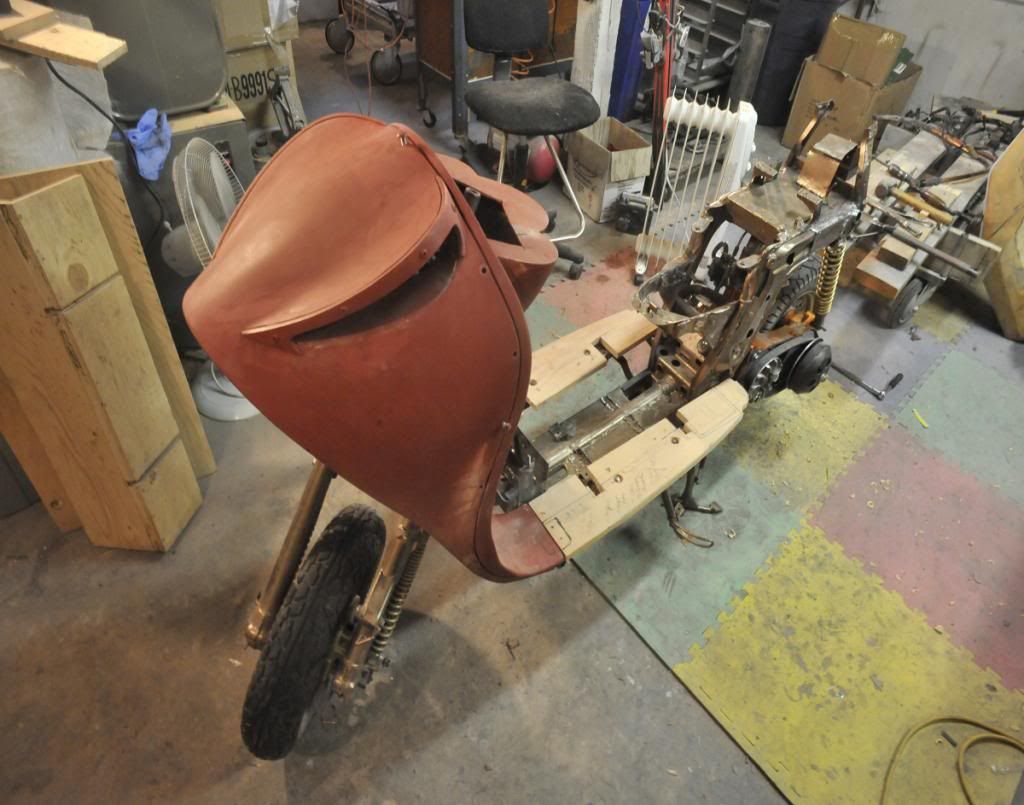 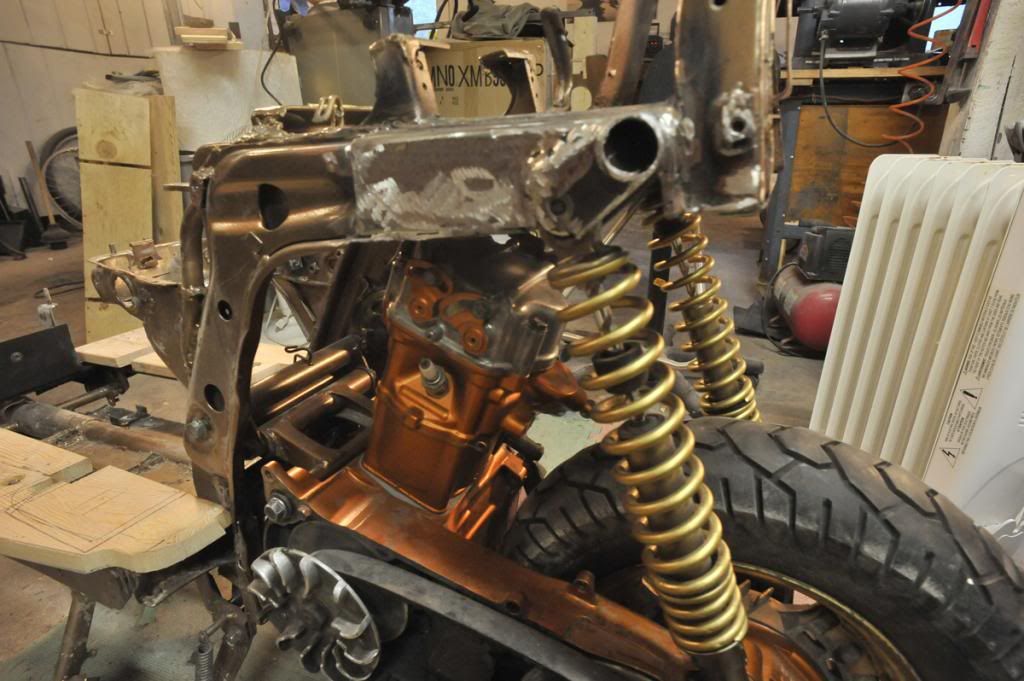 |
|
Junior
  
Currently Offline
Posts: 117
A+'s: 1
Joined: Jan 9, 2012 18:18:11 GMT -6
|
Post by dryshave on Dec 12, 2012 17:49:13 GMT -6
madcollie: The first speedo is my favorite too, hope to find something that's as clean and simple looking. 120mph is a bit optimistic.... don't think I'd want to be on it at that speed either I think I've said this before.... but that should be the last of the fiberglassing for a while. I've got the centre piece sanded down to 180 grit and coat of sandable primer to seal it, while I get to finishing up the kick plate and the sides of the rear piece. I figure that I've got another 60-80 hours of sanding to do, no idea of how much time I've spent hand sanding, but both arms are equally sore and I have no fingerprints on either hand. You can see the battery tray is fitting better now. If you compare the photos on the (drivers left) hinge section, you may notice that I've rubberstamped (photoshop) the pop rivets, as I haven't finished mounting the hinge. The reason for (not the photoshopping) the delay in mounting the hinge, is that I will be on putting a rubber/leather patch... under the rivets, after I paint the panels, thus covering the gap created by the hinge clearance..... clear as mud. (see the pics Hope to have the rest of the pieces sanded and primed by the weekend, and then it's turn time to clean up the garage and shut down for a couple weeks, while I get into the Christmas fever... and punch. 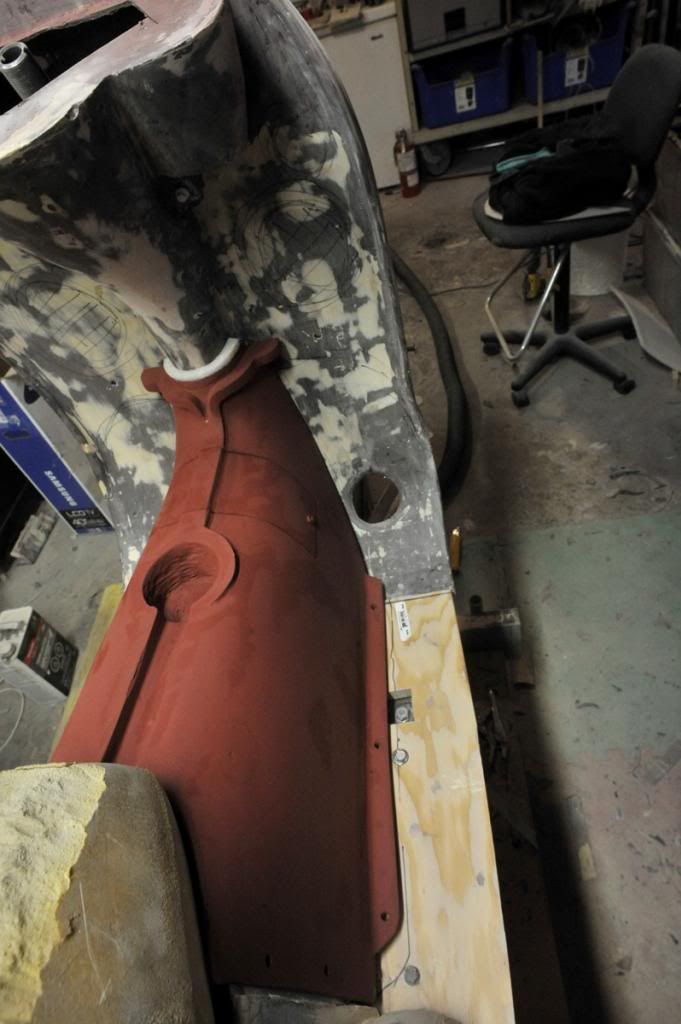 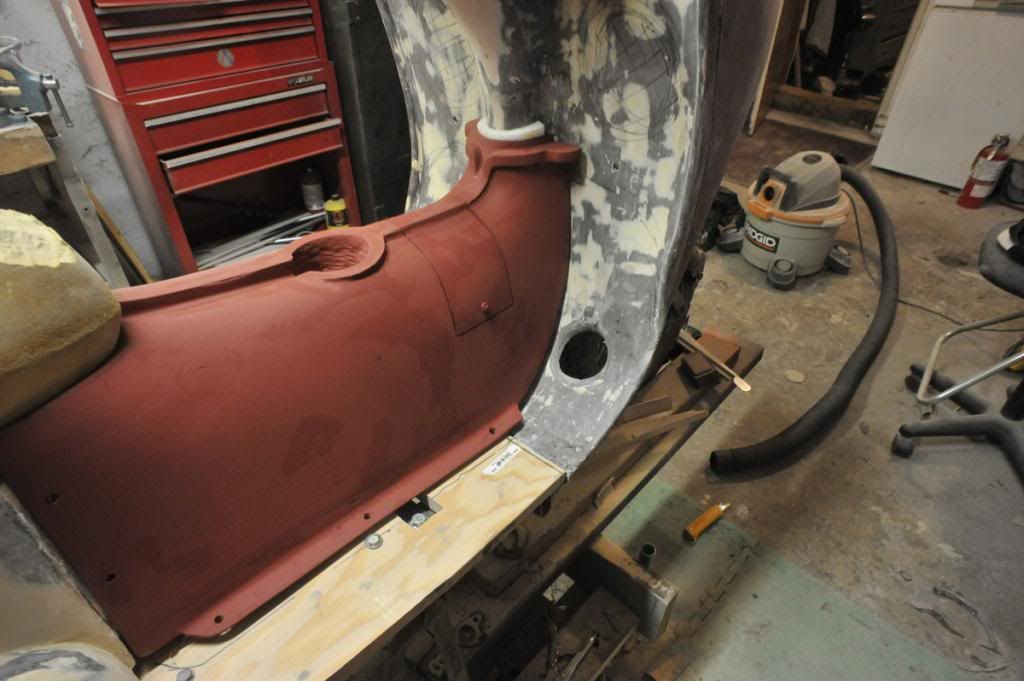 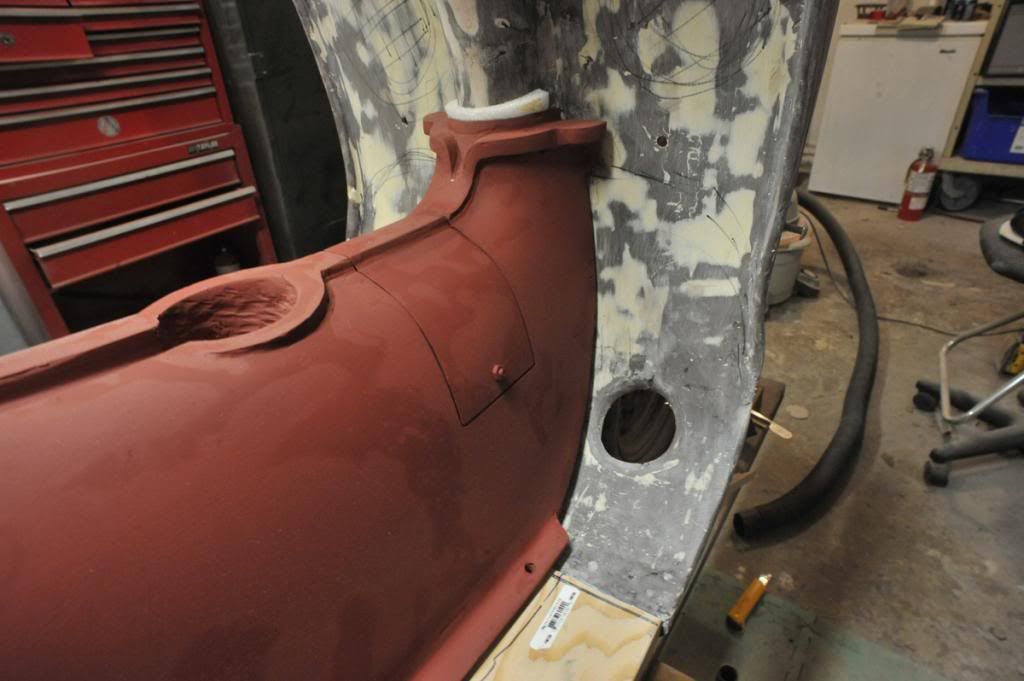 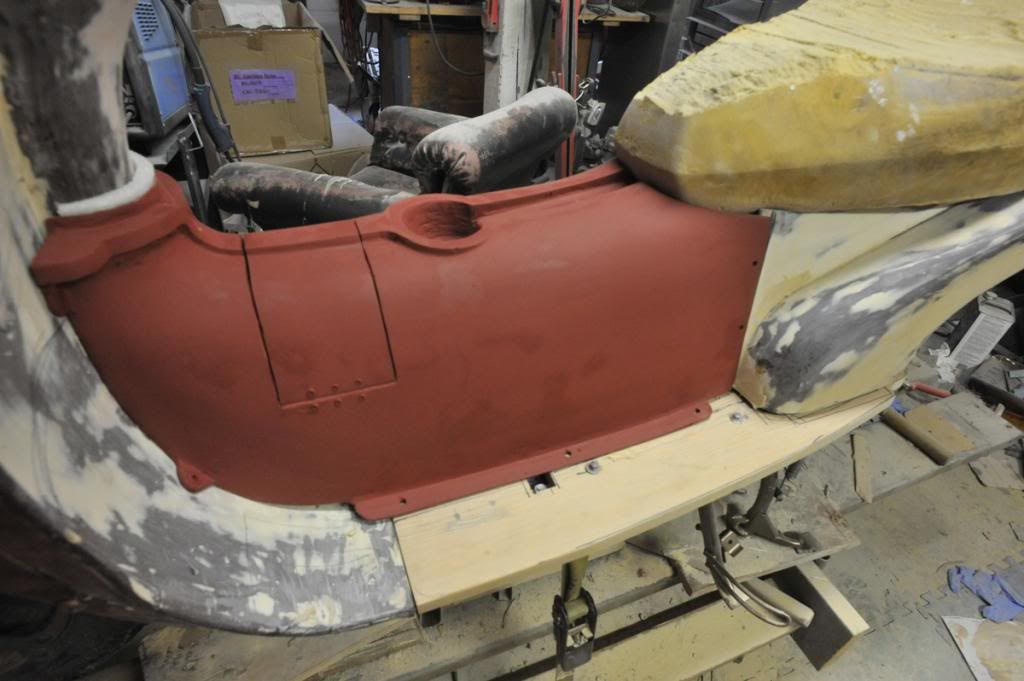 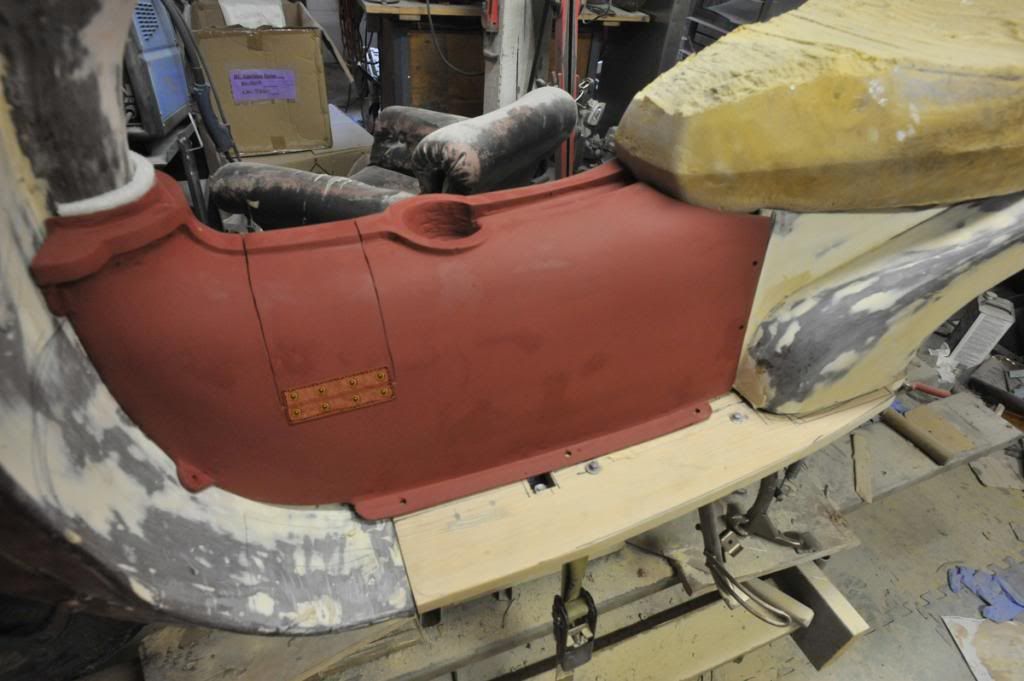 January - February will see me swapping out the frame shock supports from a helix and welding it into place. Have tried to figure out another way around it, but the easiest way to solve my "toe-in shocks" is to utilize the original support arm and to replace the shock supports on the old 150 frame. The good thing about this mod, is that it won't affect any of the completed bodywork... I've been thinking about this for awhile.. Once the shock towers are complete, it'll be time to complete the clean up on the frame and final paint. I'll post one more batch of pics before the holidays, I hope that it will be of all the panels, prepped and primed for final sanding. Hard to believe that it's been almost a year... |
|
Junior
  
Currently Offline
Posts: 117
A+'s: 1
Joined: Jan 9, 2012 18:18:11 GMT -6
|
Post by dryshave on Dec 7, 2012 16:29:47 GMT -6
hope it's alright to post above links justbuggin2....
|
|
Junior
  
Currently Offline
Posts: 117
A+'s: 1
Joined: Jan 9, 2012 18:18:11 GMT -6
|
Post by dryshave on Dec 7, 2012 16:28:16 GMT -6
|
|
Junior
  
Currently Offline
Posts: 117
A+'s: 1
Joined: Jan 9, 2012 18:18:11 GMT -6
|
Post by dryshave on Dec 4, 2012 21:12:46 GMT -6
justbuggin2 - are you talking about your christmas lights or your new carwash  Here's the new fuel tank cover in mold form... followed by the actual cast piece. You can see where I've cut out access for the battery (will eventually be hinged) and the main feature - handy cup holder !!!. It's tough lining up the three cast sections, but it's within tolerances. I've also cut out the running boards out of fir (plan to wrap in copper sheathing) and getting ready for final bodywork. Will have to take time off for christmas, but will post another update before then. I hope to have an electronics/run test sometime early february (ordering the Performance muffler and universal antique gauges - mid january) and hoping to be ready for paint by march... busy schedule ahead, looking forward to getting the bodywork done, it's been a loooong year. 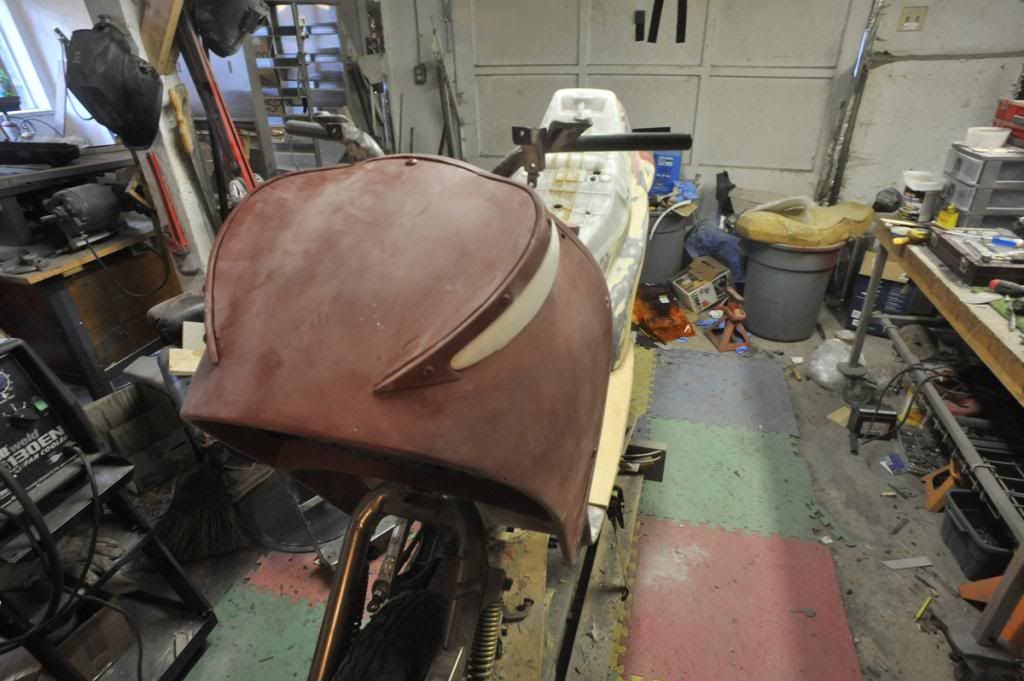 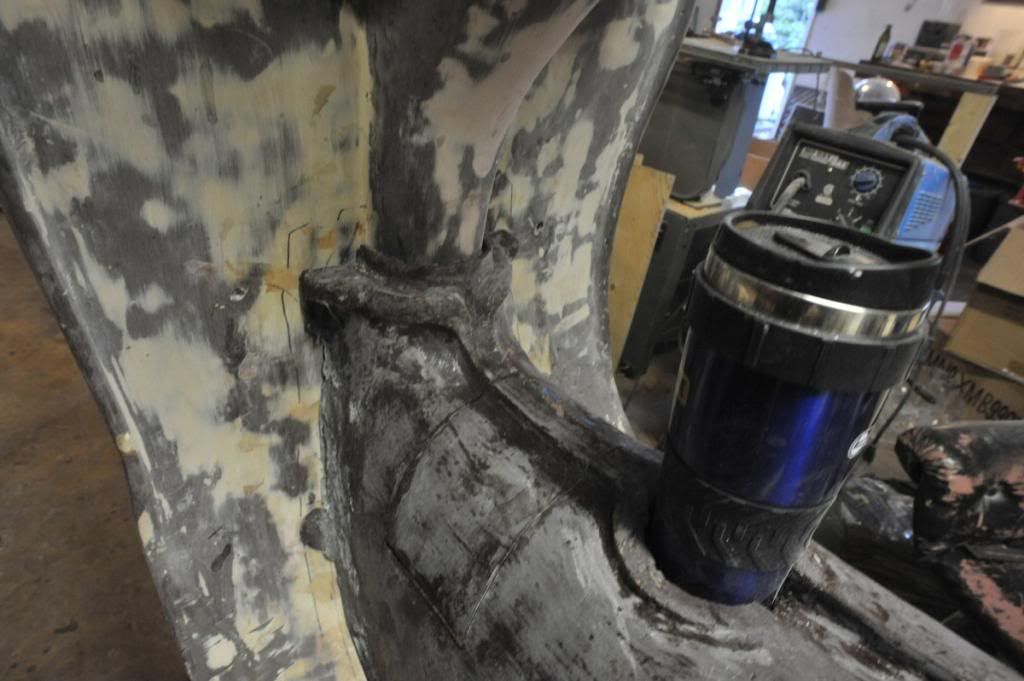 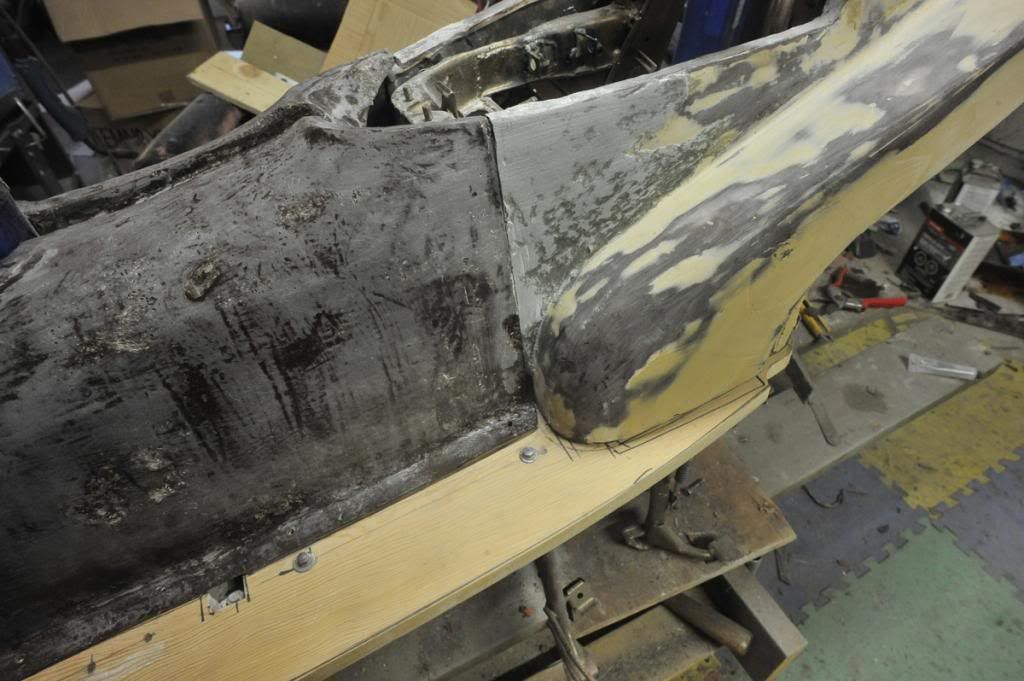 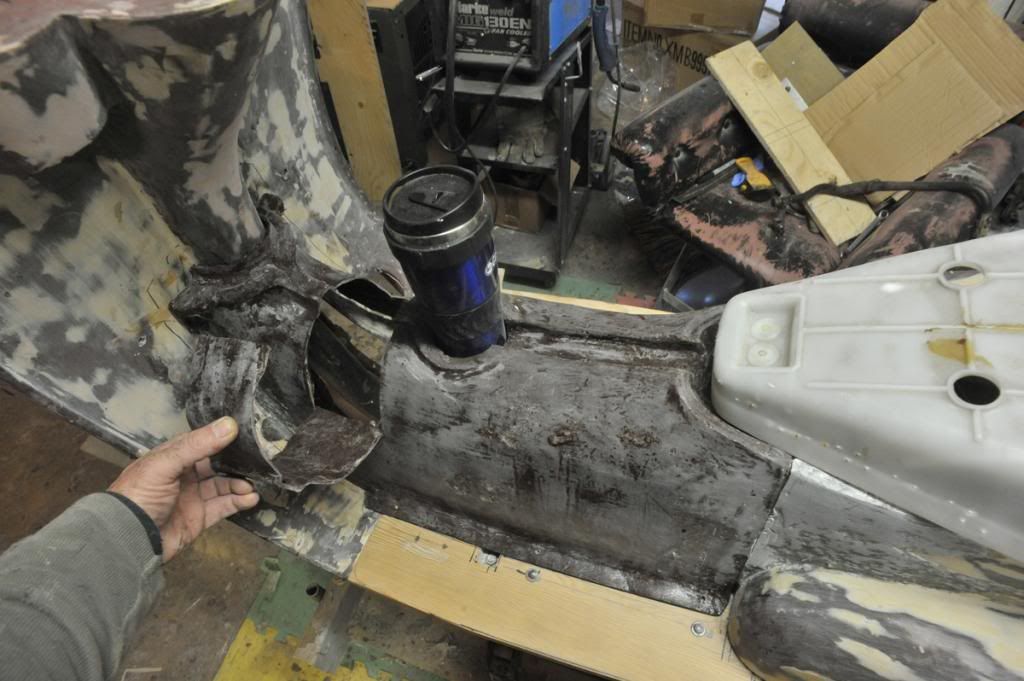 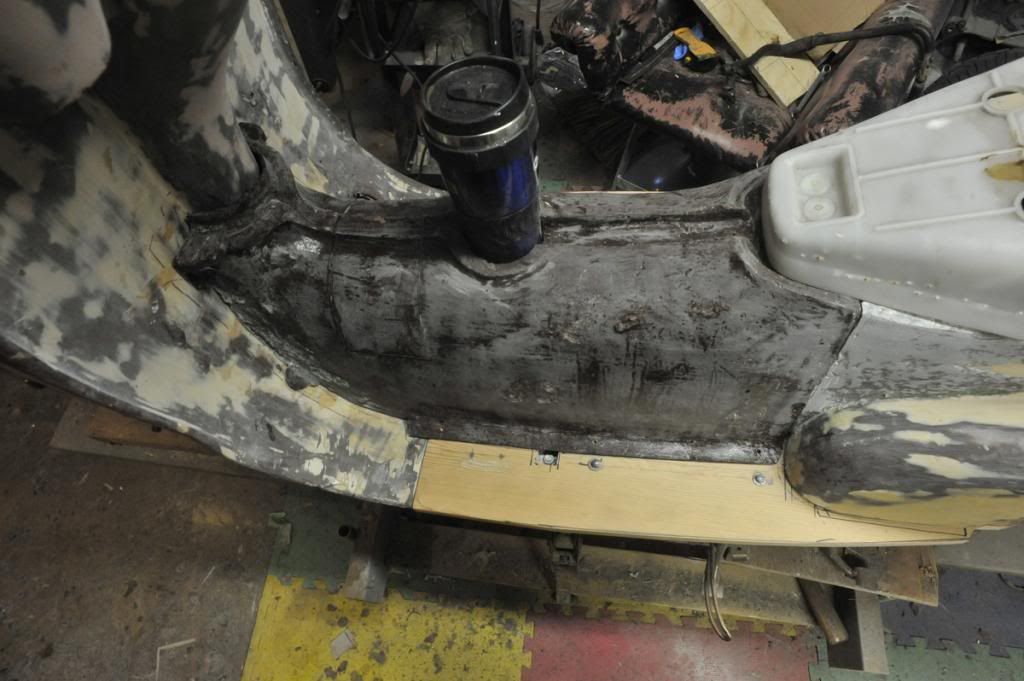 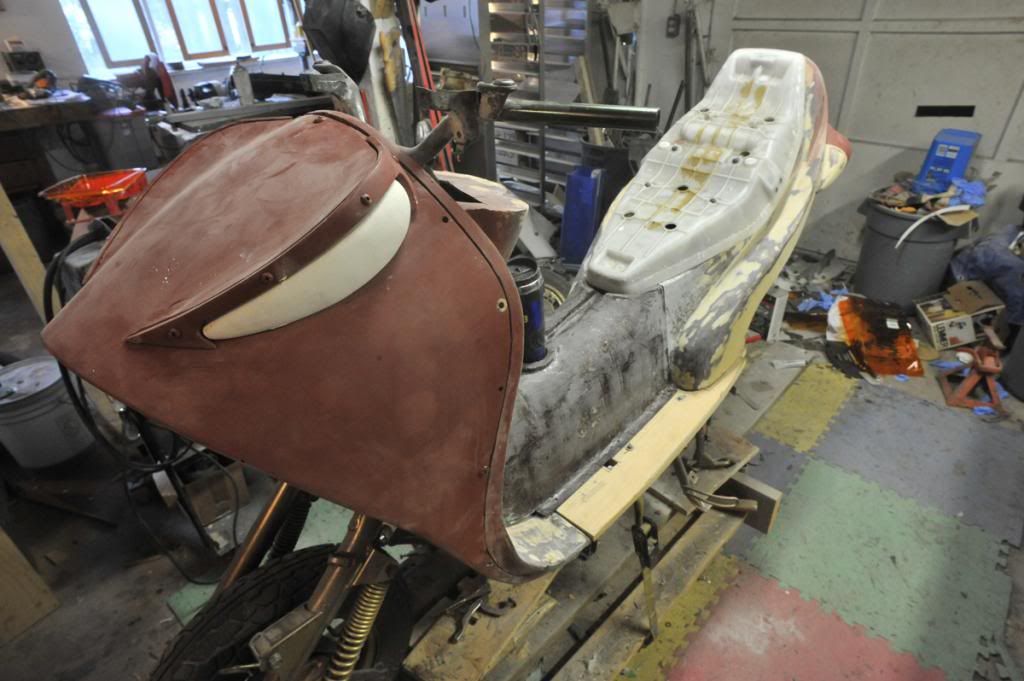 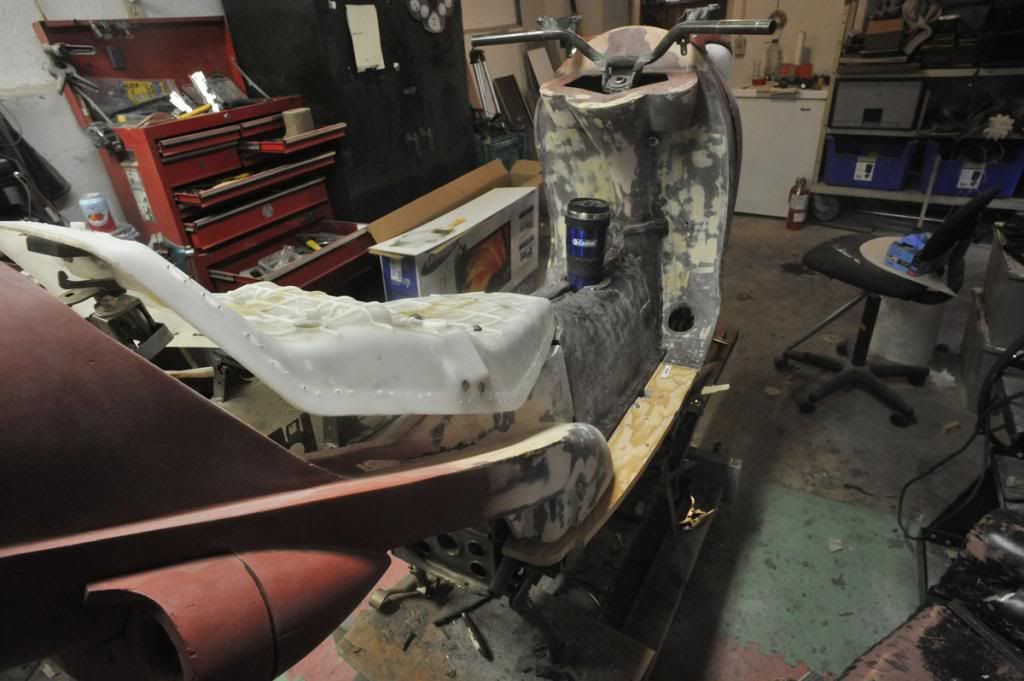 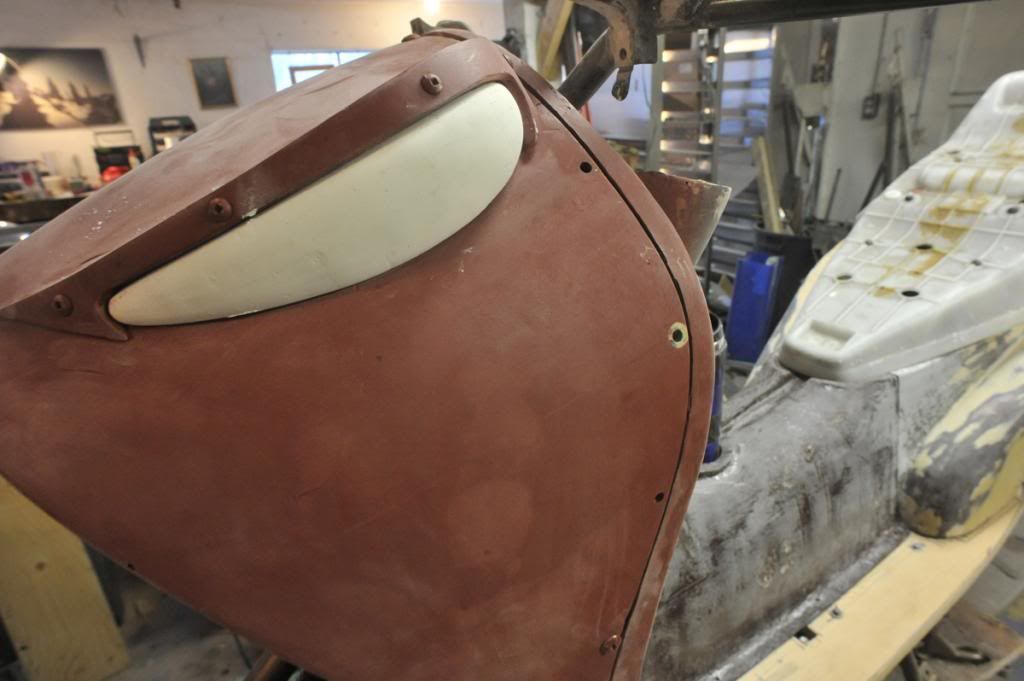 |
|
Junior
  
Currently Offline
Posts: 117
A+'s: 1
Joined: Jan 9, 2012 18:18:11 GMT -6
|
Post by dryshave on Nov 20, 2012 19:28:46 GMT -6
... also have assembled the modified foot brake lever (used a helix pad) will post pics later
|
|
Junior
  
Currently Offline
Posts: 117
A+'s: 1
Joined: Jan 9, 2012 18:18:11 GMT -6
|
Post by dryshave on Nov 20, 2012 19:26:51 GMT -6
Another week of "staycation" and back into the garage - it sucks outside anyway and it's too early to go skiing, besides if I hang around the house too long, I may end up hanging christmas lights like justbuggin2. The first stage of sanding is complete (next round 180-240) with areas around the fuel tank not fully sanded, until I had sorted out the gas tank situation. Rather than go with a custom tank (can't afford it right now) I have decided to go with the helix tank in a modified position, it also solves my battery position problem too. I've moved the electronic fuel pump up under the seat and have re-routed the rad lines directly under the tank (much nicer looking and easier to access). I've fabricated a pattern for the tank cover out of plastic and heavy cardboard (which I use to cut templates from) and am satisfied with the result so far - guess what... it's back to plasticine and fiberglass (at least I know that it'll be the last piece to cast). The tail piece looks sweet, you can kind of see it in one of the pics. I wanted to take better photos of the front piece, but couldn't justify, putting it all back together just for one pic. I've cut off the old mounts for the light bulb connectors (rear) and glassed them into the tailpiece (again more pics later this week). They look great and work great, the old bulbs connectors lock in just like they should. The brows are done and the lens molds are ready to go for their first vacuum size test, I've got a couple pics of them attached. Once the fit is perfected, they will be molded in clear amber ABS (will be sure to take pics of the whole process, cause this is gonna be cool) As mentioned the brow is ready to go to the brass guy and so is the tail light section. You can also see in a couple pics, the mounting tabs are starting to take shape too. I've changed the deck around the fuel tank, deciding to weld the entire piece to the frame (not the tank see mounting tabs - just the rails), there wasn't any reason to have the rails removable for any reason... DOH! should have cut out the slots for the rad lines and the wiring harness BEFORE I welded it into place... There's some more welding clean up to do (once everything is fitted) I'll take it all apart and flip the frame over for final clean up and then final paint. I've got the rear brake linkage finished and coming up with a brake line that is 18" longer than the original (still working on that, but now that I've got the clearance. (maybe even go with right and left hand brakes) 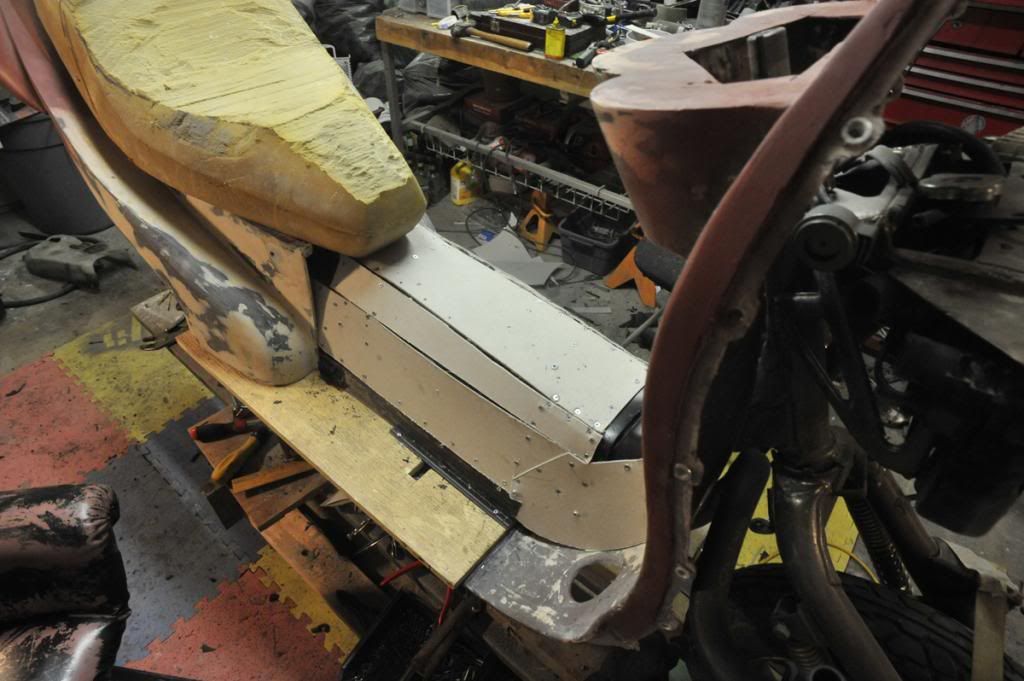 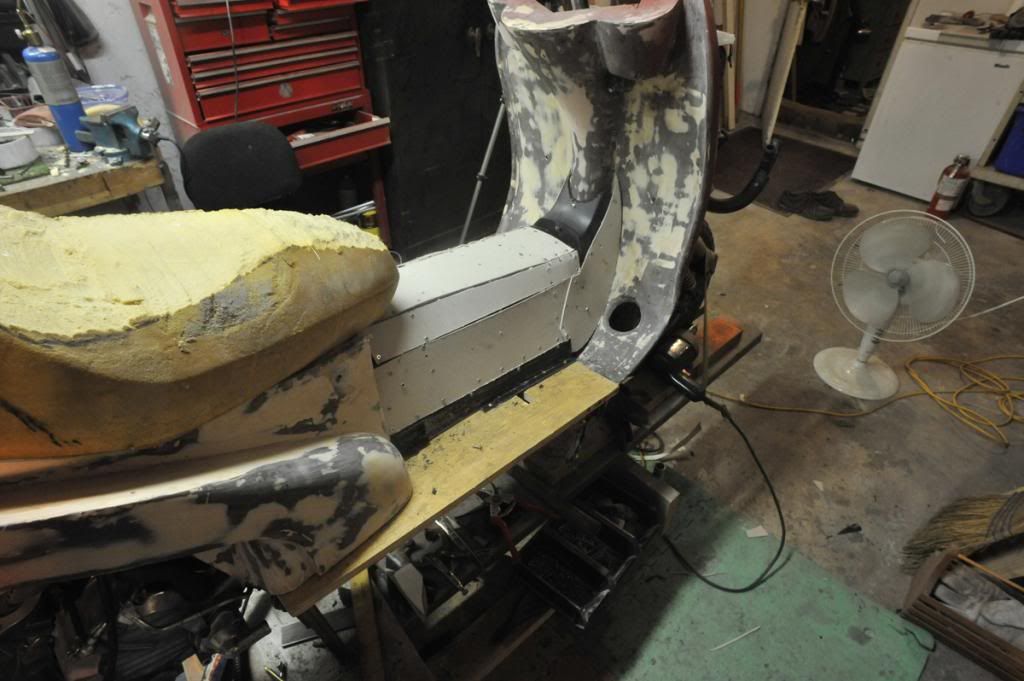 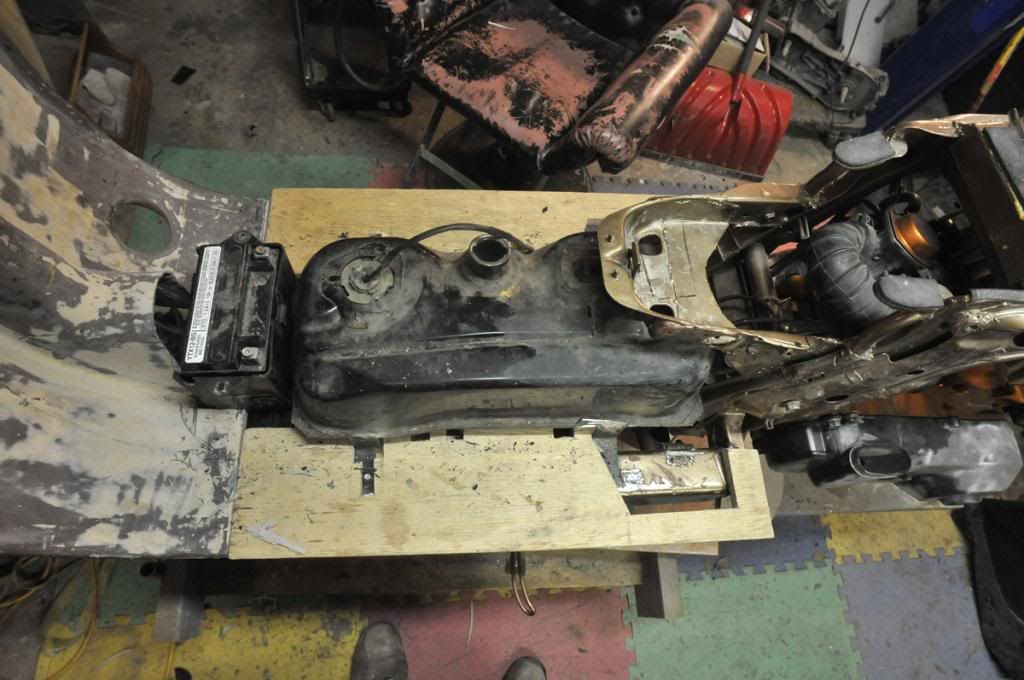 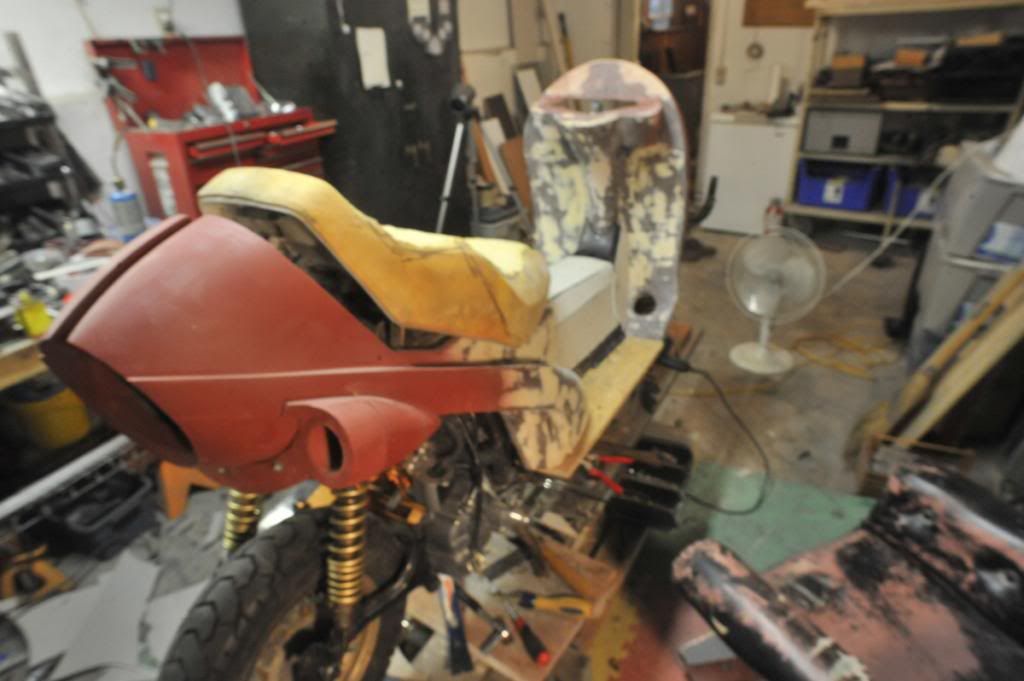 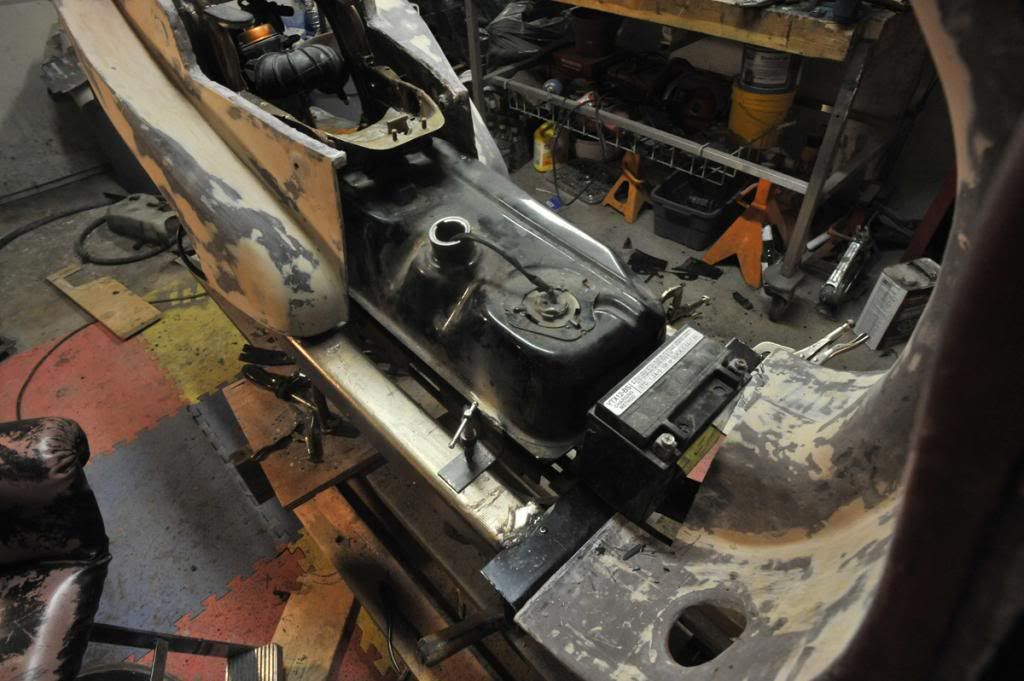 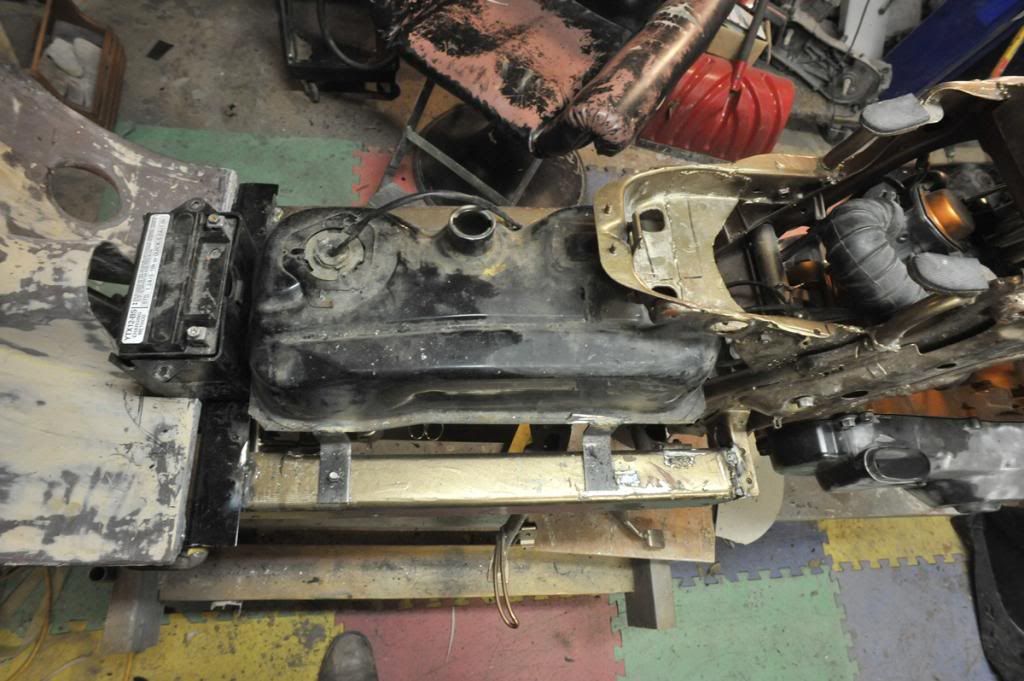 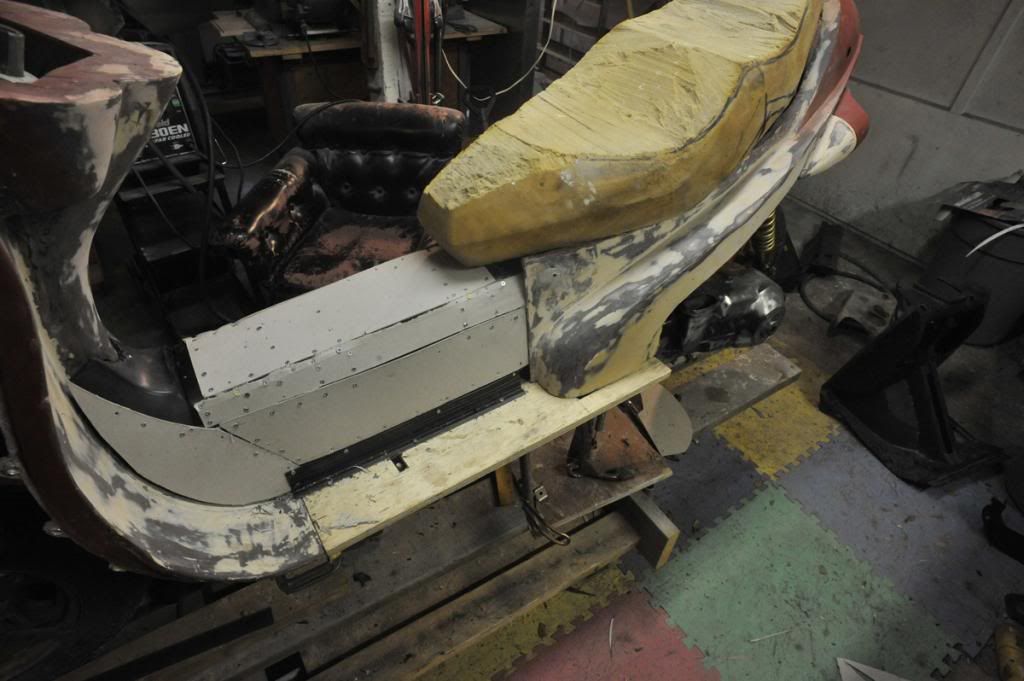 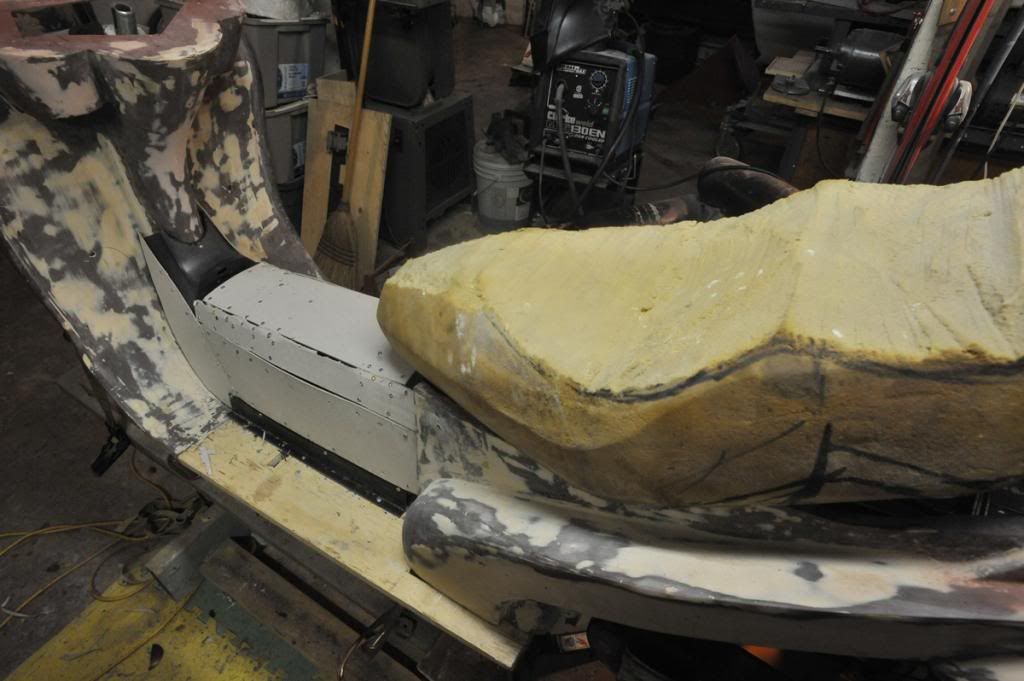 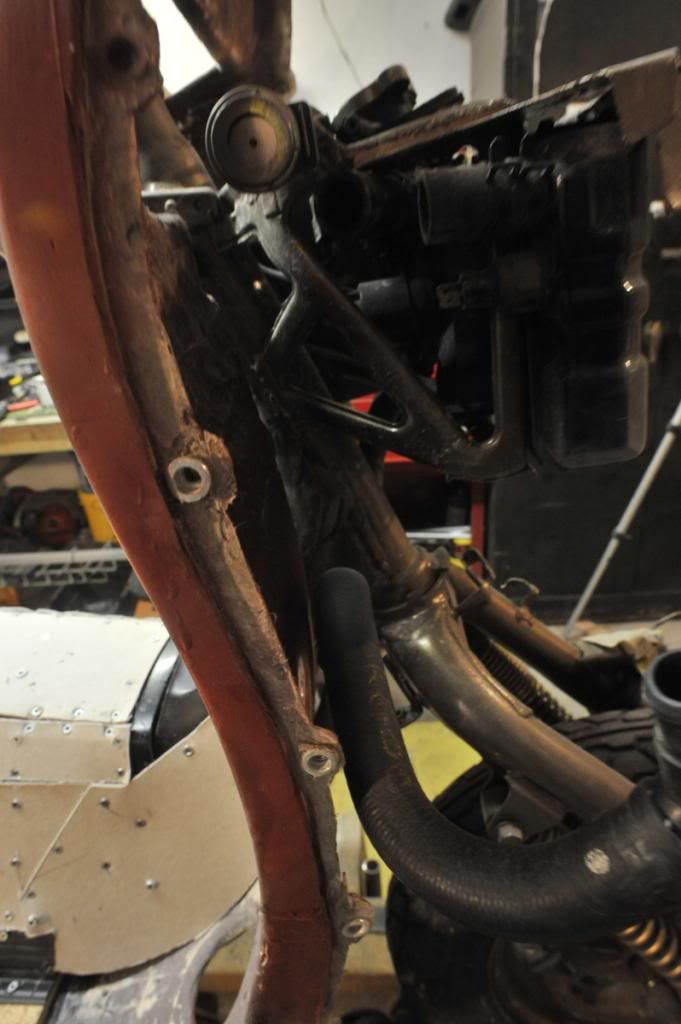 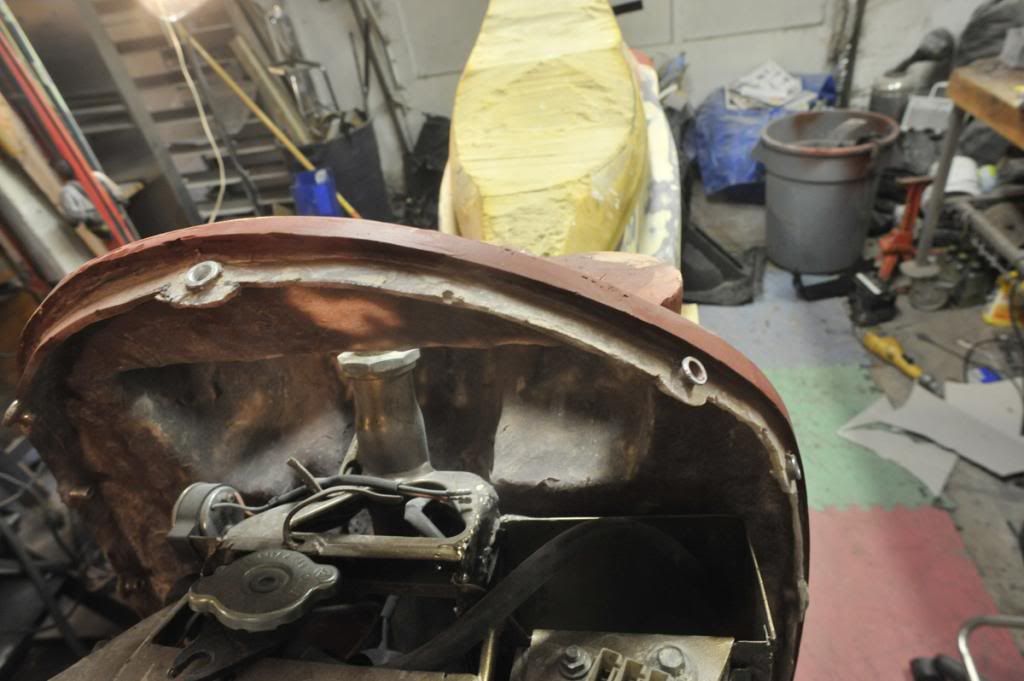 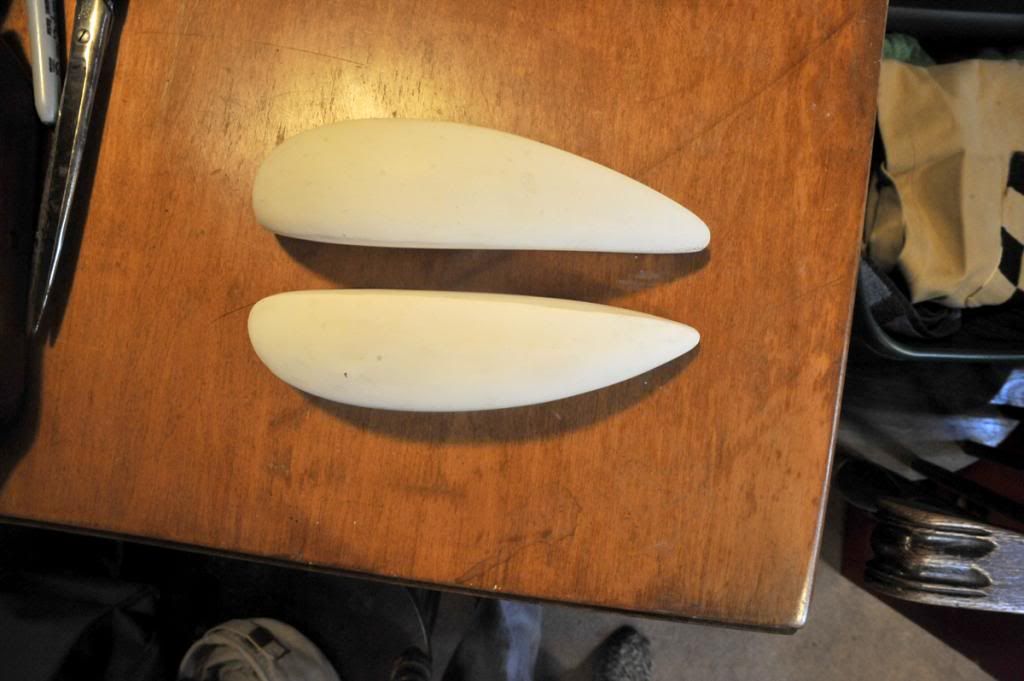 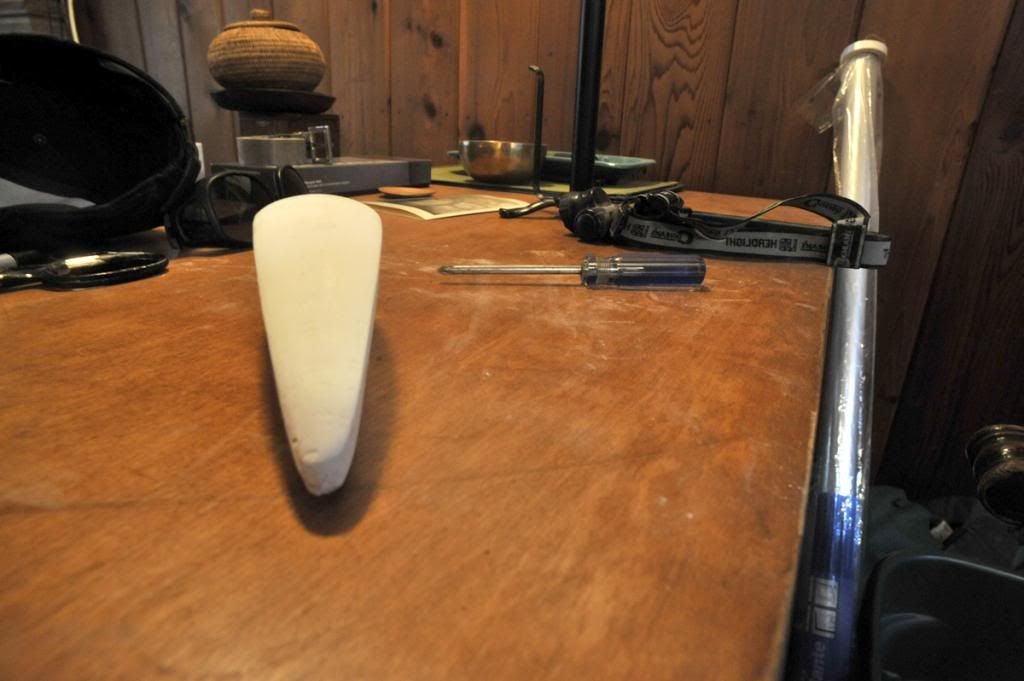  |
|

