Junior
  
Currently Offline
Posts: 117
A+'s: 1
Joined: Jan 9, 2012 18:18:11 GMT -6
|
Post by dryshave on Nov 7, 2012 17:30:29 GMT -6
There's still lots of rough edges and spots to fill and fix, but the big picture is roughed in, it's all a matter of time and determination.
|
|
Junior
  
Currently Offline
Posts: 117
A+'s: 1
Joined: Jan 9, 2012 18:18:11 GMT -6
|
Post by dryshave on Nov 7, 2012 17:28:32 GMT -6
|
|
Junior
  
Currently Offline
Posts: 117
A+'s: 1
Joined: Jan 9, 2012 18:18:11 GMT -6
|
Post by dryshave on Oct 30, 2012 16:52:26 GMT -6
A rainy week in a dusty garage...what a way to spend a vacation. I would see greater progress if I was doing this full time and the constant shape measurements from side to side is frustrating at times, but worth it when it starts to come together.. Hours sanding of bodywork completed on the tail section. Discovered bondo with glass "friggin' awesome stuff, but it's like sanding a rock. Have "safely" detached the rear turn signal piece (which will eventually be cast in brass). Came off with easily enough, but again...lots more sanding required. You can see in a couple of the later photos how I'm keeping the sides of the circle equal, works great! I've also posted a couple of pics with the fiberglass eyebrows, which I haven't cut off yet, but they will cast brass as well. The tail section is coming along nicely, I've rough sanded to 100 grit almost the entire piece and getting ready to move to wetsanding next, but will move on to finish the front grill section to the same sanding stage. You can also see where I've drilled out the holes for the tail lights. Next step is making the lens pods for the front signals. I'll have photos of those by the weekend. After the lens pods are cast in resin, I plan to put the panels aside and get back to mounting the engine to finish all the routing of fuel and rad lines, it will be the first time I've seen the complete motor in position. I need to start working on the handlebars as well, to make sure my cables still fit properly. Eating the elephant one bite at a time. Thanks for your support, when it's done I'm planning on a few road trips, will keep you guys in mind. 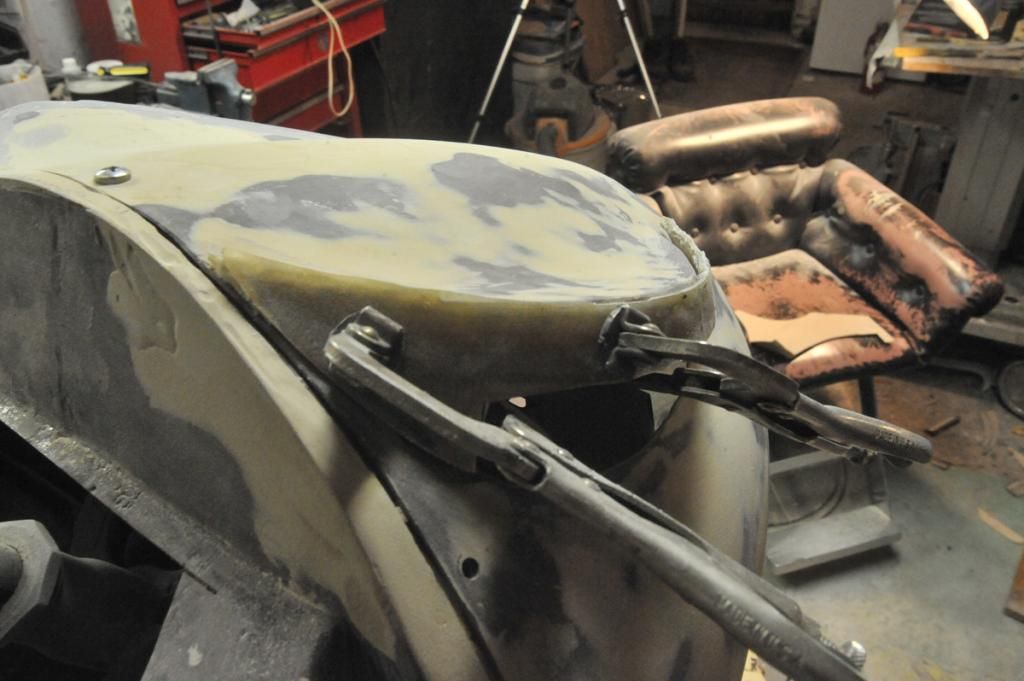 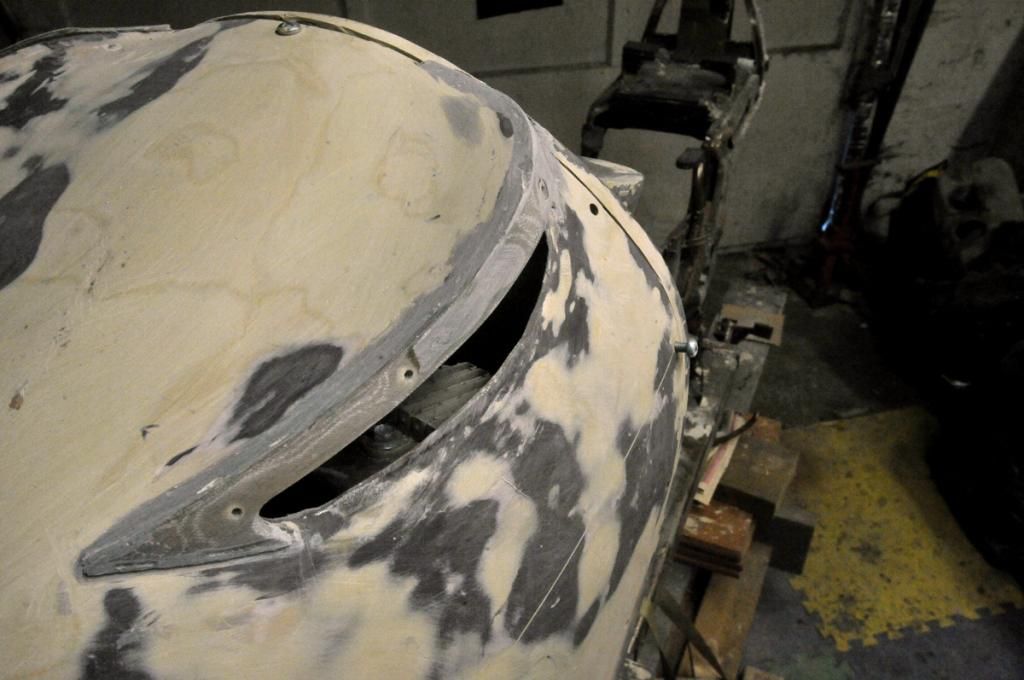 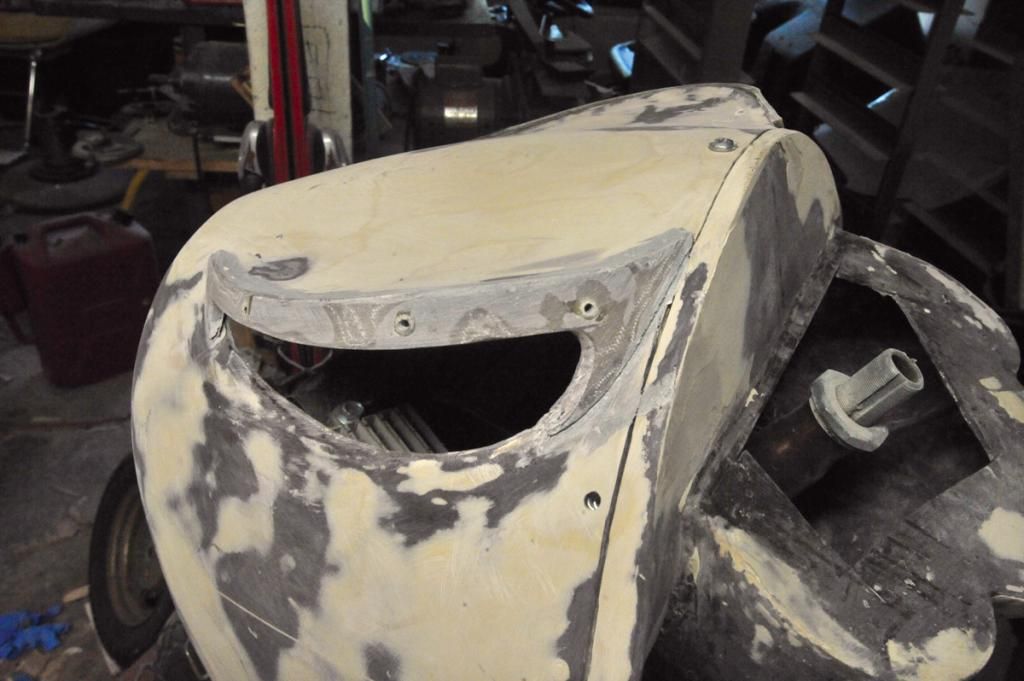 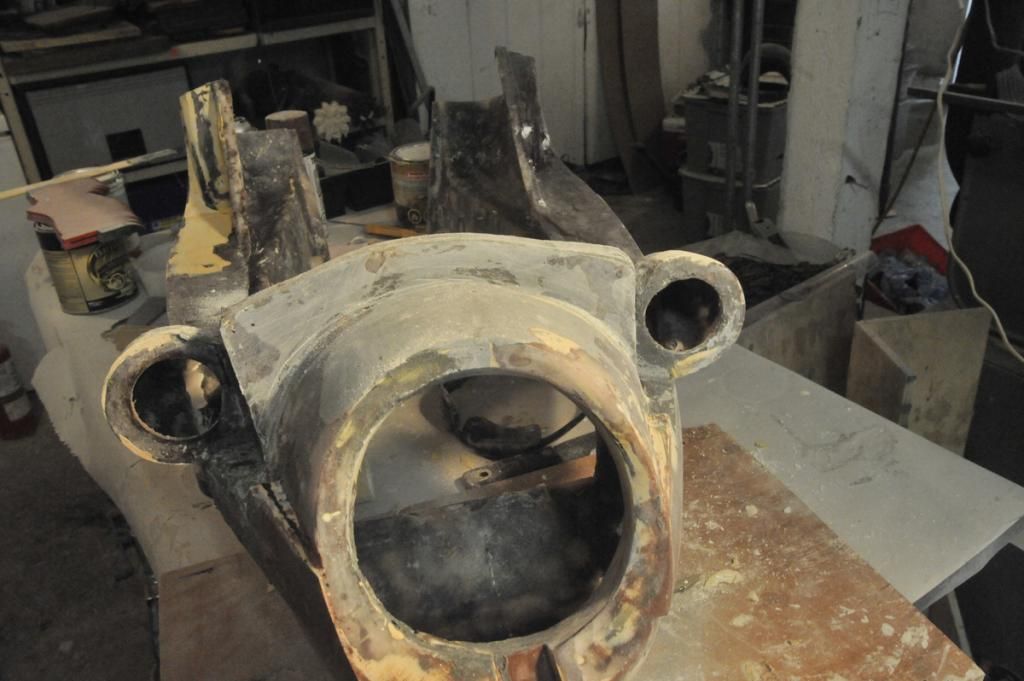 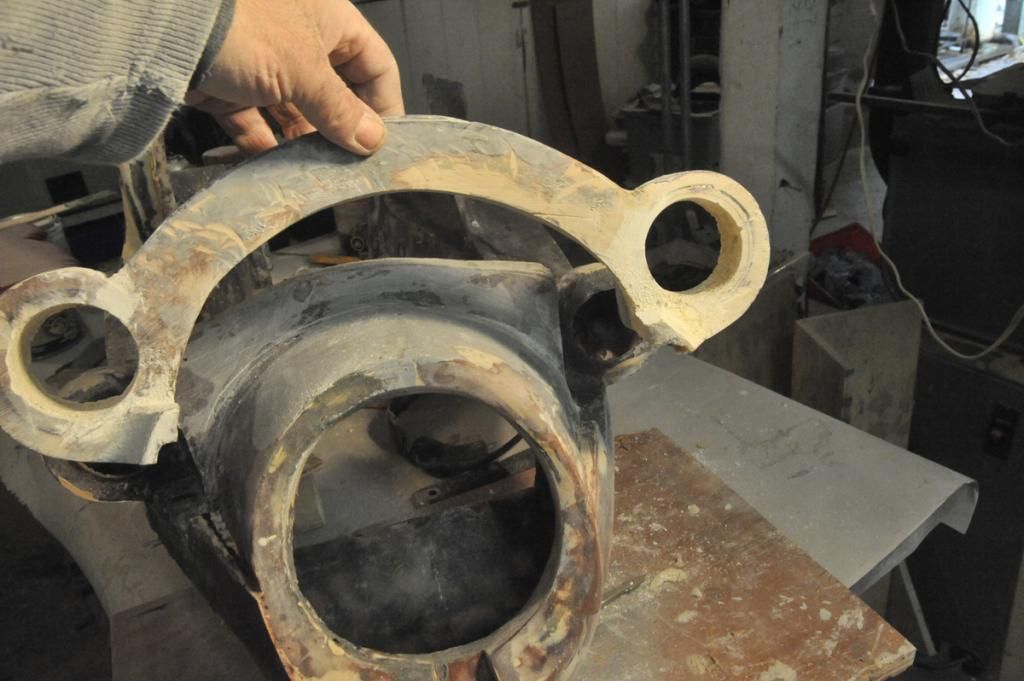 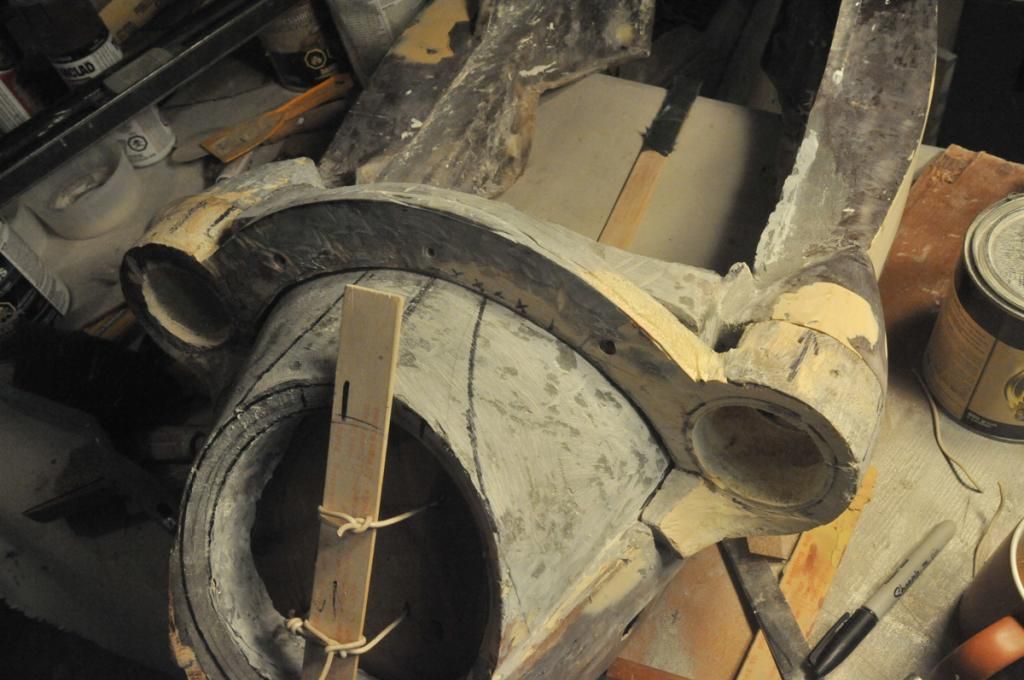 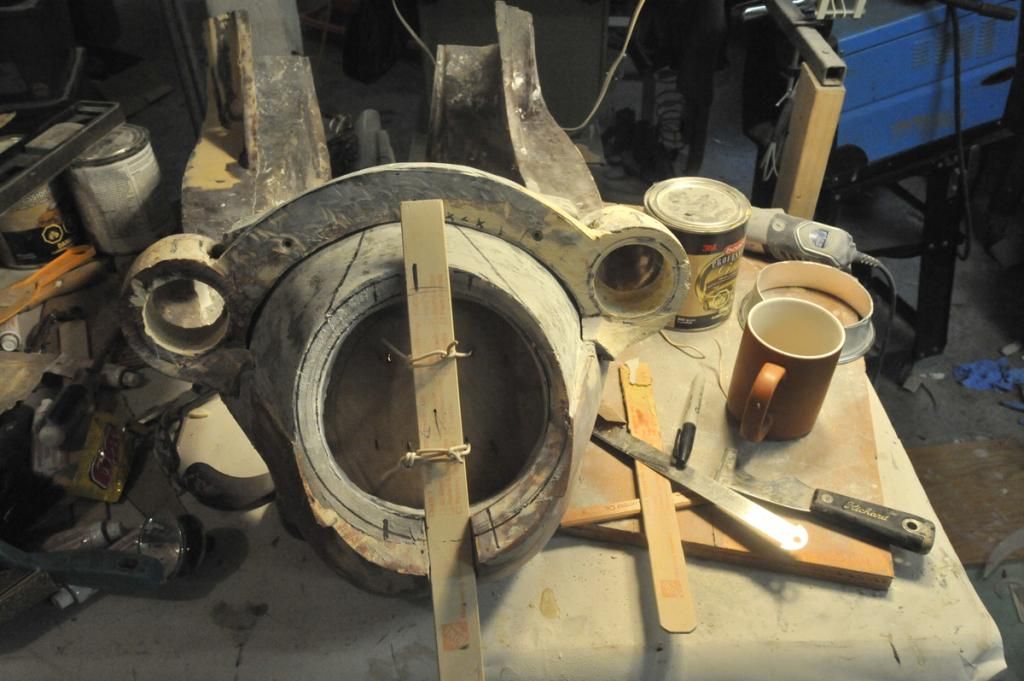 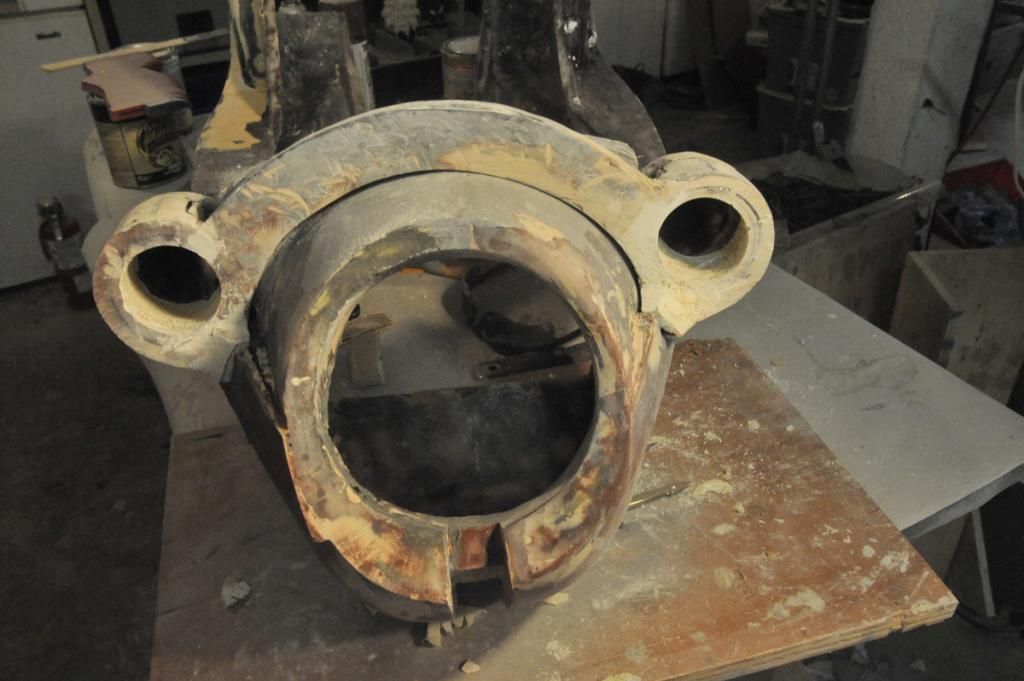 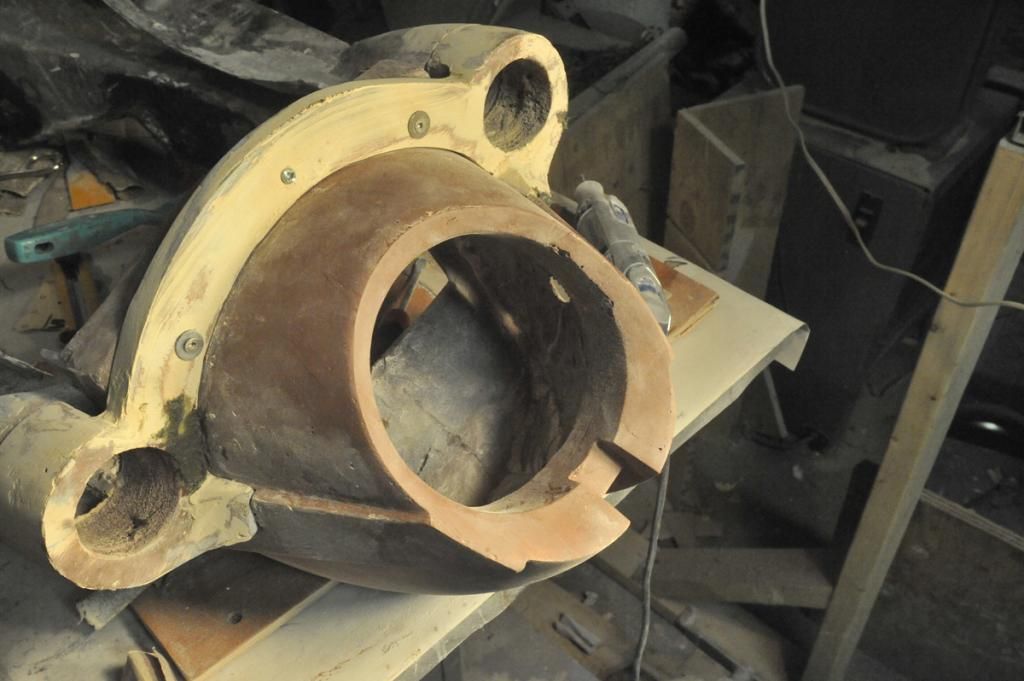 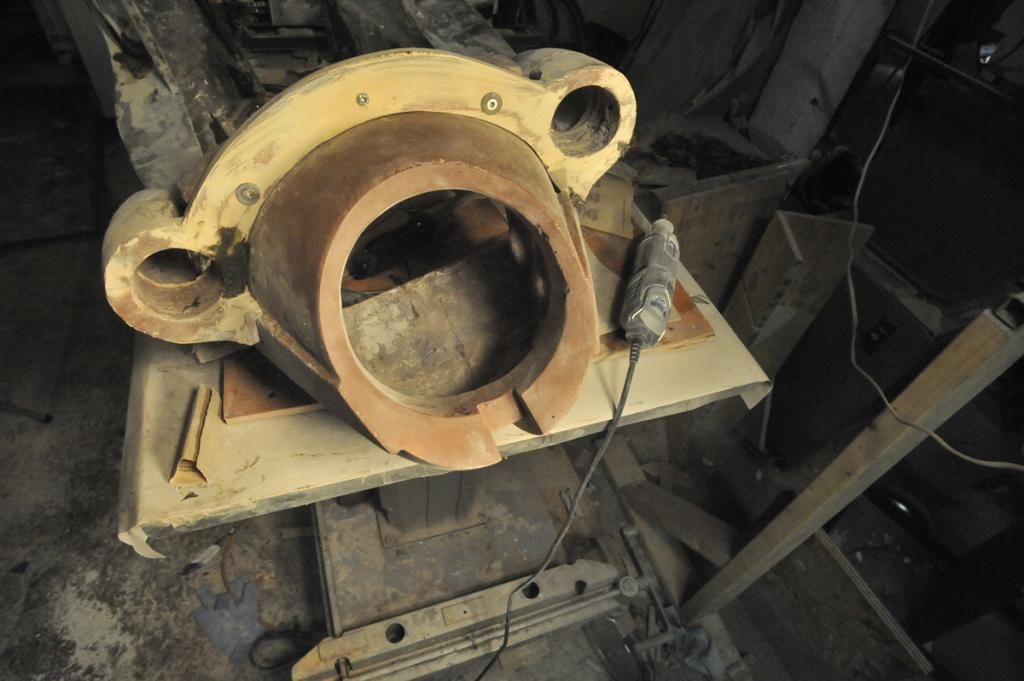 |
|
Junior
  
Currently Offline
Posts: 117
A+'s: 1
Joined: Jan 9, 2012 18:18:11 GMT -6
|
Post by dryshave on Oct 18, 2012 16:27:53 GMT -6
Have gone with the oversized CN250 head / new piston and oversized rings. I will have to check but I believe they were .005 but don't quote me. New valves and springs (am thinking about a loftier cam as well - but that's still just outside the radar for the time being Engine is back together and lookin' purdy 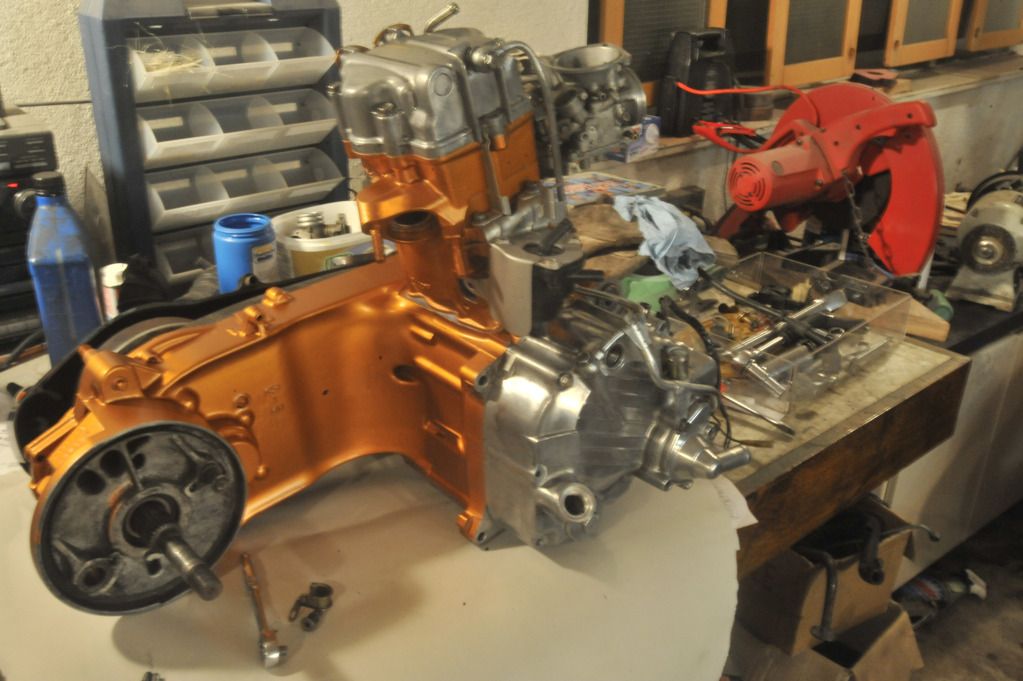 |
|
Junior
  
Currently Offline
Posts: 117
A+'s: 1
Joined: Jan 9, 2012 18:18:11 GMT -6
|
Post by dryshave on Oct 18, 2012 15:52:56 GMT -6
|
|
Junior
  
Currently Offline
Posts: 117
A+'s: 1
Joined: Jan 9, 2012 18:18:11 GMT -6
|
Post by dryshave on Oct 17, 2012 16:26:22 GMT -6
Boy, I'd sure like to get my hands on one of those...
|
|
Junior
  
Currently Offline
Posts: 117
A+'s: 1
Joined: Jan 9, 2012 18:18:11 GMT -6
|
Post by dryshave on Oct 17, 2012 16:15:43 GMT -6
|
|
Junior
  
Currently Offline
Posts: 117
A+'s: 1
Joined: Jan 9, 2012 18:18:11 GMT -6
|
Post by dryshave on Oct 12, 2012 15:38:42 GMT -6
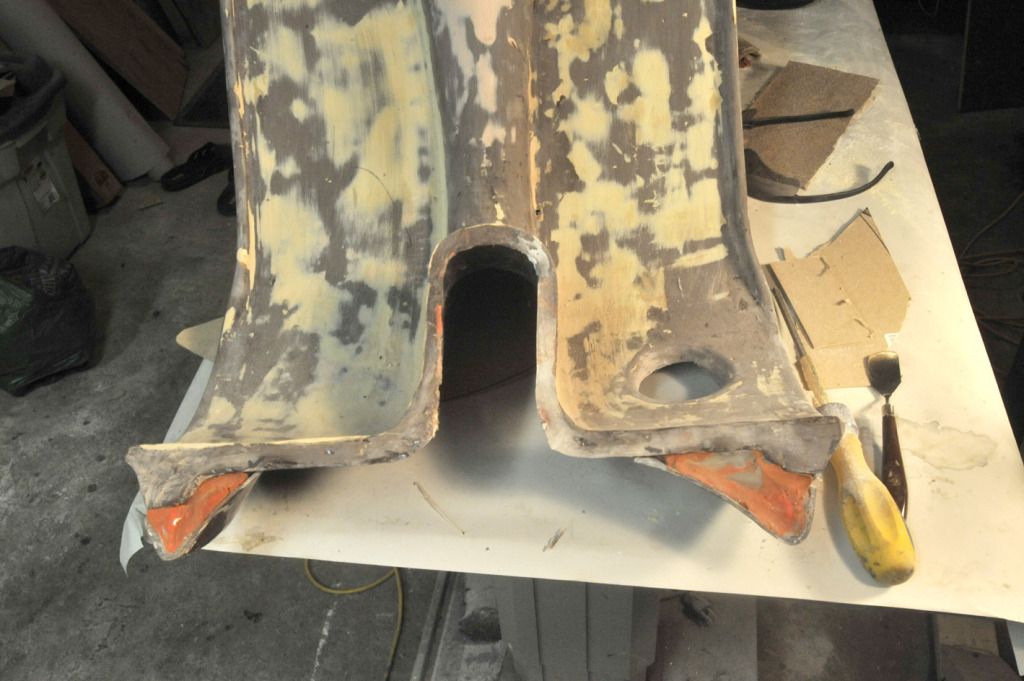 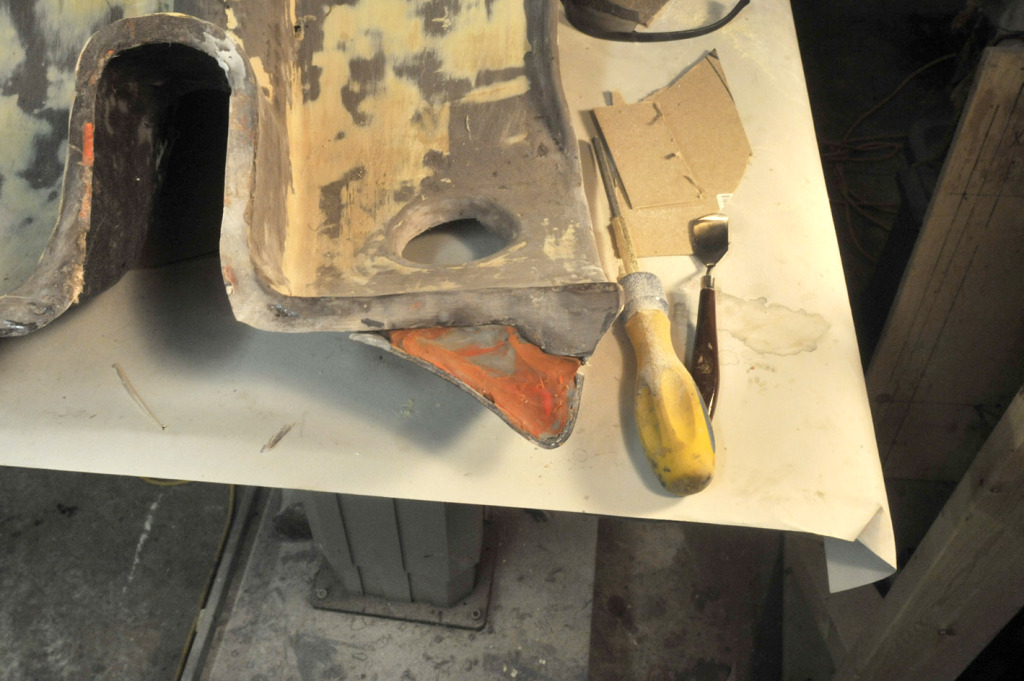 Having the plasticine around is sure handy for backspacing voids. You can see where I have blocked out the mounting plates for the front cowl to kick plate. I plan to glass over the plasticine (including the tab - seen on top piece). I had the brilliant idea to glass in a pop rivet mounting nut (used previously on the cowl - awesome invention) which I can then bolt right to the floorpan. Pics of the completed assembly will tell the story better than my description. Going to be a busy weekend inside, now that the rain and fall have finally arrived to the west coast. Decided not to paint the engine block, instead I'm just going to buff it with aluminum polish and a buffing attachment on a dremmel, can't redesign everything... |
|
Junior
  
Currently Offline
Posts: 117
A+'s: 1
Joined: Jan 9, 2012 18:18:11 GMT -6
|
Post by dryshave on Oct 11, 2012 16:40:33 GMT -6
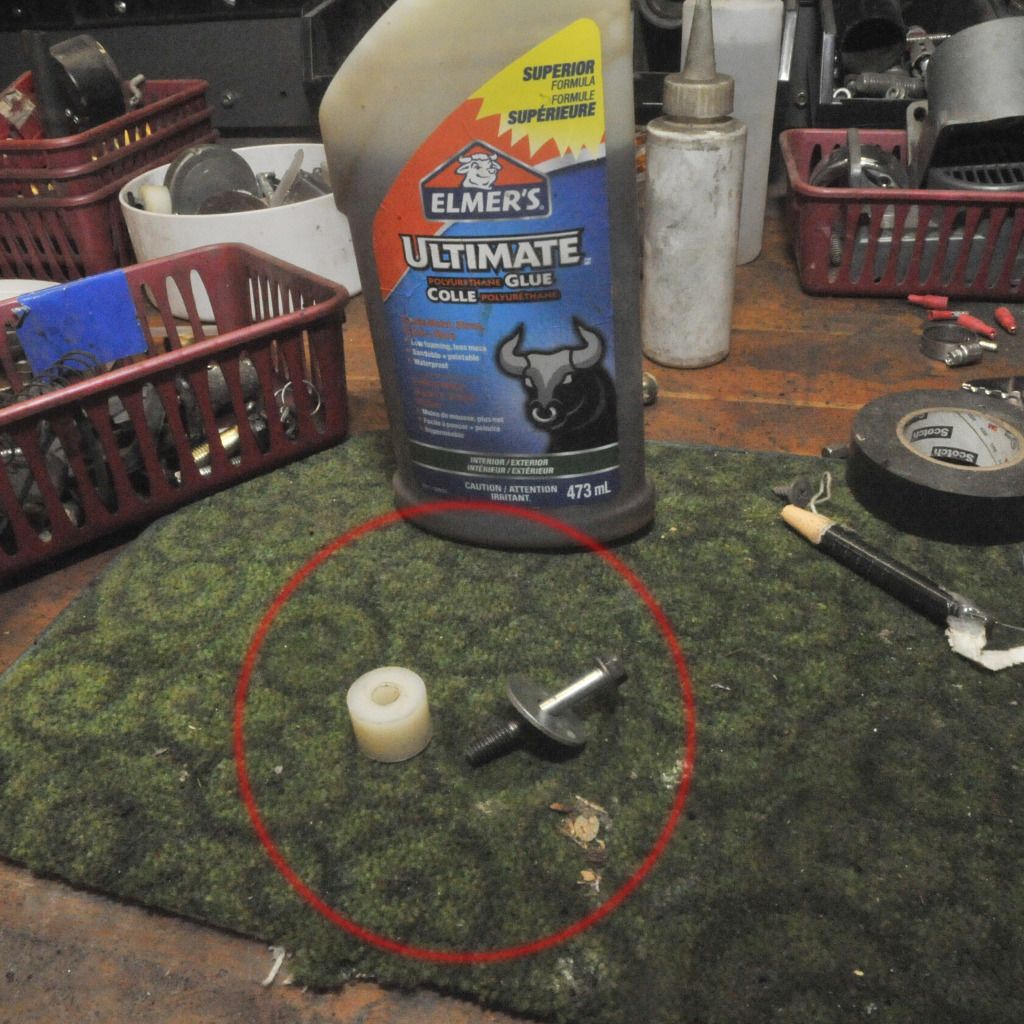 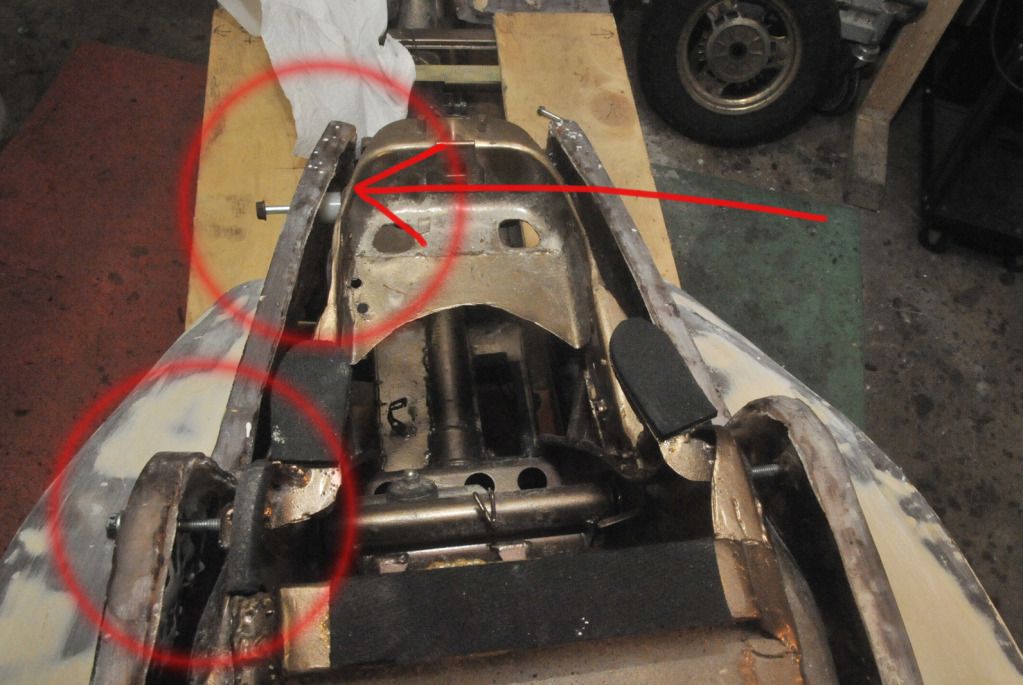 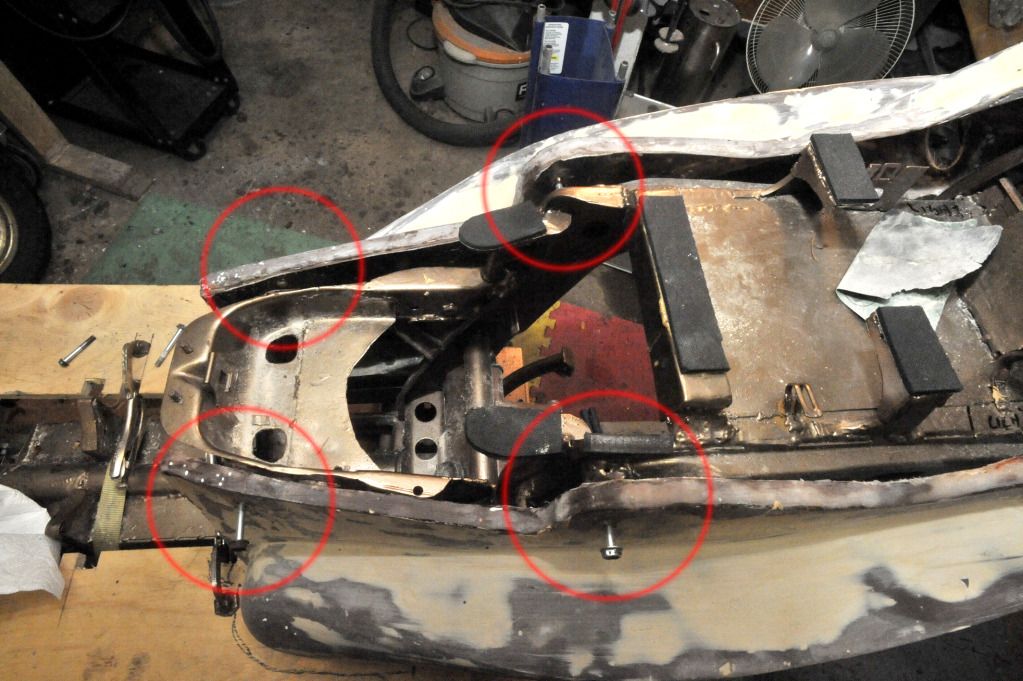 Summer's over.... and I'm back in the garage. Have glassed the mounting tabs into position and secured the rear tail section to the frame. I have used plastic spacers which I've collected (to build the support block) and glassed a large washer on the outer skin of the body (to add strength) as well. I used polyurethane glue to lock the blocks in place, then glassed all the way around it. No pics yet, but am taking some tomorrow morning. I've locked down the cast piece of white density foam and getting ready to start back in with the bondo. I've been checking L and R tolerances constantly and so far so good. The panels sit well and are relatively even... nothing bodywork won't fix. Next on to casting the mounting position for the front kickplate, I'll update that as well when I take pics over the weekend. Work now will be slow and laborious as the stage moves into final shaping and sanding on the body panels. Engine is back and I'm buttoning it up and getting ready to mount it back into the frame. Wiring harness done... Electronics mounted... Have to resize the battery tray (used a battery from a CH150 - DOH!) and looking to reposition the upper shock mounts to accommodate the phat rear tire that came with the Helix. Still considering going to the Helix front end and utilizing the 13" front wheel with disk brakes... but it's not in my radar yet. Good to be back in the shop... |
|
Junior
  
Currently Offline
Posts: 117
A+'s: 1
Joined: Jan 9, 2012 18:18:11 GMT -6
|
Post by dryshave on Sept 25, 2012 17:12:42 GMT -6
Getting the motor back on friday, so I guess it's time to get back in the garage.
Sorry not much work done over the summer, busy gardening and building a greenhouse. But now that the engine is back in the mix... it's time to get busy with the bodywork. Pics of progress will be posted in a couple of weeks.
Working on how the panels attach to the frame and making sure that everything lines up correctly.
Cheersh!
|
|
Junior
  
Currently Offline
Posts: 117
A+'s: 1
Joined: Jan 9, 2012 18:18:11 GMT -6
|
Post by dryshave on Aug 30, 2012 21:06:03 GMT -6
|
|
Junior
  
Currently Offline
Posts: 117
A+'s: 1
Joined: Jan 9, 2012 18:18:11 GMT -6
|
Post by dryshave on Aug 9, 2012 18:28:26 GMT -6
Great suggestion justbuggin2... I had to google the term and I agree. It will look pretty killer done to the dash.
I've poured the plaster cast for the tail lights and plan to pull it tomorrow, then the whole make a positive - finish it - and take that to the friends at the foundry for casting.
Just got a call from the local honda centre and the cylinder has been bored (1 over) and new pistons/rings and all the other goodies will be back to me early next week. I am so looking forward to getting the engine bolted back together.
More pics next week.
|
|
|
|
Junior
  
Currently Offline
Posts: 117
A+'s: 1
Joined: Jan 9, 2012 18:18:11 GMT -6
|
Post by dryshave on Jul 11, 2012 16:46:52 GMT -6
|
|
Junior
  
Currently Offline
Posts: 117
A+'s: 1
Joined: Jan 9, 2012 18:18:11 GMT -6
|
Post by dryshave on Jul 11, 2012 16:15:53 GMT -6
I agree. I wasn't thinking that it was possible to swap them around, but trying to figure out if the domed piston was one of the reasons for the Helix's greater engine power. Have taken them in to be honed and valves re-set, expect them back by the weekend - engine's coming together. Just need the gasket kit and steam/punk will soon be ready for an engine test. Might be time to focus on the brakes.... Thanks for your info, it's learning something everyday.
|
|

