Junior
  
Currently Offline
Posts: 117
A+'s: 1
Joined: Jan 9, 2012 18:18:11 GMT -6
|
Post by dryshave on Oct 17, 2012 16:15:43 GMT -6
|
|
Junior
  
Currently Offline
Posts: 117
A+'s: 1
Joined: Jan 9, 2012 18:18:11 GMT -6
|
Post by dryshave on Oct 18, 2012 15:52:56 GMT -6
|
|
|
|
Post by madcollie on Oct 24, 2012 19:45:35 GMT -6
Still here and still following Steam.  Half of me want's to you to hurry up and get it done and the other half is screaming "take your time". Want to see the finished project but want you to do all of it right. Can't wait to see how this bike turns out!  Take all the time you need and have the coolest one-of-a-kind scoot out there! Dude, you rock! M/C |
|
|
|
Post by justbuggin2 on Oct 24, 2012 23:26:37 GMT -6
yea i can just see it done but want you to do it right looks great so far and will keep checking back to see more
|
|
|
|
Post by richardthescooter3 on Oct 29, 2012 17:05:25 GMT -6
Awesome, can't wait for the finished product  |
|
Junior
  
Currently Offline
Posts: 117
A+'s: 1
Joined: Jan 9, 2012 18:18:11 GMT -6
|
Post by dryshave on Oct 30, 2012 16:52:26 GMT -6
A rainy week in a dusty garage...what a way to spend a vacation. I would see greater progress if I was doing this full time and the constant shape measurements from side to side is frustrating at times, but worth it when it starts to come together.. Hours sanding of bodywork completed on the tail section. Discovered bondo with glass "friggin' awesome stuff, but it's like sanding a rock. Have "safely" detached the rear turn signal piece (which will eventually be cast in brass). Came off with easily enough, but again...lots more sanding required. You can see in a couple of the later photos how I'm keeping the sides of the circle equal, works great! I've also posted a couple of pics with the fiberglass eyebrows, which I haven't cut off yet, but they will cast brass as well. The tail section is coming along nicely, I've rough sanded to 100 grit almost the entire piece and getting ready to move to wetsanding next, but will move on to finish the front grill section to the same sanding stage. You can also see where I've drilled out the holes for the tail lights. Next step is making the lens pods for the front signals. I'll have photos of those by the weekend. After the lens pods are cast in resin, I plan to put the panels aside and get back to mounting the engine to finish all the routing of fuel and rad lines, it will be the first time I've seen the complete motor in position. I need to start working on the handlebars as well, to make sure my cables still fit properly. Eating the elephant one bite at a time. Thanks for your support, when it's done I'm planning on a few road trips, will keep you guys in mind. 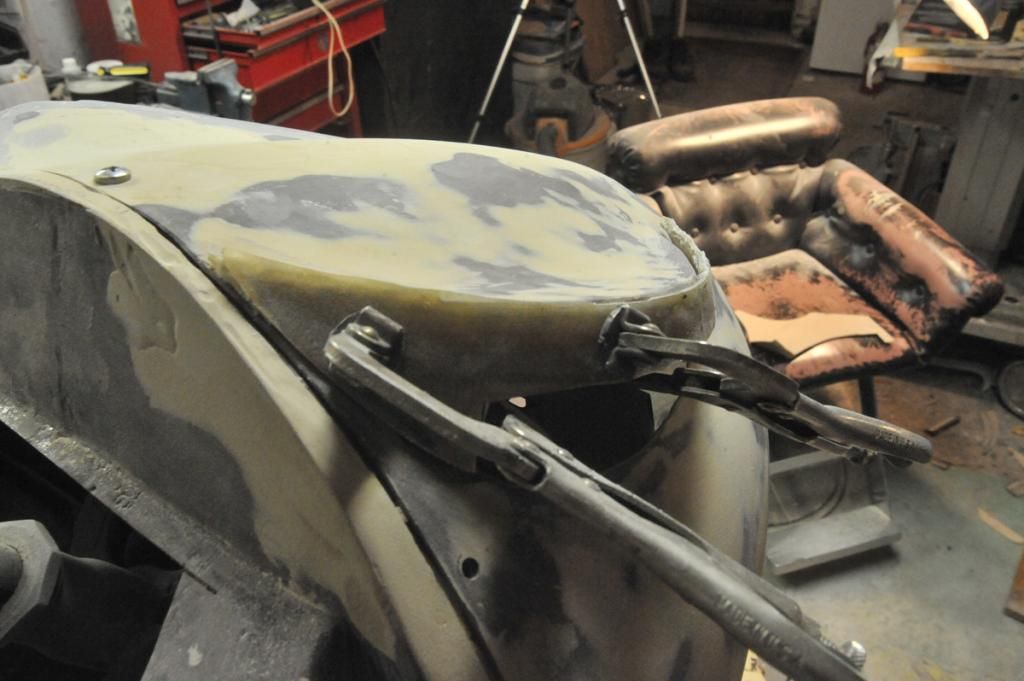 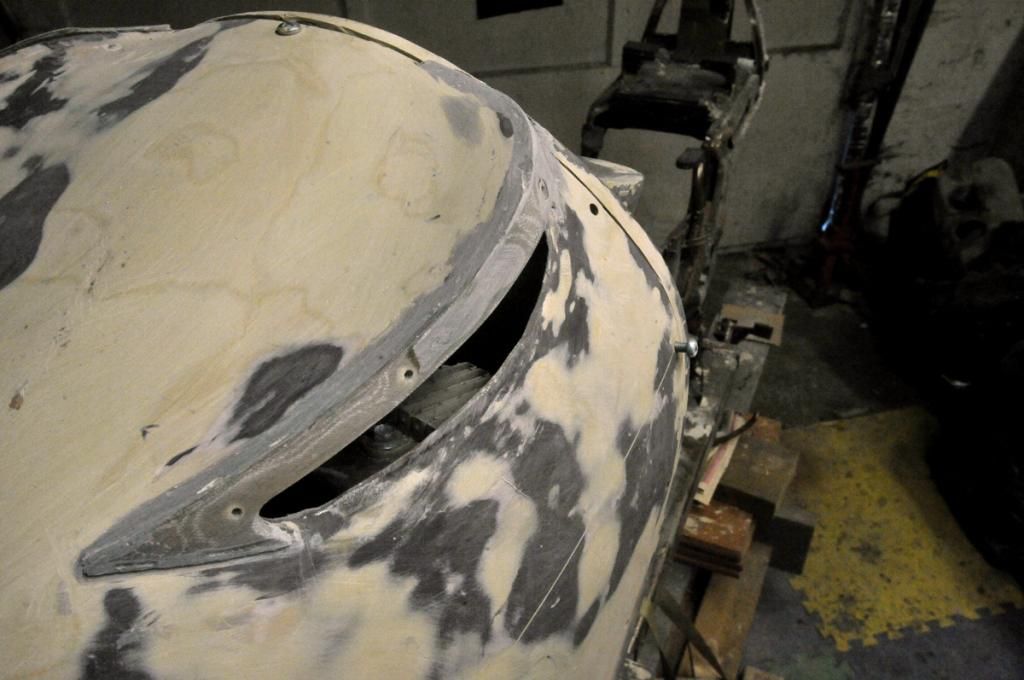 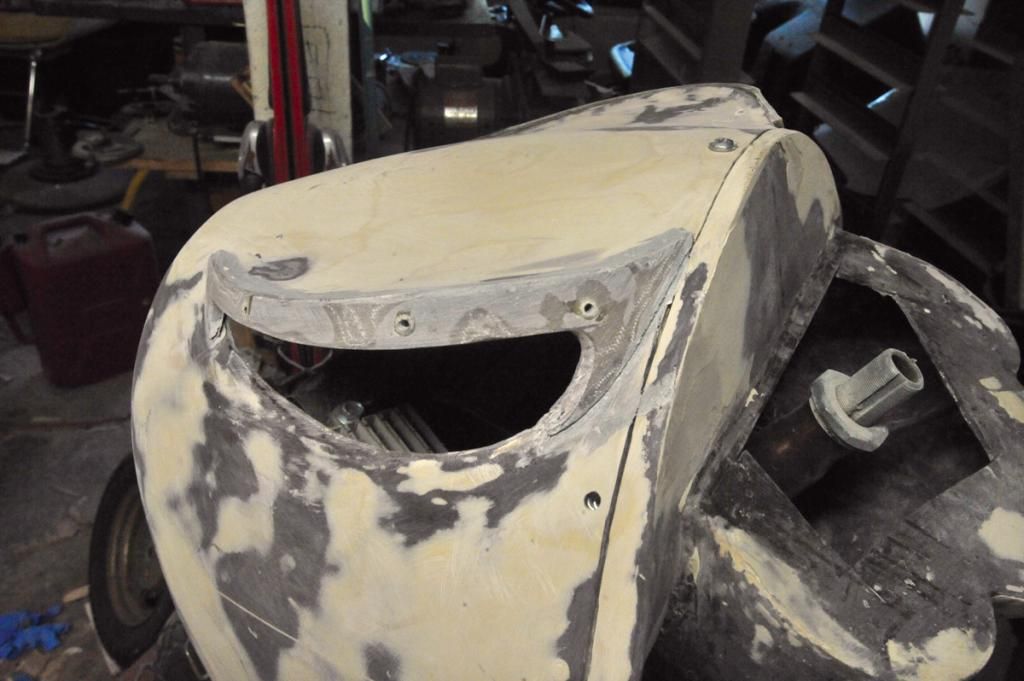 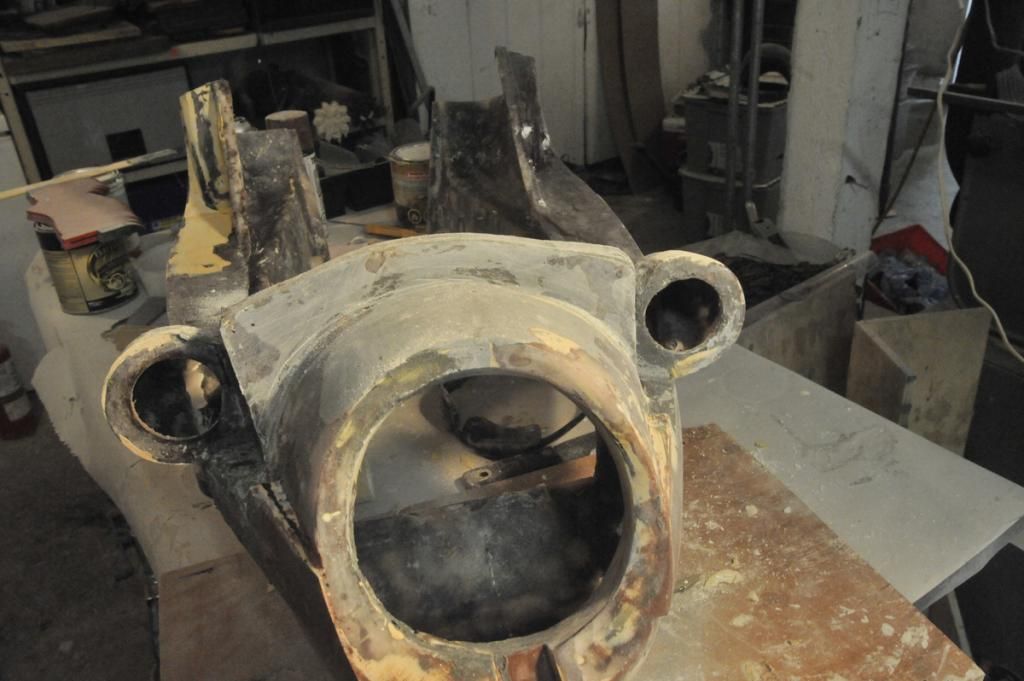 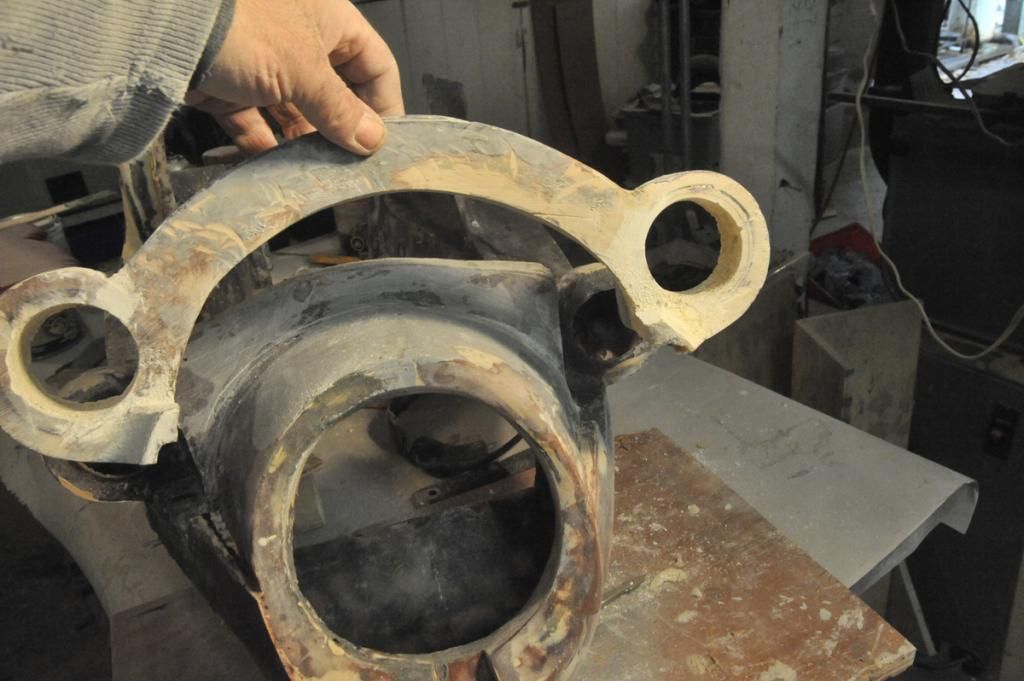 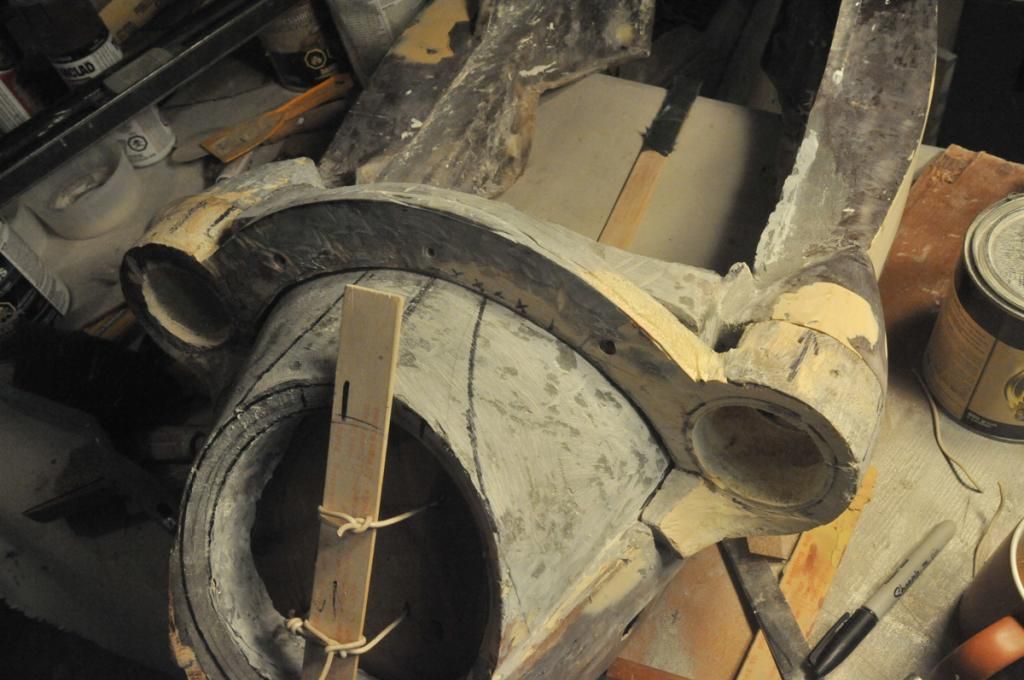 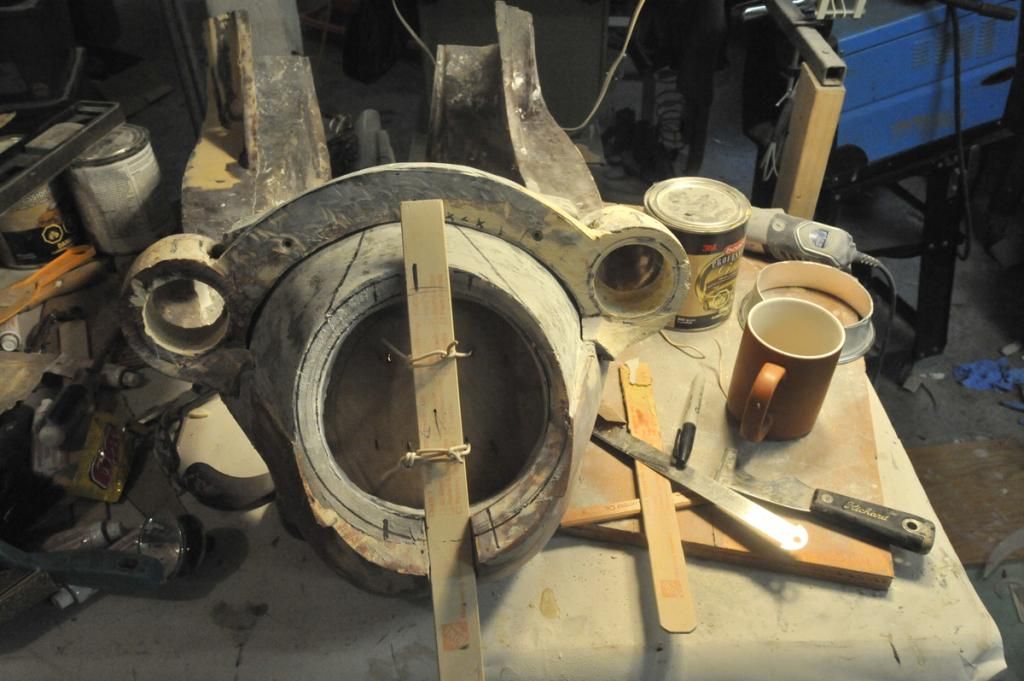 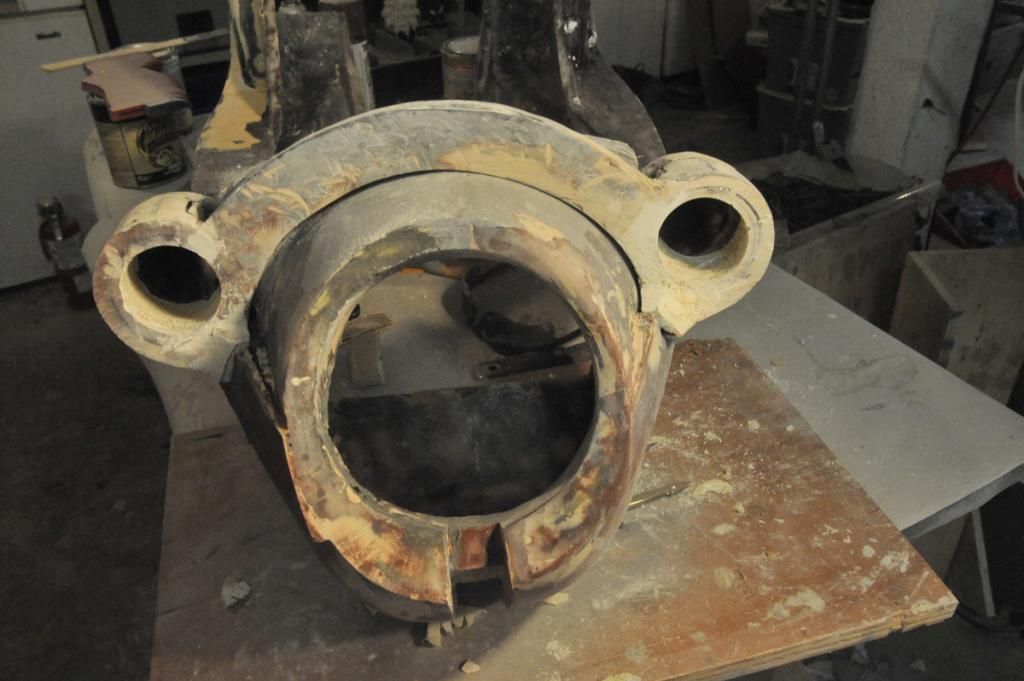 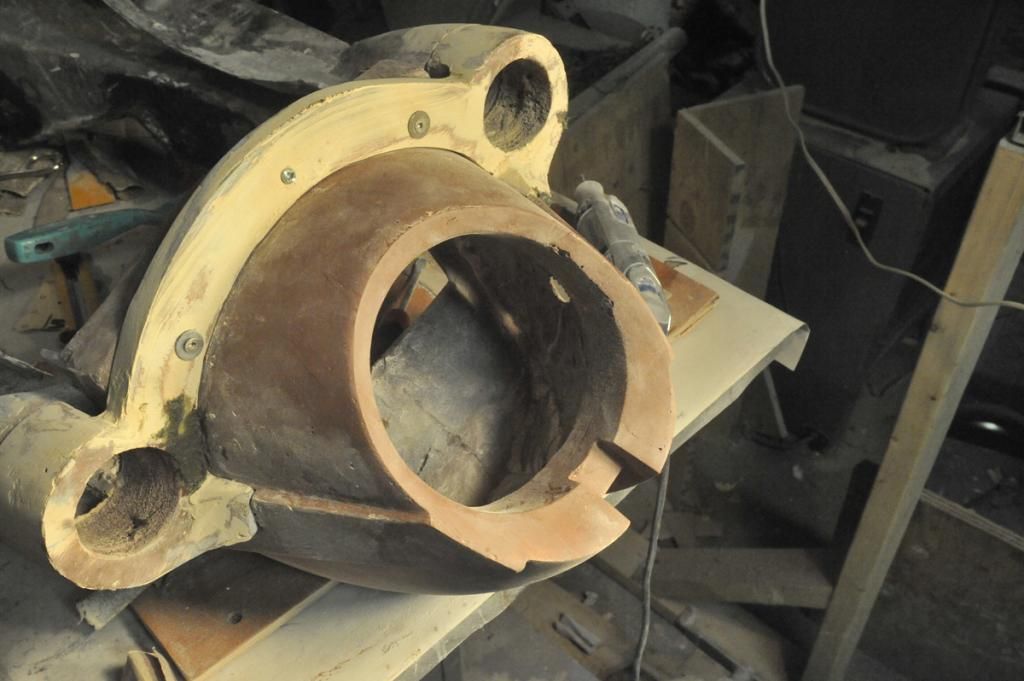 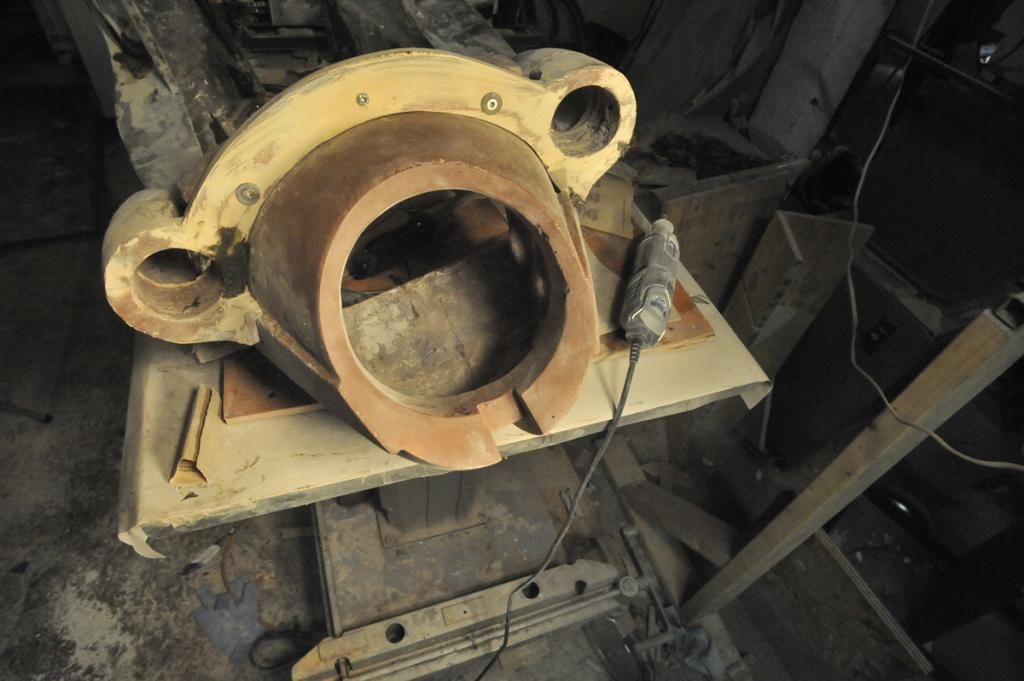 |
|
|
|
Post by justbuggin2 on Oct 30, 2012 21:25:40 GMT -6
i wish i had a place to work on such a project
|
|
Junior
  
Currently Offline
Posts: 117
A+'s: 1
Joined: Jan 9, 2012 18:18:11 GMT -6
|
Post by dryshave on Nov 7, 2012 17:28:32 GMT -6
|
|
Junior
  
Currently Offline
Posts: 117
A+'s: 1
Joined: Jan 9, 2012 18:18:11 GMT -6
|
Post by dryshave on Nov 7, 2012 17:30:29 GMT -6
There's still lots of rough edges and spots to fill and fix, but the big picture is roughed in, it's all a matter of time and determination.
|
|
|
|
Post by justbuggin2 on Nov 8, 2012 2:45:24 GMT -6
keep it up you will be done before you know it and then you will find something else to do to it
|
|
Junior
  
Currently Offline
Posts: 117
A+'s: 1
Joined: Jan 9, 2012 18:18:11 GMT -6
|
Post by dryshave on Nov 20, 2012 19:26:51 GMT -6
Another week of "staycation" and back into the garage - it sucks outside anyway and it's too early to go skiing, besides if I hang around the house too long, I may end up hanging christmas lights like justbuggin2. The first stage of sanding is complete (next round 180-240) with areas around the fuel tank not fully sanded, until I had sorted out the gas tank situation. Rather than go with a custom tank (can't afford it right now) I have decided to go with the helix tank in a modified position, it also solves my battery position problem too. I've moved the electronic fuel pump up under the seat and have re-routed the rad lines directly under the tank (much nicer looking and easier to access). I've fabricated a pattern for the tank cover out of plastic and heavy cardboard (which I use to cut templates from) and am satisfied with the result so far - guess what... it's back to plasticine and fiberglass (at least I know that it'll be the last piece to cast). The tail piece looks sweet, you can kind of see it in one of the pics. I wanted to take better photos of the front piece, but couldn't justify, putting it all back together just for one pic. I've cut off the old mounts for the light bulb connectors (rear) and glassed them into the tailpiece (again more pics later this week). They look great and work great, the old bulbs connectors lock in just like they should. The brows are done and the lens molds are ready to go for their first vacuum size test, I've got a couple pics of them attached. Once the fit is perfected, they will be molded in clear amber ABS (will be sure to take pics of the whole process, cause this is gonna be cool) As mentioned the brow is ready to go to the brass guy and so is the tail light section. You can also see in a couple pics, the mounting tabs are starting to take shape too. I've changed the deck around the fuel tank, deciding to weld the entire piece to the frame (not the tank see mounting tabs - just the rails), there wasn't any reason to have the rails removable for any reason... DOH! should have cut out the slots for the rad lines and the wiring harness BEFORE I welded it into place... There's some more welding clean up to do (once everything is fitted) I'll take it all apart and flip the frame over for final clean up and then final paint. I've got the rear brake linkage finished and coming up with a brake line that is 18" longer than the original (still working on that, but now that I've got the clearance. (maybe even go with right and left hand brakes) 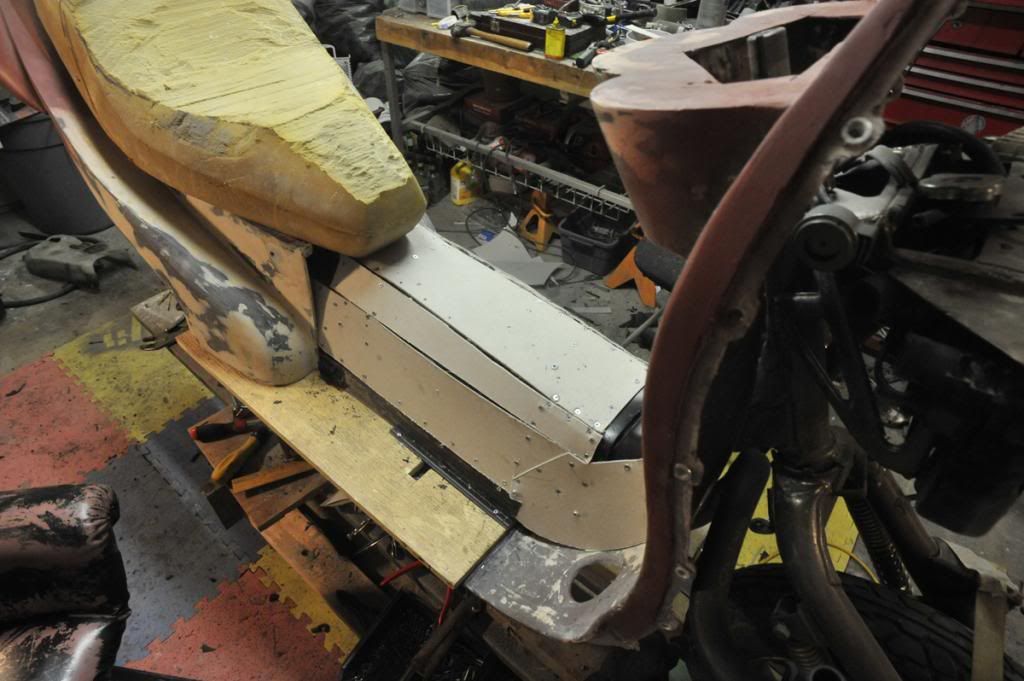 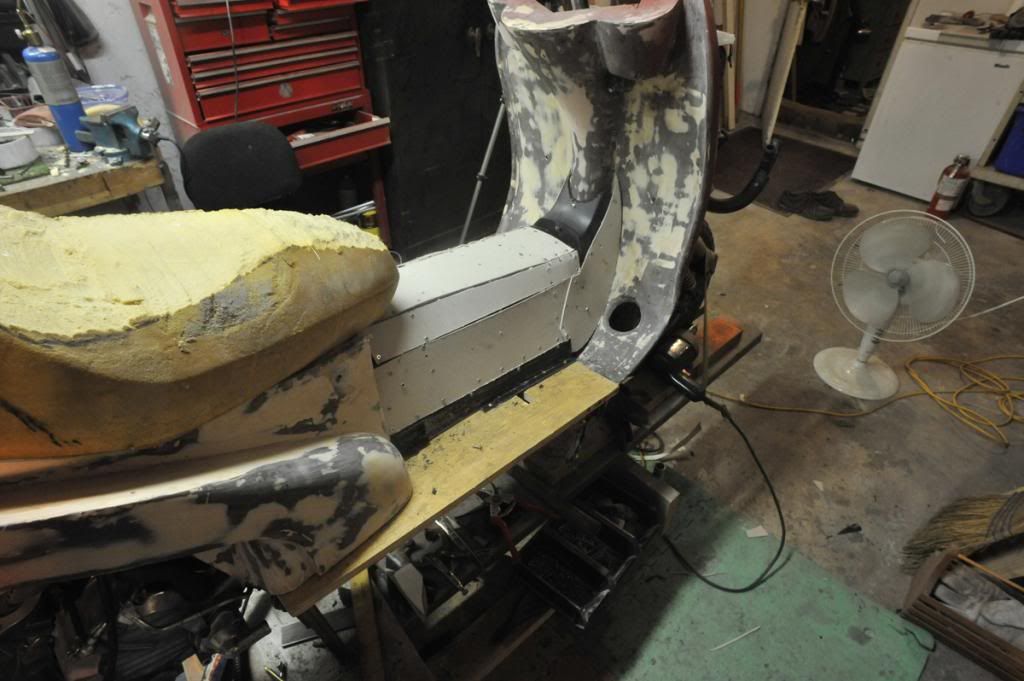 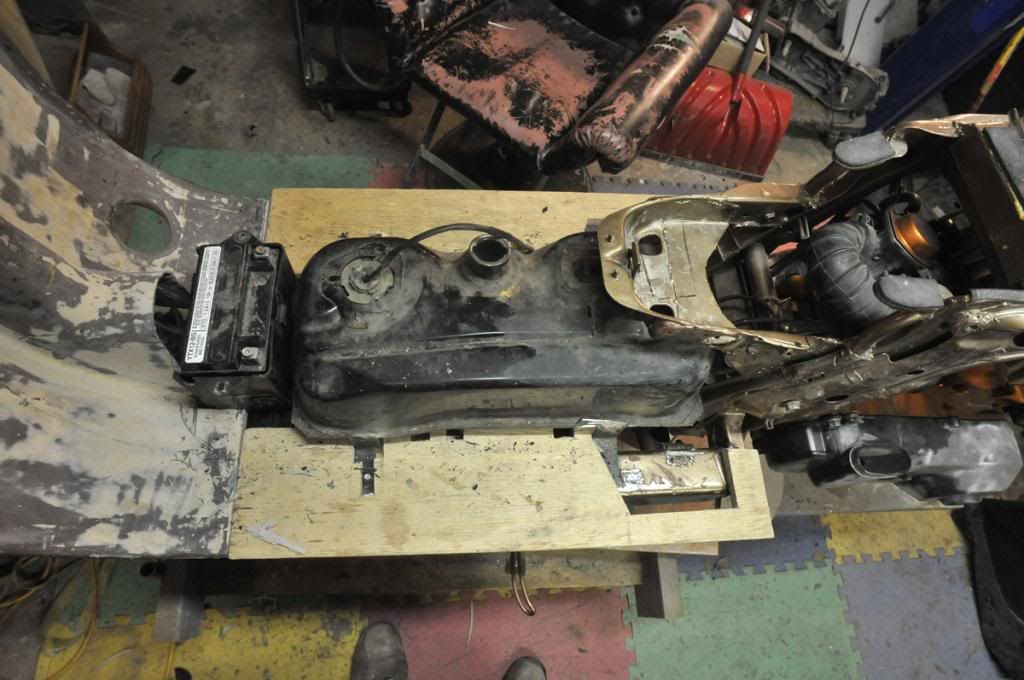 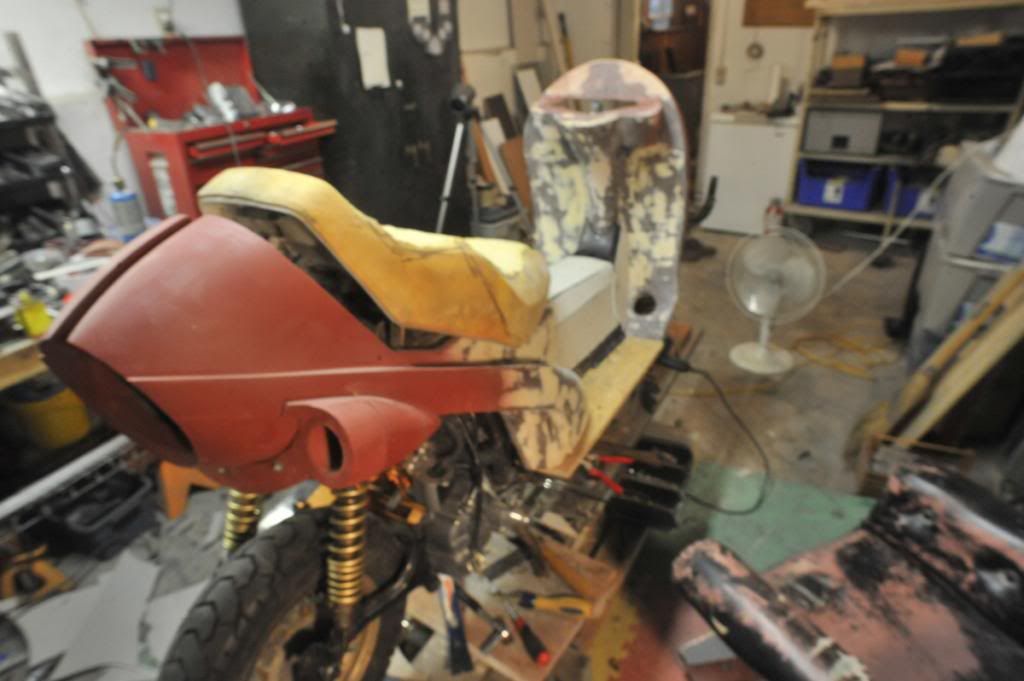 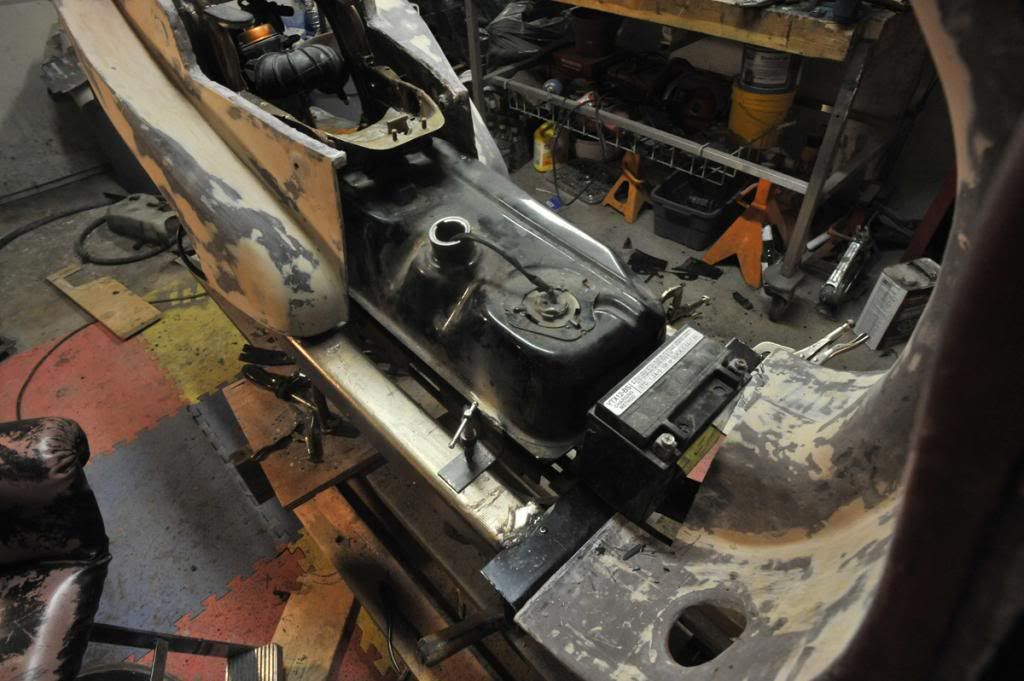 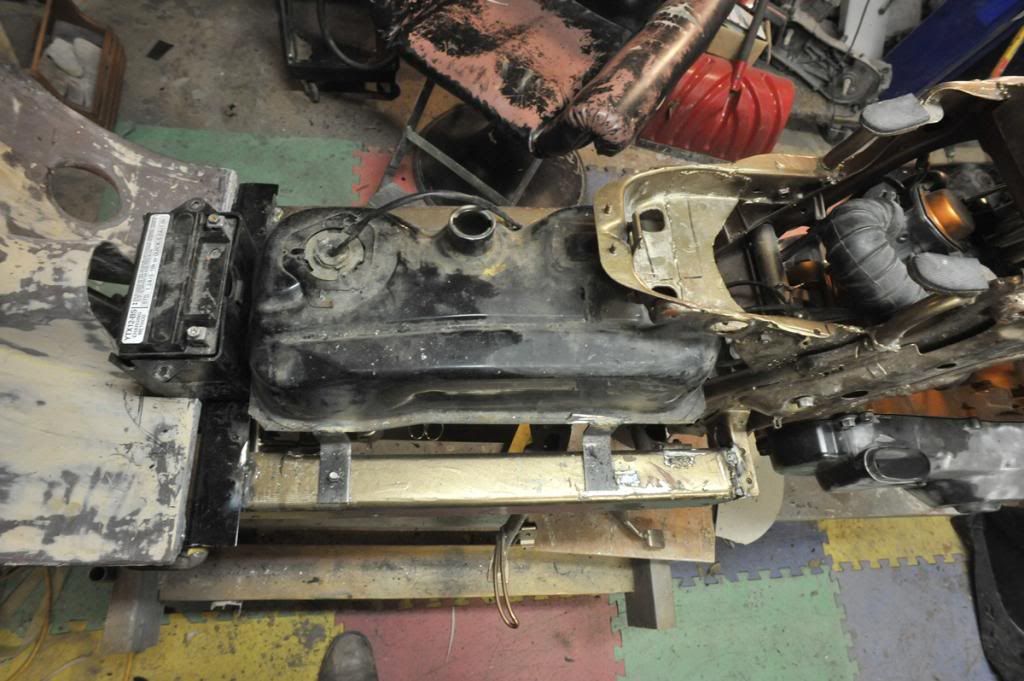 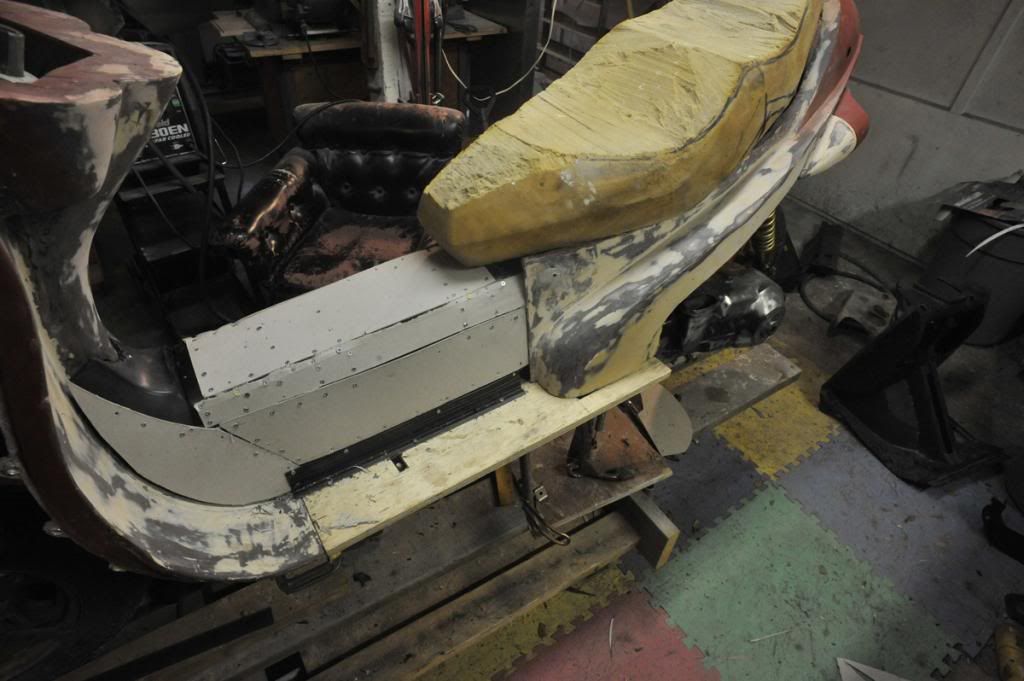 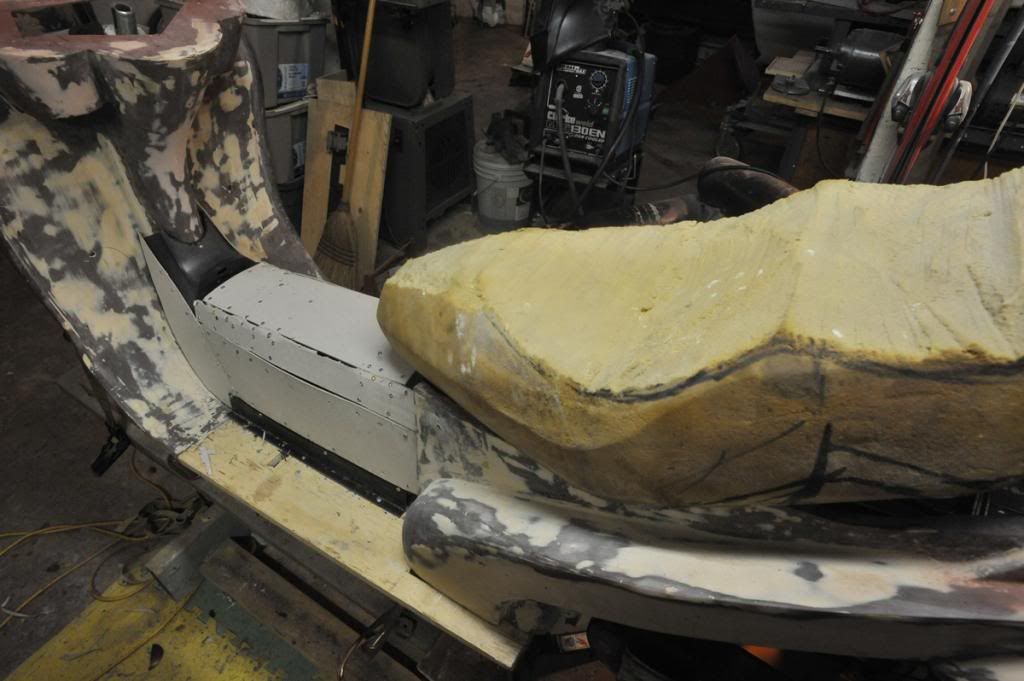 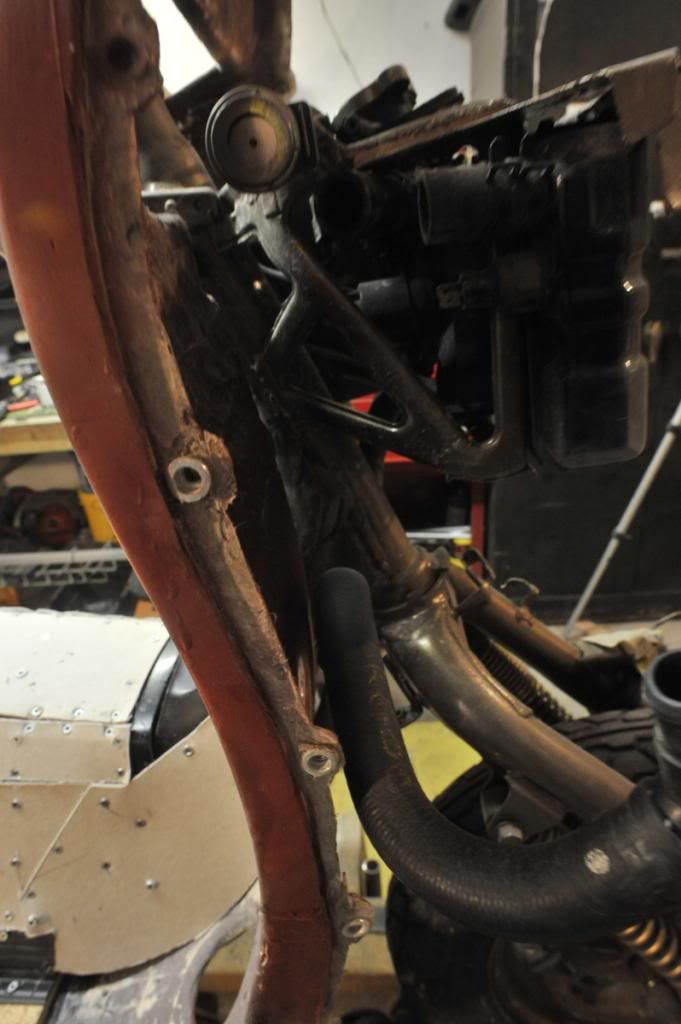 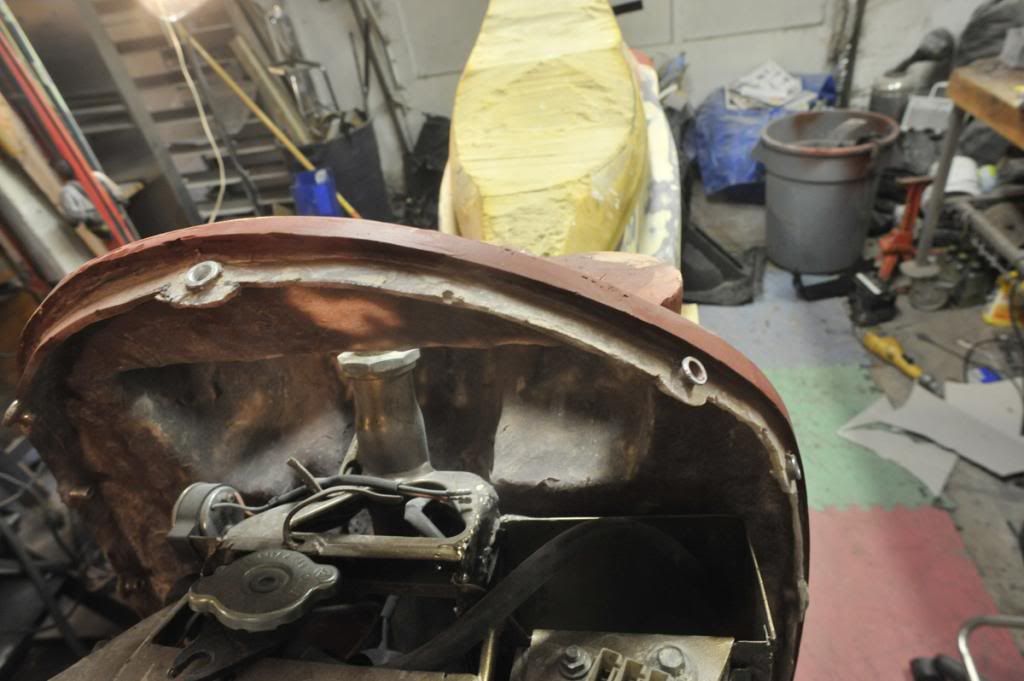 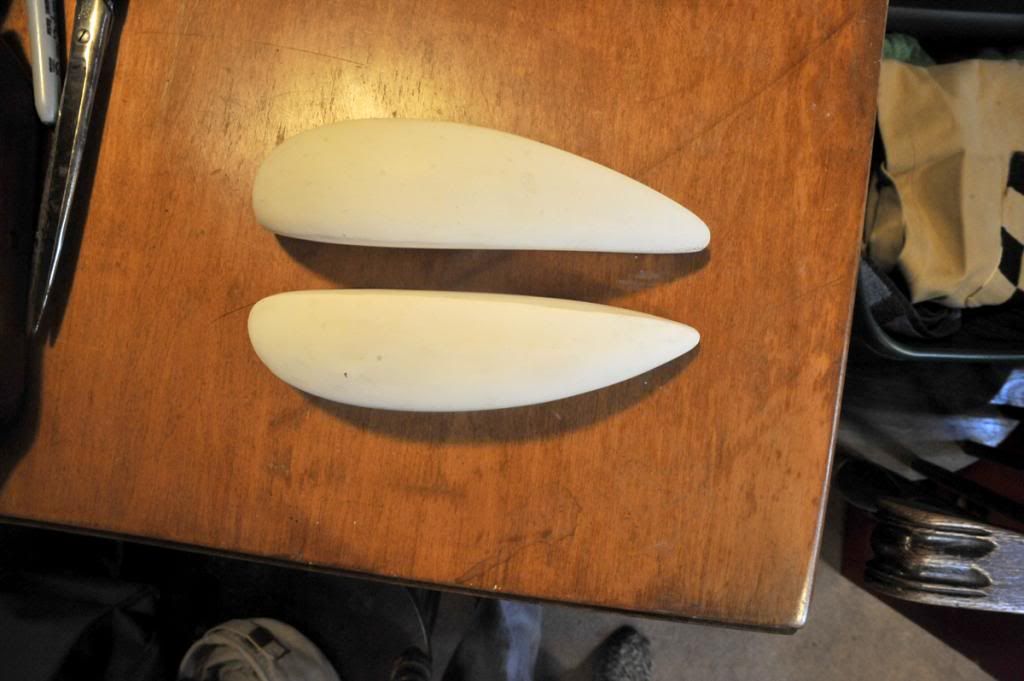 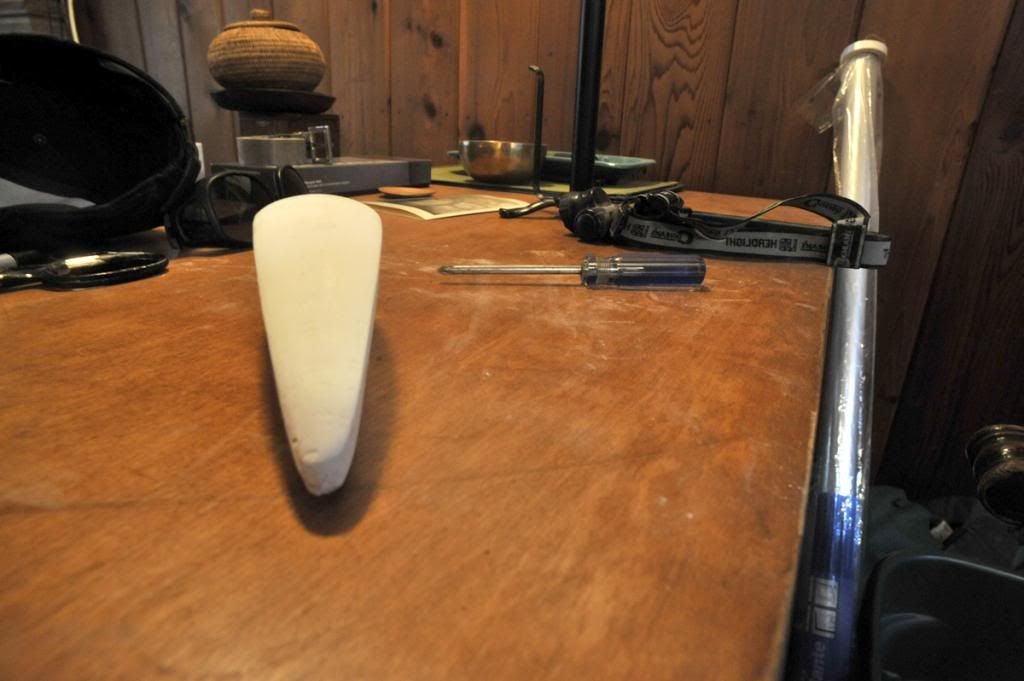 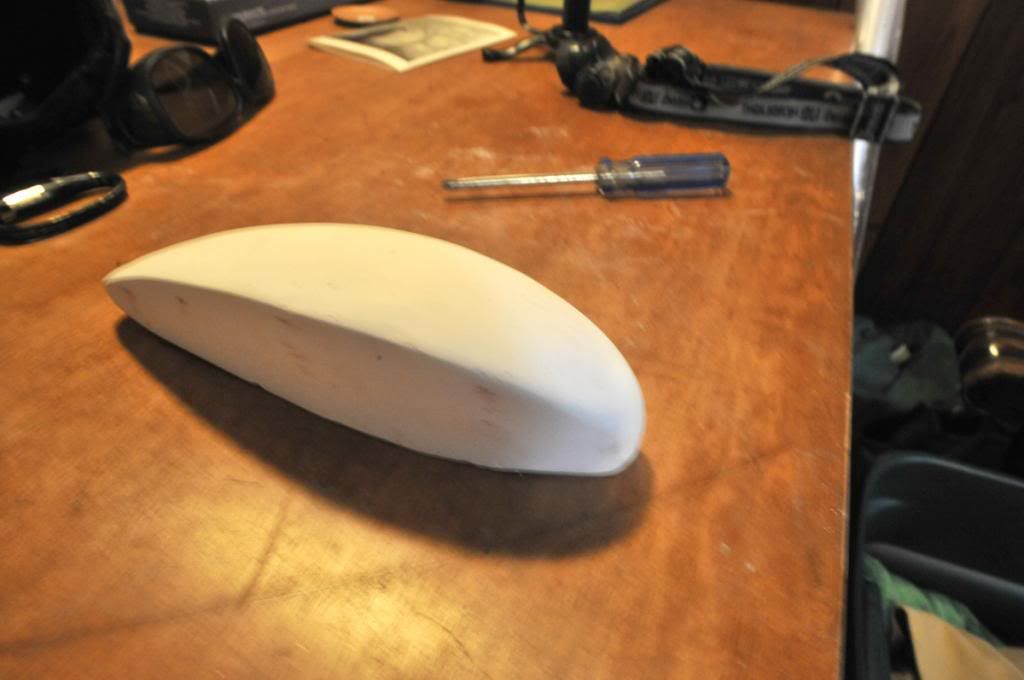 |
|
Junior
  
Currently Offline
Posts: 117
A+'s: 1
Joined: Jan 9, 2012 18:18:11 GMT -6
|
Post by dryshave on Nov 20, 2012 19:28:46 GMT -6
... also have assembled the modified foot brake lever (used a helix pad) will post pics later
|
|
|
|
Post by justbuggin2 on Nov 21, 2012 0:58:02 GMT -6
you must not have seen my new project looks like you are getting there i have gotting my project close to being done for now i will be driving it to see my daughter for christmas down in outh Fl
|
|
Junior
  
Currently Offline
Posts: 117
A+'s: 1
Joined: Jan 9, 2012 18:18:11 GMT -6
|
Post by dryshave on Dec 4, 2012 21:12:46 GMT -6
justbuggin2 - are you talking about your christmas lights or your new carwash  Here's the new fuel tank cover in mold form... followed by the actual cast piece. You can see where I've cut out access for the battery (will eventually be hinged) and the main feature - handy cup holder !!!. It's tough lining up the three cast sections, but it's within tolerances. I've also cut out the running boards out of fir (plan to wrap in copper sheathing) and getting ready for final bodywork. Will have to take time off for christmas, but will post another update before then. I hope to have an electronics/run test sometime early february (ordering the Performance muffler and universal antique gauges - mid january) and hoping to be ready for paint by march... busy schedule ahead, looking forward to getting the bodywork done, it's been a loooong year. 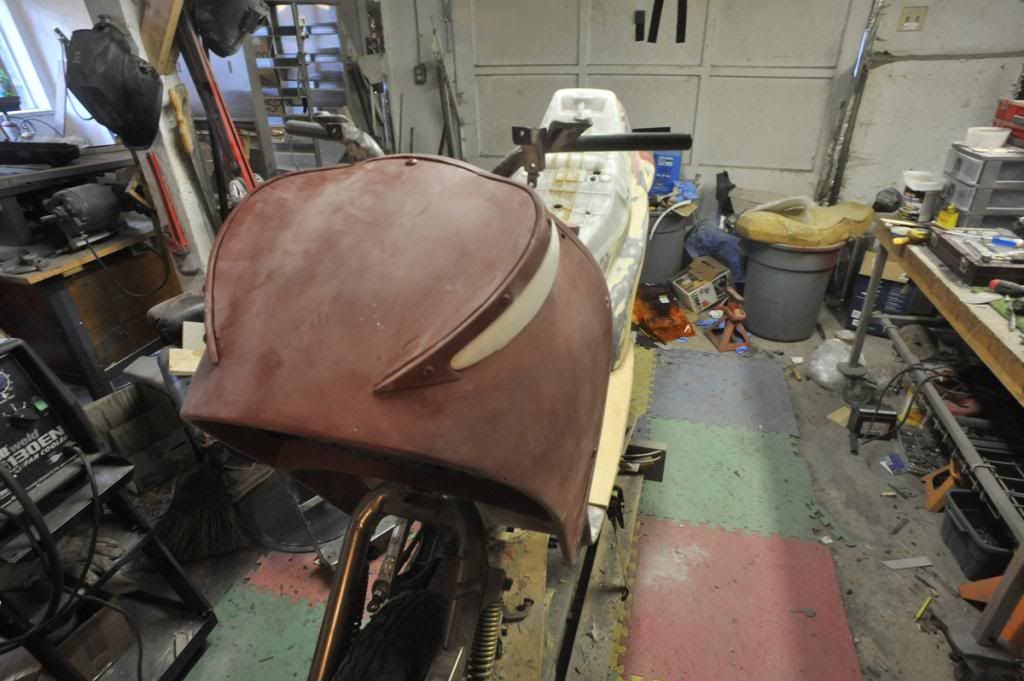 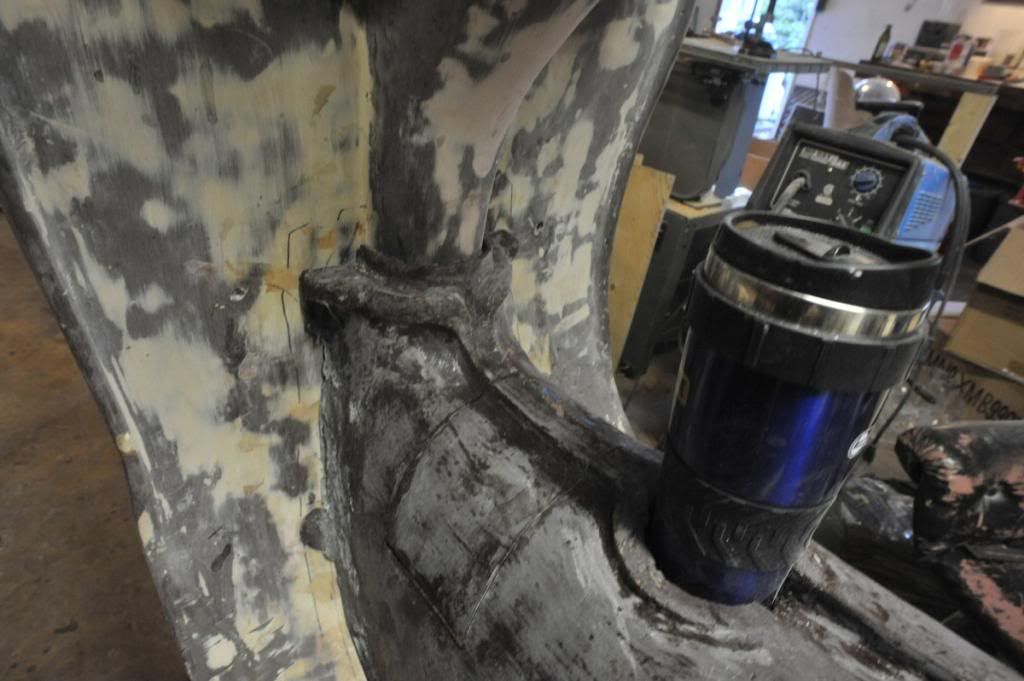 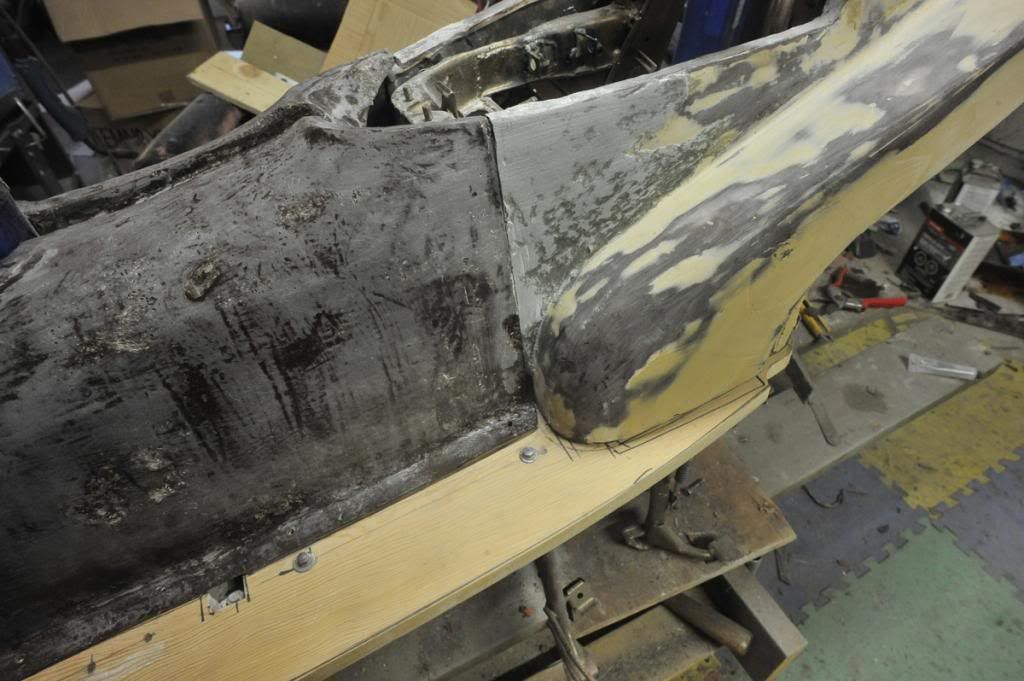 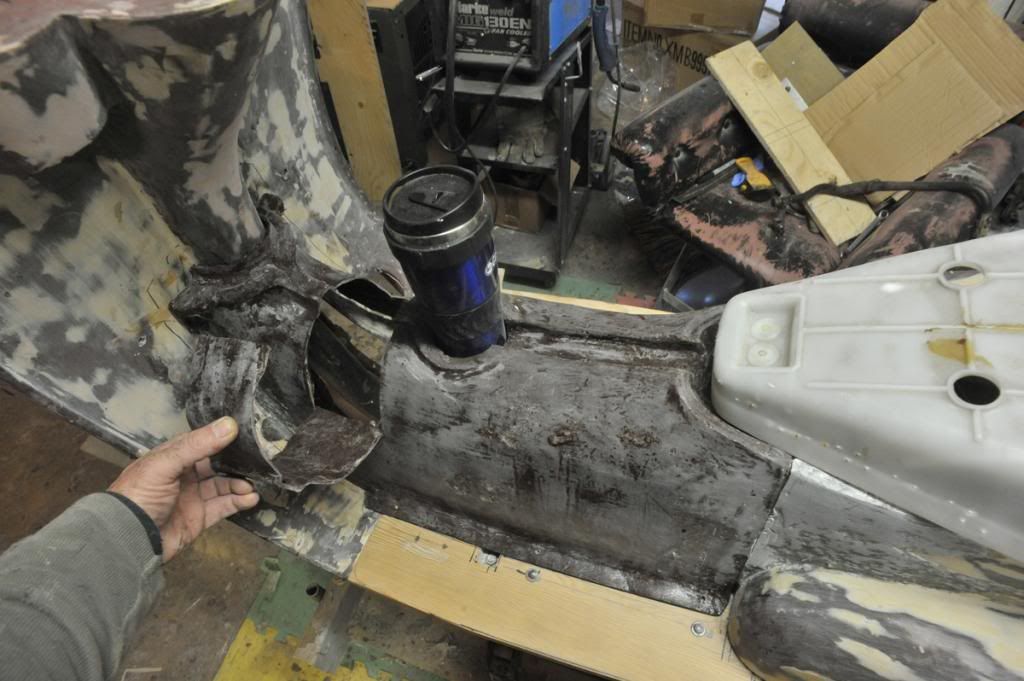 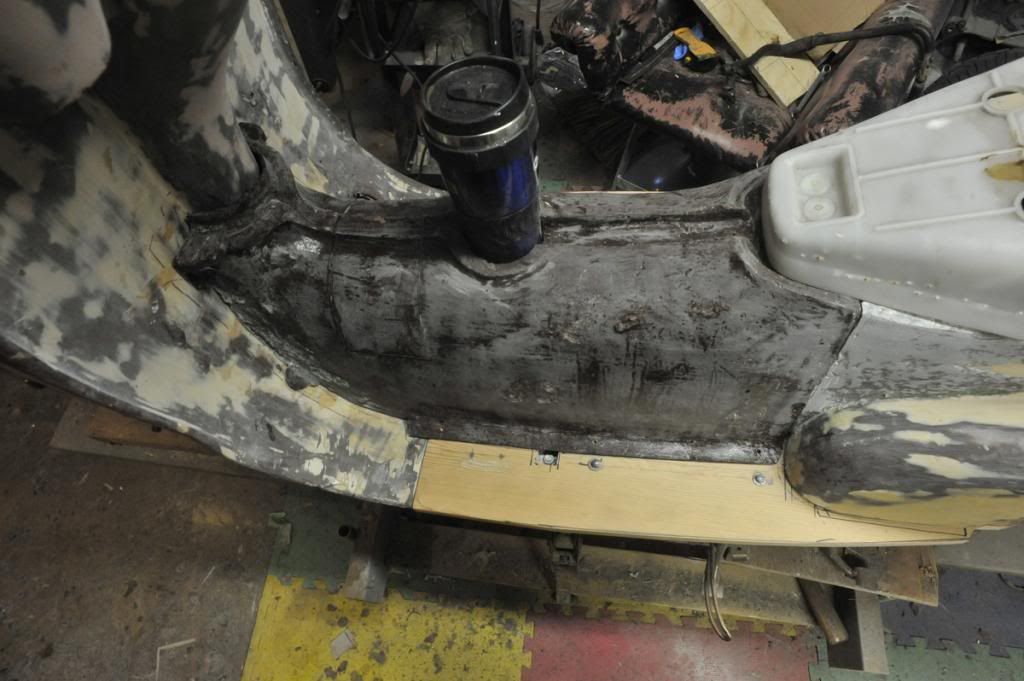 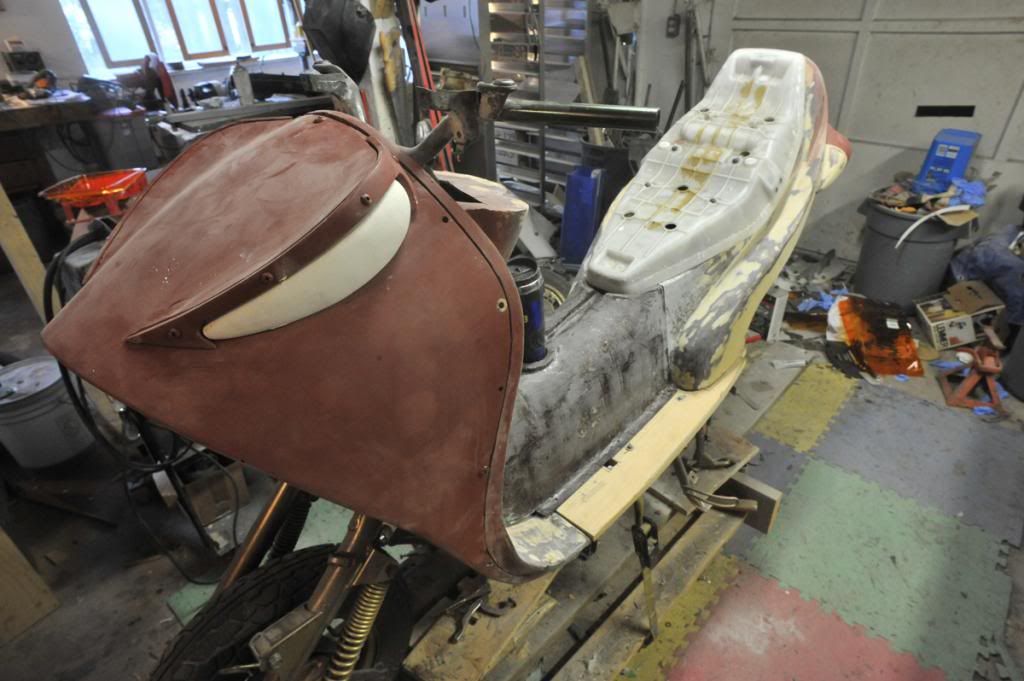 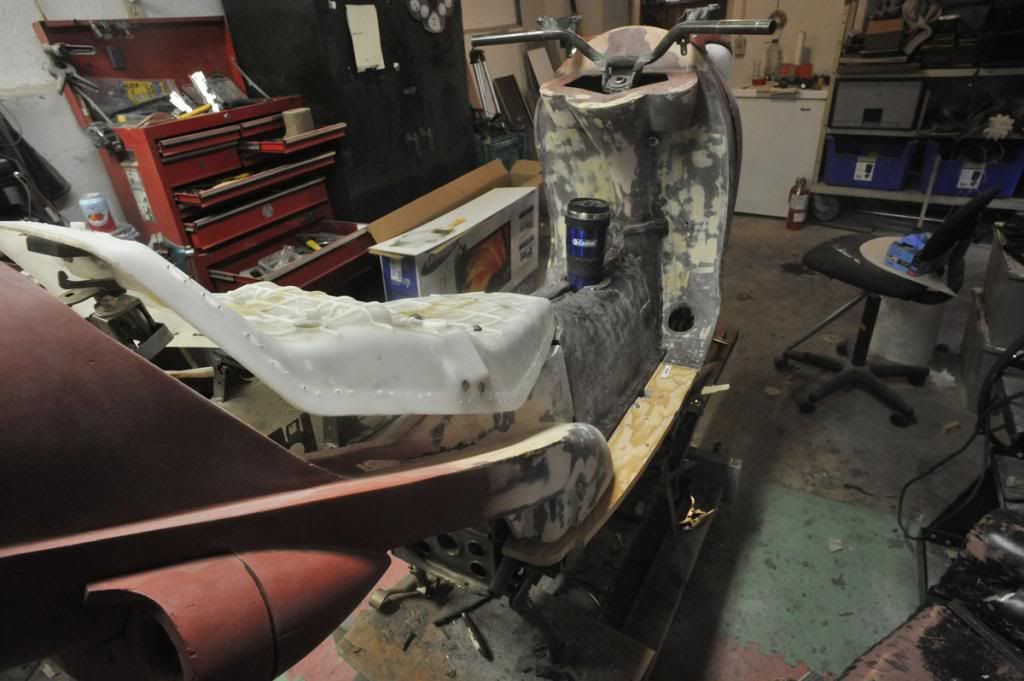 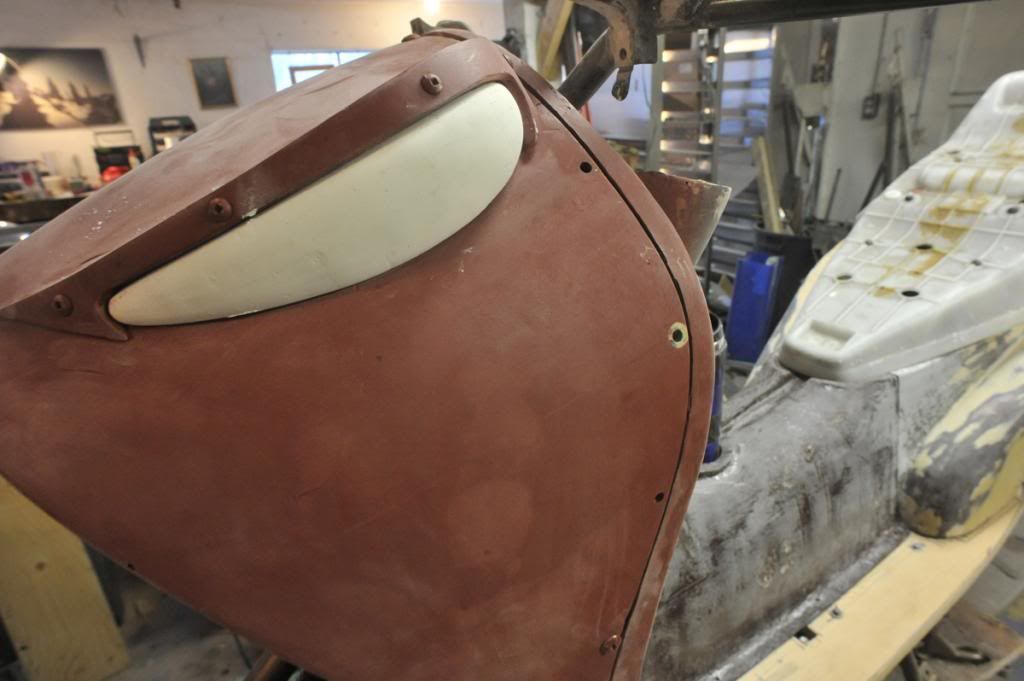 |
|
|
|
Post by justbuggin2 on Dec 5, 2012 0:01:27 GMT -6
cool you got a place for my Micky-Ds sweet tea, and with the new top it is as dry as a bone inside
|
|

