Junior
  
Currently Offline
Posts: 117
A+'s: 1
Joined: Jan 9, 2012 18:18:11 GMT -6
|
Post by dryshave on Jun 20, 2013 19:36:07 GMT -6
you can see a black line on the brass brows, these indicate where I will grind down to. The original casting was created thicker than necessary... I wanted lots of playroom when it came to final adjustments, it's paid off.
|
|
|
|
Post by justbuggin2 on Jun 20, 2013 22:34:08 GMT -6
must be a train due to budget cuts they cut the light off
|
|
Junior
  
Currently Offline
Posts: 117
A+'s: 1
Joined: Jan 9, 2012 18:18:11 GMT -6
|
Post by dryshave on Jul 16, 2013 11:32:32 GMT -6
Missed the paint deadline... not because of the bodywork (sort of) but due to new government restrictions on the type of paint I was planning to use. I have used and been a big fan of the PPG candy colours for years and I guess the government has now made it illegal for the average joe to purchase and use due to high toxic vapour levels... Hell I knew that and I always protected my self and vented the shop properly... CRAP! So now I have to find an OEM paint colour they can reproduce for me.. Unbelievable! So just a couple quick picks of a couple final prepped for paint pieces. Still doing some adjustments to the front section, but everything else is ready to go. so in the mean time I'm ordering all the aftermarket pieces such as exhaust/rollers/belt brakes tires. My work shift has changed to and that's throwing a wrench into my shop time. I used to work afternoon-evenings and now I'm back to days. I still get up at 6:00, but now only have a small window in the morning to get anything done and an hour or so afterwards. I'll get used to it soon, but the past couple weeks have been kinda slow progress. 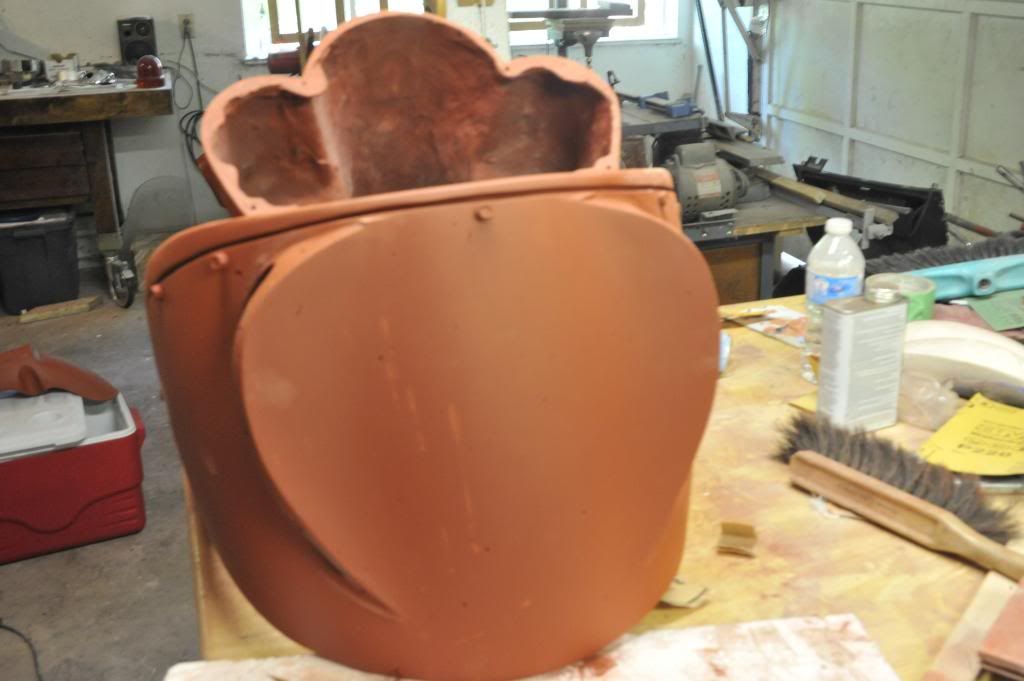 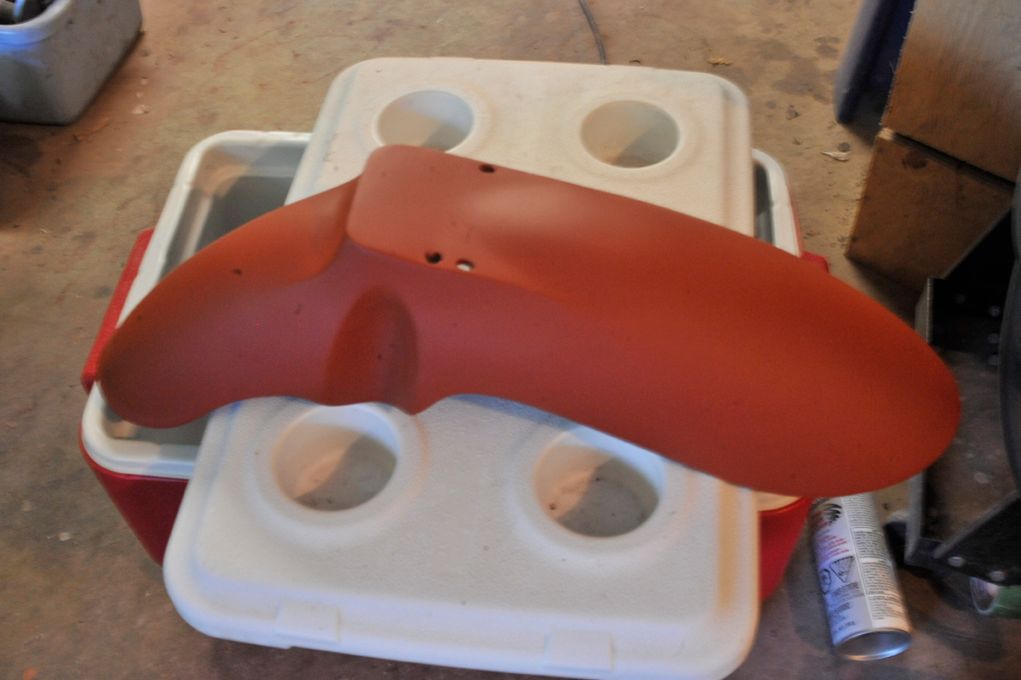 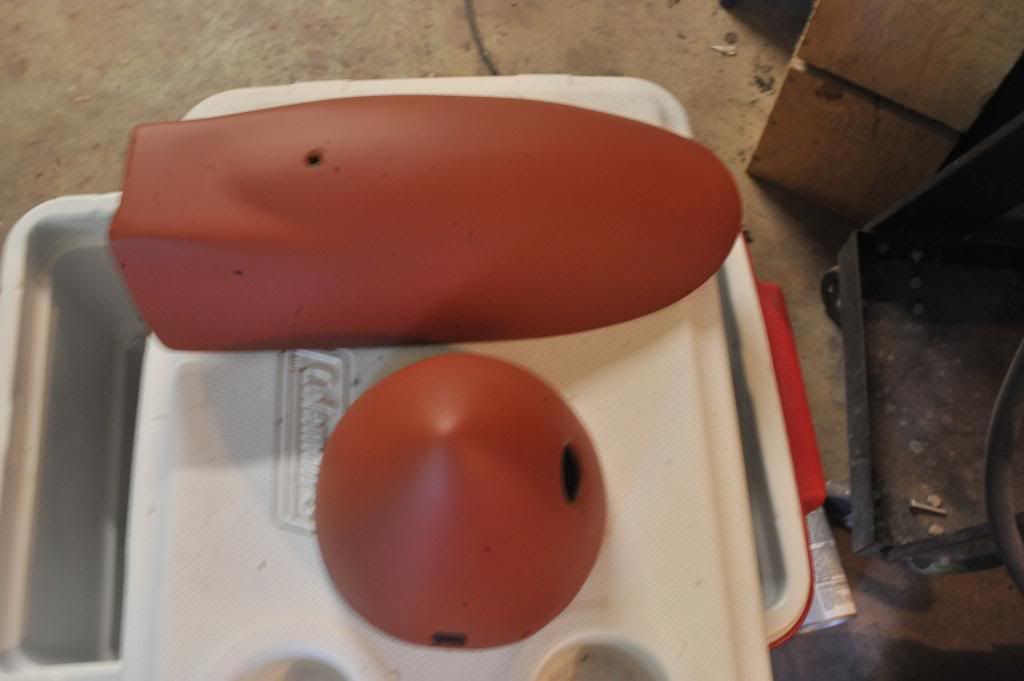 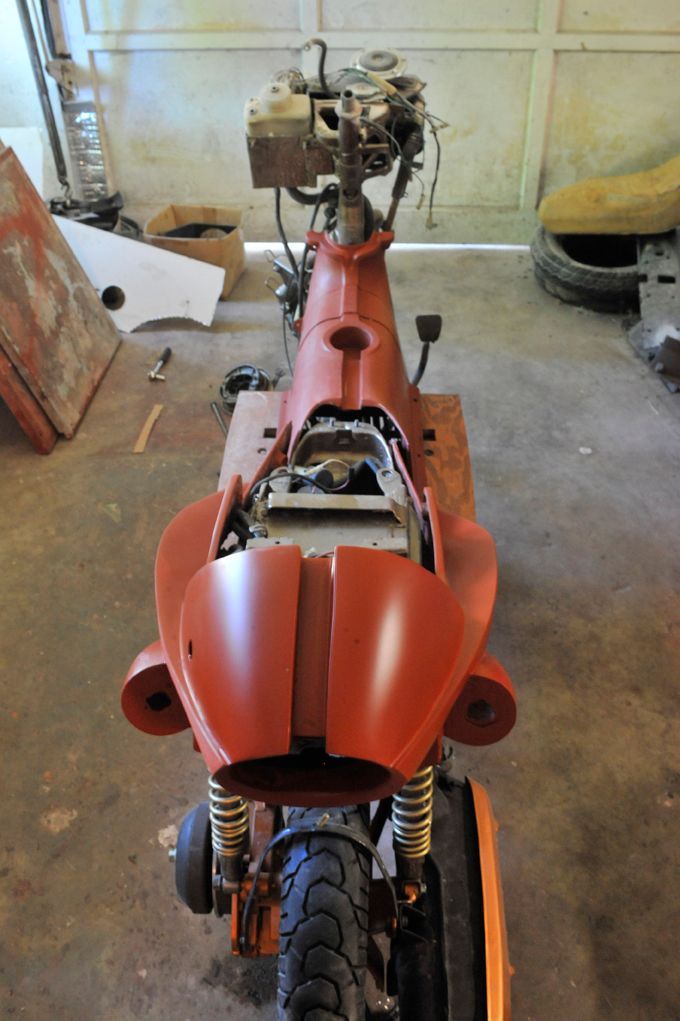 |
|
Junior
  
Currently Offline
Posts: 117
A+'s: 1
Joined: Jan 9, 2012 18:18:11 GMT -6
|
Post by dryshave on Aug 20, 2013 12:01:15 GMT -6
ALIVE AND STILL KICKIN' This new work shift is kicking the crap out of my shop time, now it's just weekends and a couple early hours in the morning. So you can see from the pics that I'm not riding by the middle of August... did I say this year?? Have completed the first 3 coats of paint though and started polishing up the bronze. I haven't applied the clear coat yet, as I'm final checking the assembly points for missed edges and having to touch up assembly scratches (after clear coat) would be a real pain in the ass. Right now I've got two more coats planned and then final clear (several sanded coats). The bronze tail piece is going to be drilled out this week... I brought in these photos to the foundry this morning and he asked why they weren't approached to do the brass work... I told him they were and no one got back to me. He was pretty pissed for missing out on the job. I told him I understood their situation and one off jobs aren't on anyone's list of priorities. Have all the brass bolts and fasteners in hand and will start attaching the pieces with their final fasteners in place. Am working on the design for the seat with a local upholstery shop, going to be done in a medium dark chestnut leather - like a saddle, they're also doing the saddle bags that will attach to the centre console. Time to order up the wheels and external engine pieces. Waiting to hear from scooterdawgs(?). Anyone got an alternative shop to deal with, like to keep it amongst friends and supporters. Am assembling the vacuum chamber this week, will start molding the lenses - more detailed pics on that process. Still need to mount the tank fill gooseneck - finish gauges - finish headlight - quadroople check the wiring harness... and a whole bunch more of little jobs. Sorry it's been a long time between postings, but I felt you guys (gals?) had seen enough images of bondo and fiberglass. It's beginning to look like something now. The paint is a blend - the original color was a too much like eggplant purple, so I mixed some copper to it to warm it up. It's got a nice warm red brown color in the sun and a darker brown under the shop lights - it'll change again when I add the clear coat. Will load up more pics before the weekend. 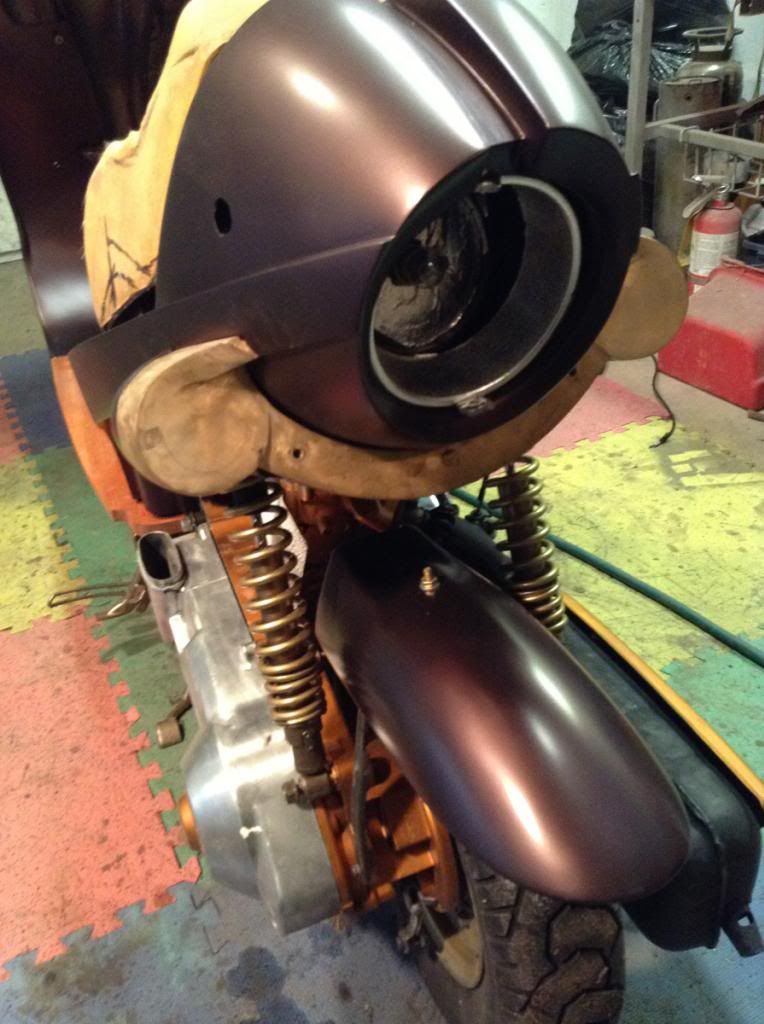 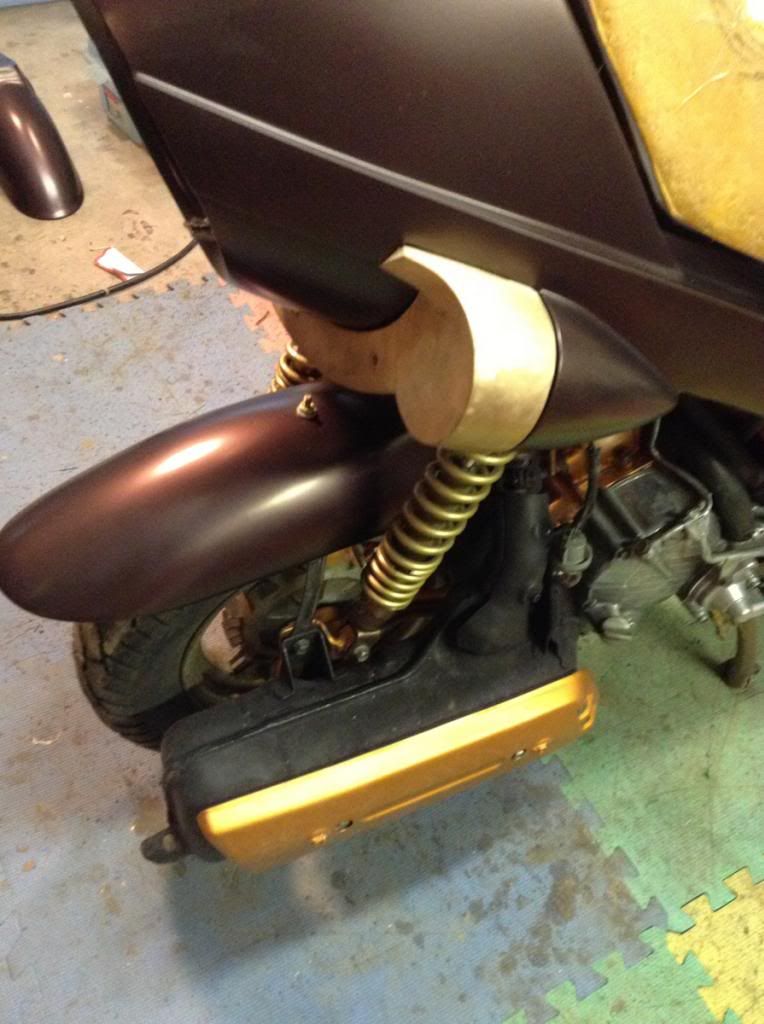 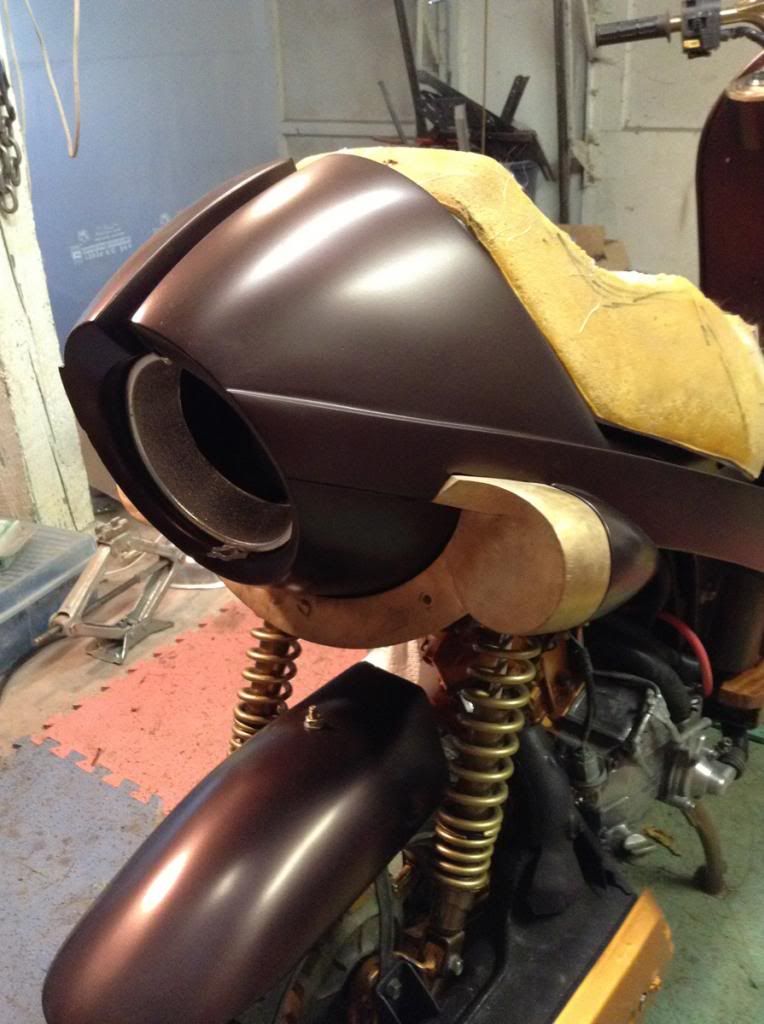 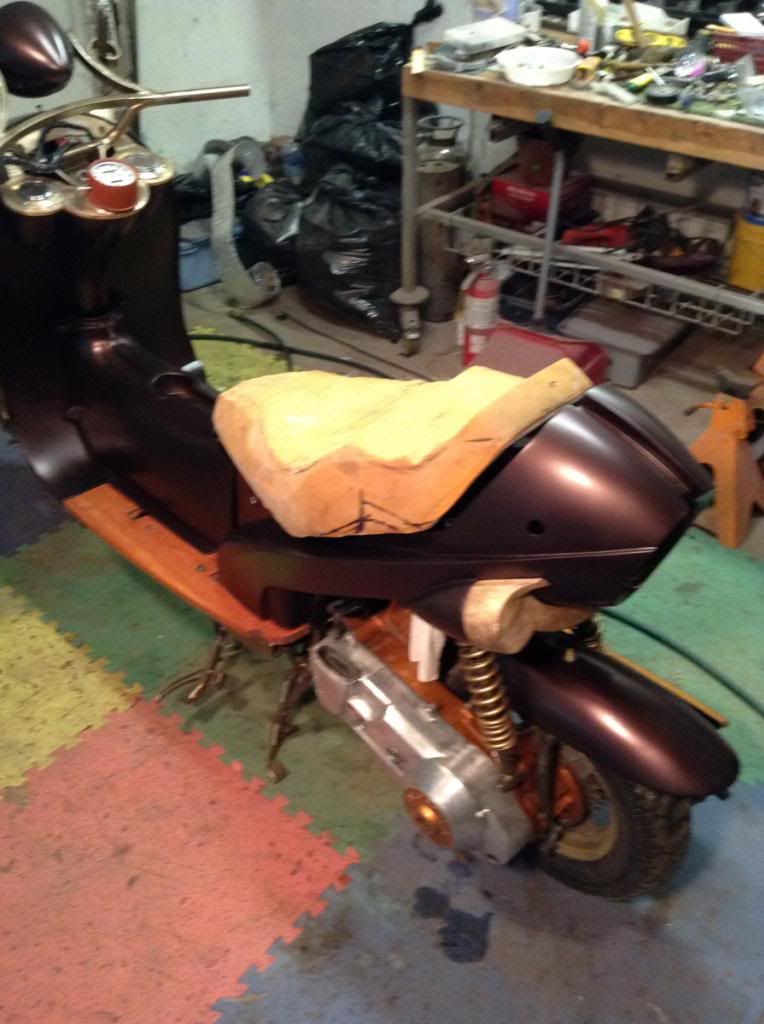 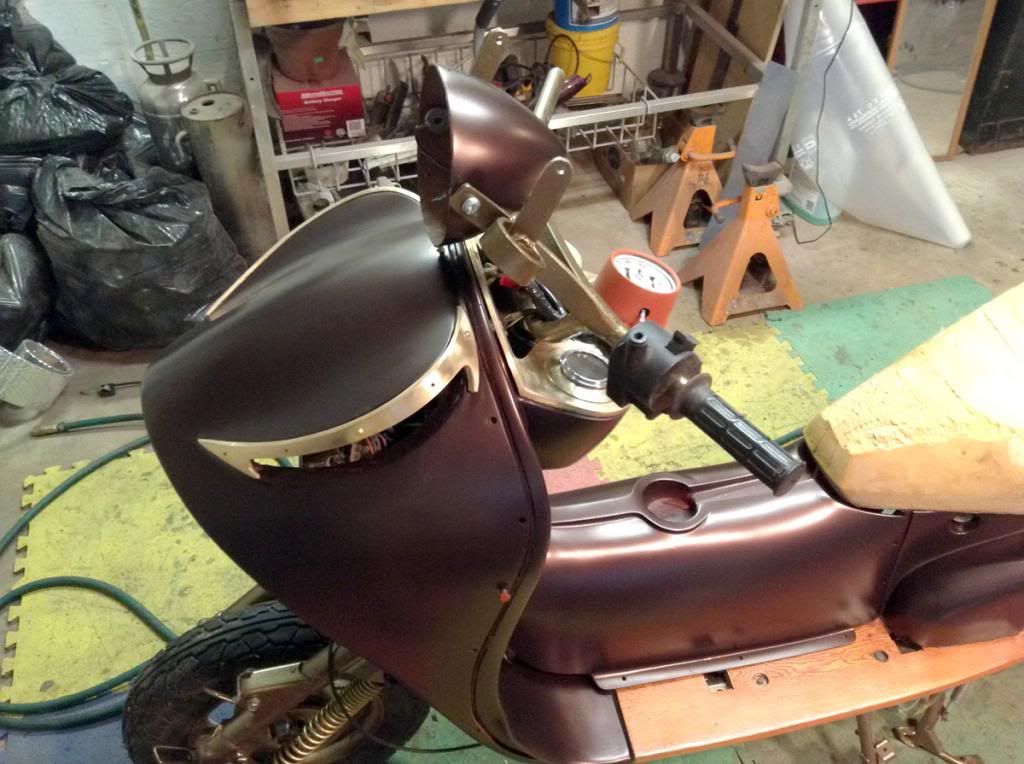 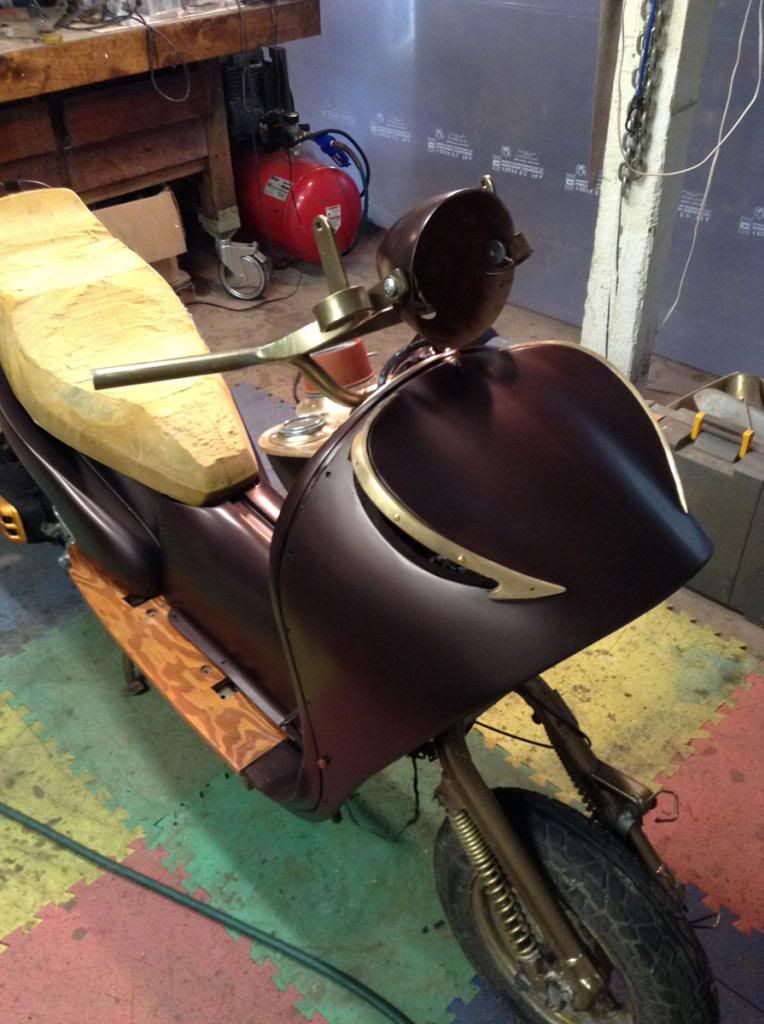 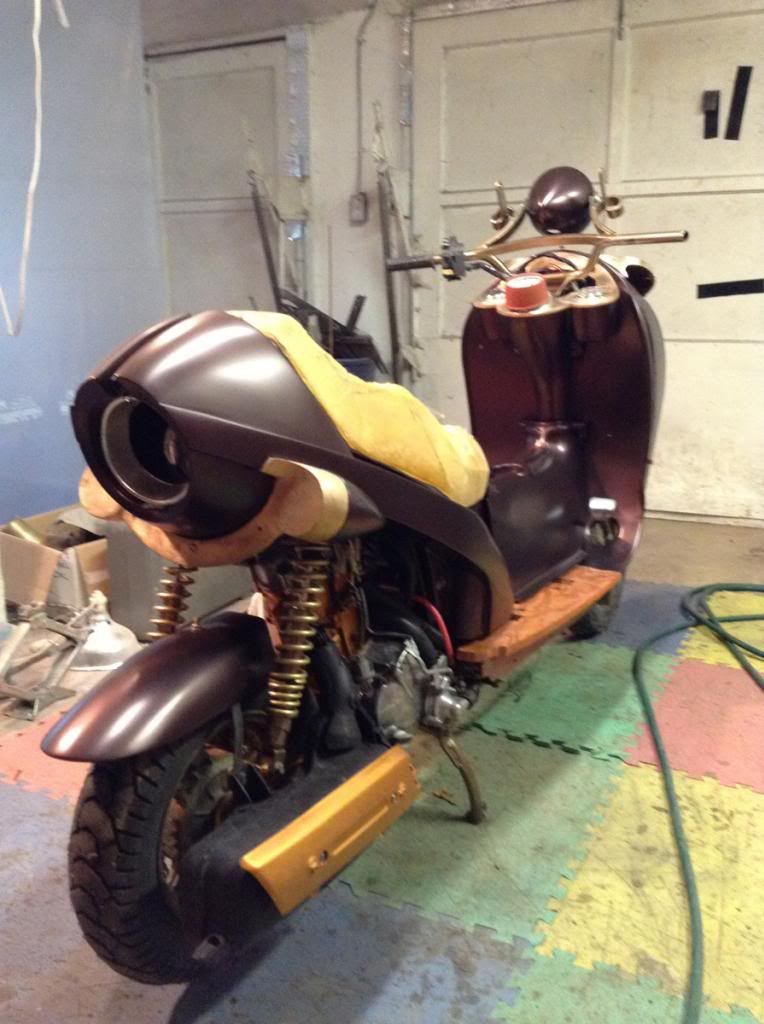 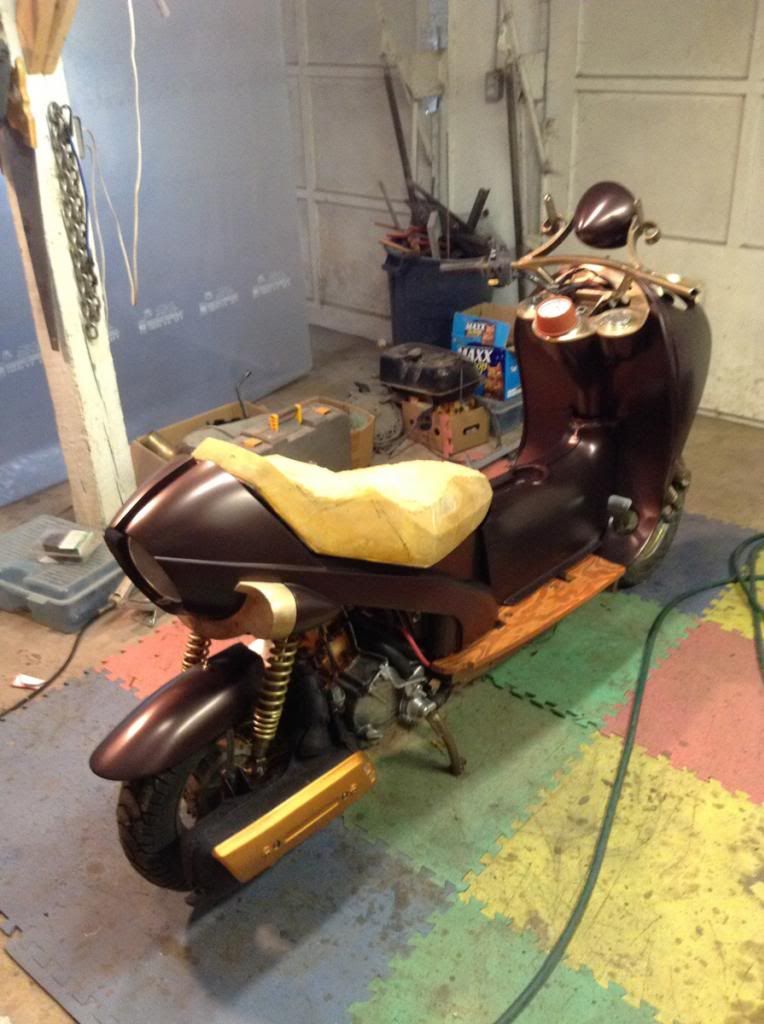 |
|
|
|
Post by justbuggin2 on Aug 20, 2013 22:28:25 GMT -6
 was starting to think you was not coming back glad to see the new pics and it is looking great so do you think it will be done for my b-day in Dec.
|
|
Junior
  
Currently Offline
Posts: 117
A+'s: 1
Joined: Jan 9, 2012 18:18:11 GMT -6
|
Post by dryshave on Sept 9, 2013 11:59:55 GMT -6
Just may make your birthday deadline after all "professor". Vinyl labels for gauges - check Tires and rims complete - check new rollers/belt/brakes ordered - check vacuum chamber built - check Cord seal for around cowling - check (going to be awesome - the leather is the same colour as the paint) pics this week Rear brass piece in for detailing - check Still to do - final paint and clear coat Cast the lenses Finish gas tank mods Custom downtube for exhaust Custom airbox I've used the new duplicolor brass paint on the rims (that's what its for) and pretty happy how it turned out. The exhaust heads off to the fabricator to be wrapped in brass. The down tube mockup is off to a custom exhaust shop. The rims are over at the tire shop (new valve stems installed) and for new tire mounting. Meeting with the clock maker this week for the hands for the gauges. Still haven't got the grill layout yet. I've made a CNC contact, so they can pretty much do any design I come up with. More pics soon. 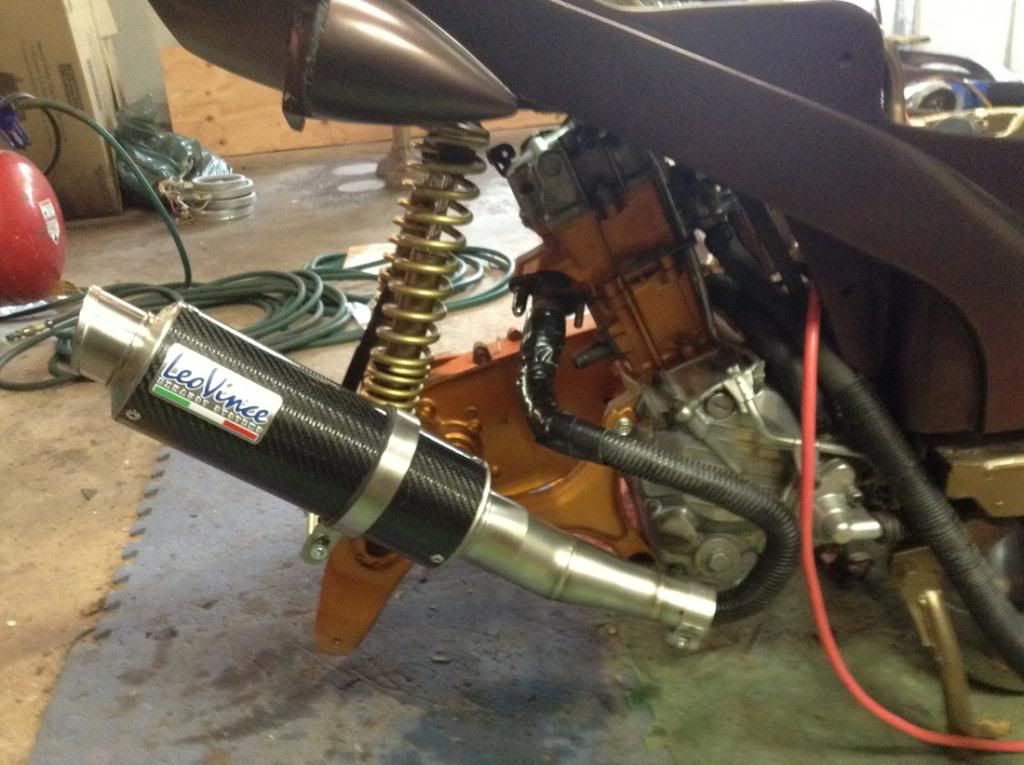 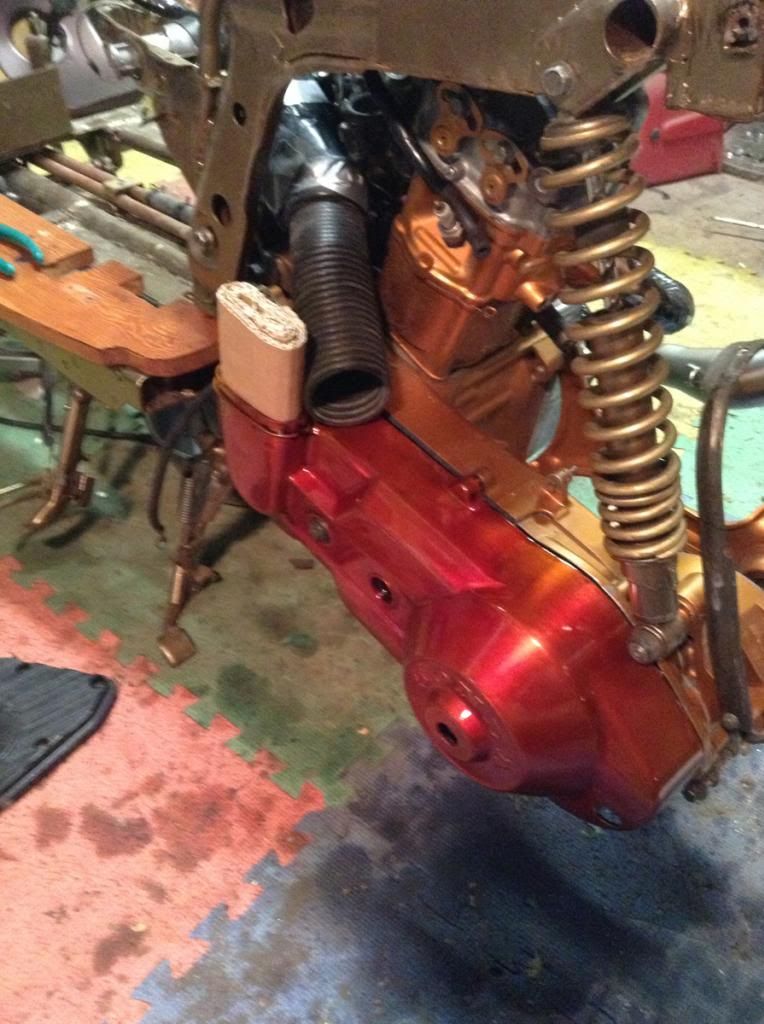 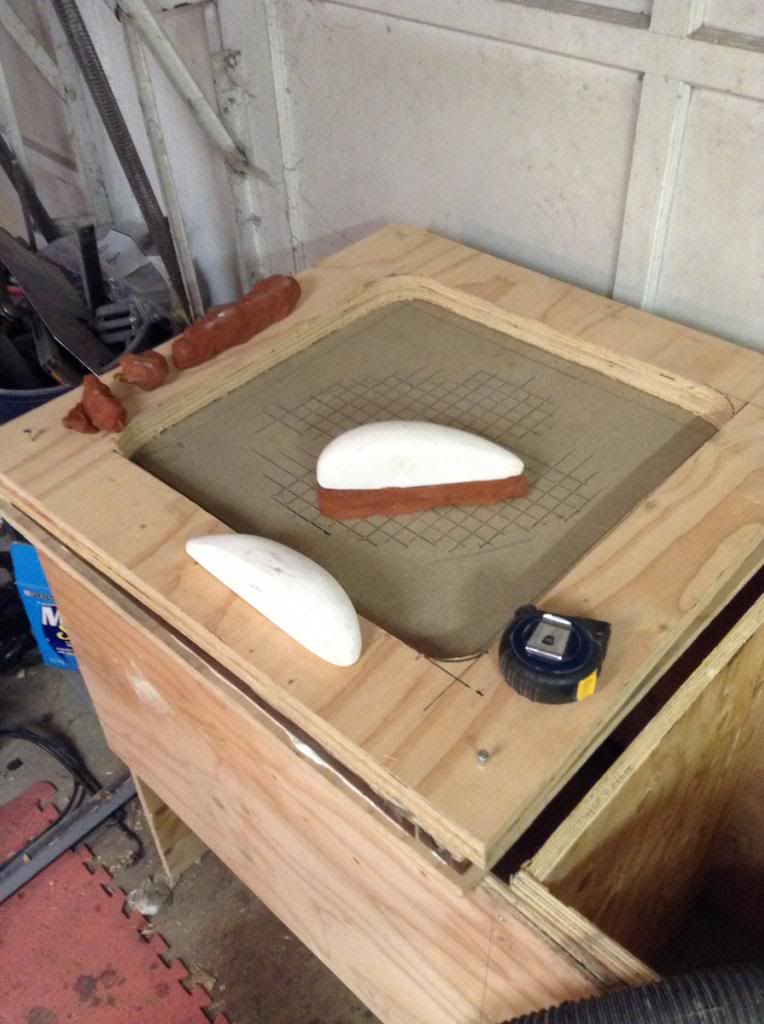 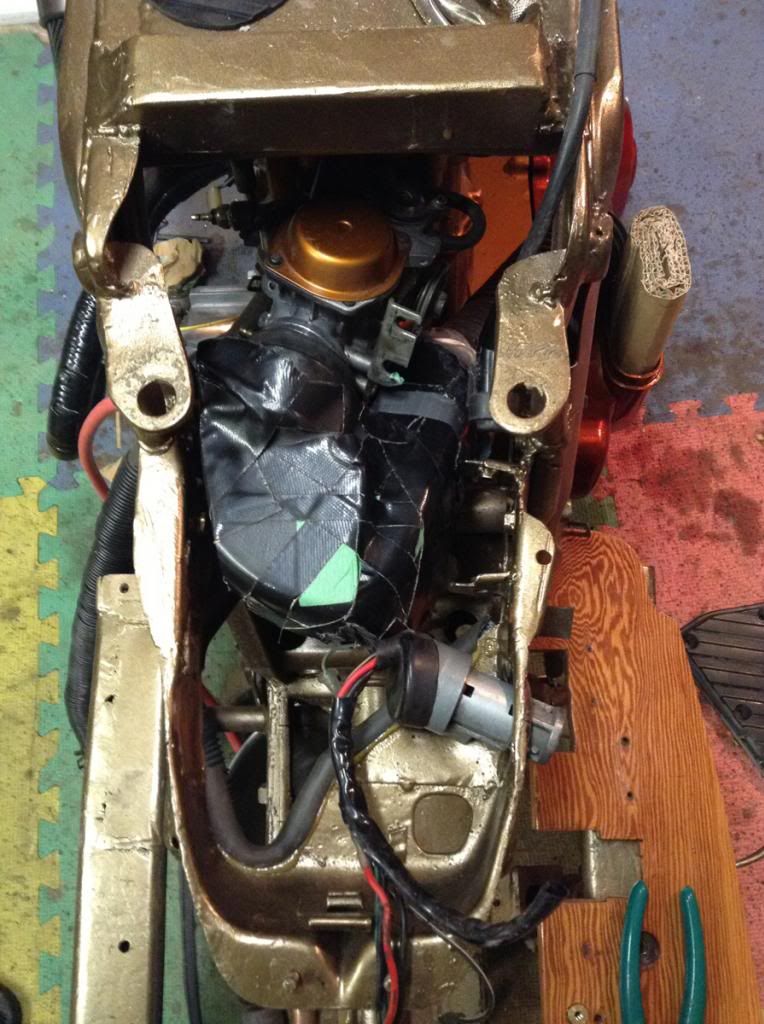 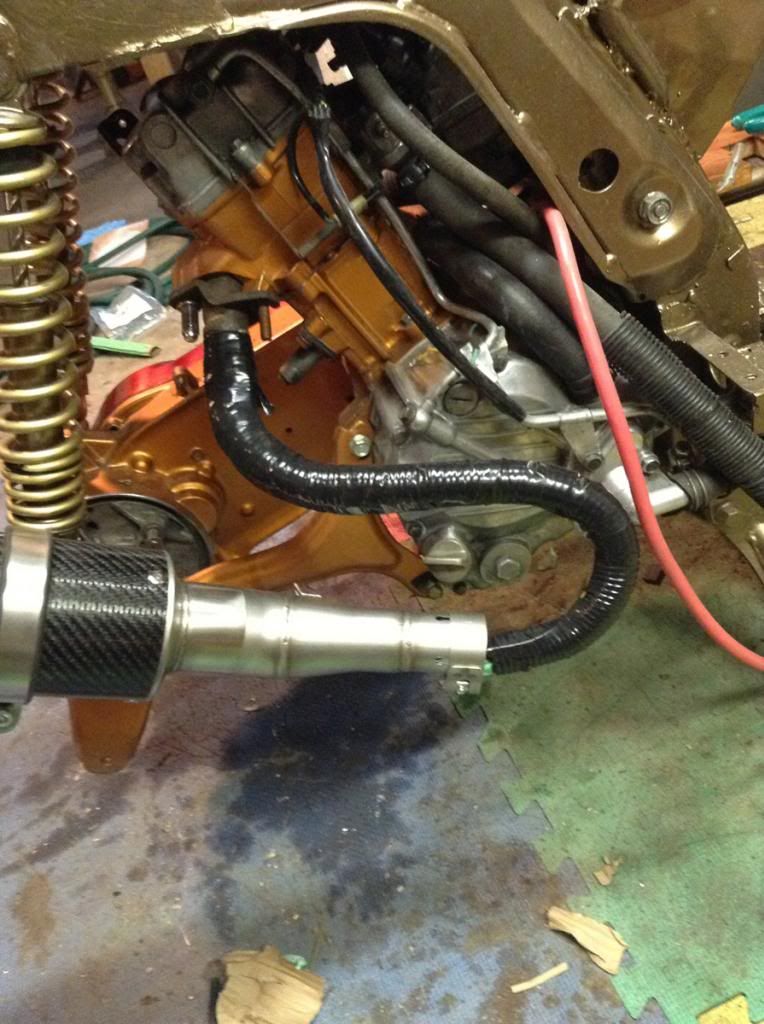 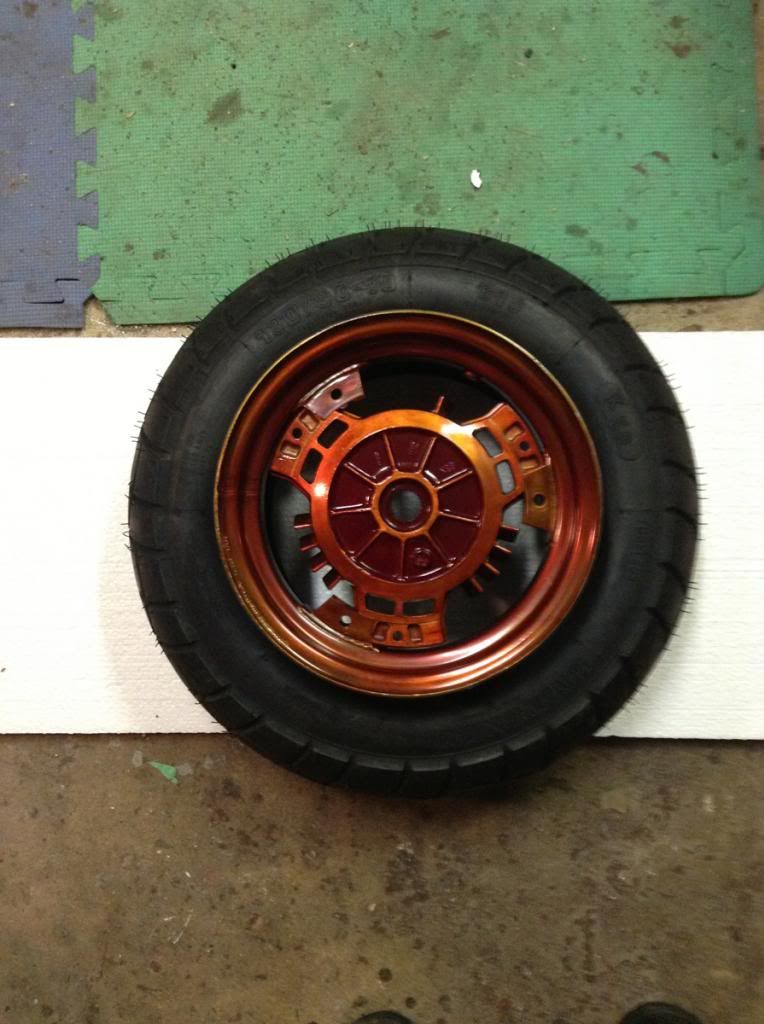 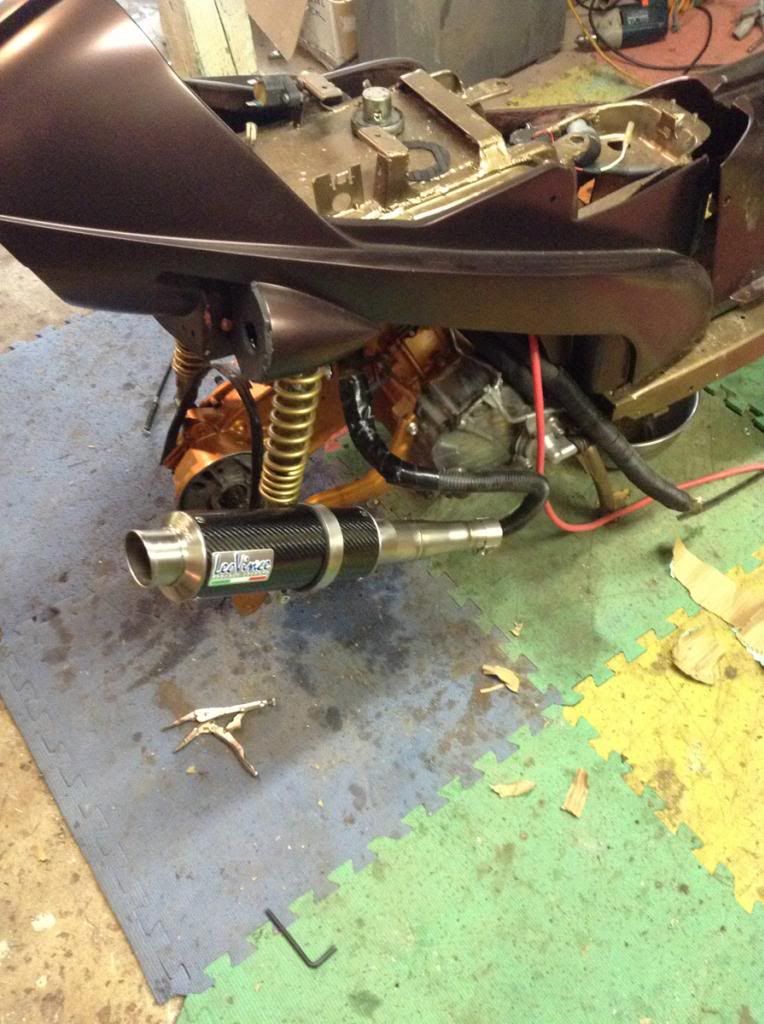 |
|
Junior
  
Currently Offline
Posts: 117
A+'s: 1
Joined: Jan 9, 2012 18:18:11 GMT -6
|
Post by dryshave on Sept 30, 2013 11:54:10 GMT -6
Slowly progressing - waiting for my machinist to come back from holidays to complete the tail piece. Waiting for the leather beading for the front cowl and waiting to meet with the clock repairman for the gauge hands. but I'm slowly picking away at the small stuff. Floorboard mats cut and fitted. Holding them in place with brass clips (can be seen in a couple of the pics) coffee cup holder brass done. Seat sealed and ready to pour new foam this weekend, then it's off the upholsterer. Gas tank has been sealed and neck extension in place. Have a possible "issue" with the rear tire - a little too tall of a profile and I've only got about 3/8" clearance to the timing adjuster bolt and the same on the engine wheel bracket (see pictures) no sure if that's enough or if I will have to pick up a lower profile tire ? Headlight bucket and windscreen finished and just waiting for the parts to complete the bodywork. I haven't drilled any holes in the new brass pieces. Learned a lesson about waiting until everything was "bolted" in place before drilling. Have already had interest to show it in the spring, still hope to send the scooter professor a christmas card with the completed project - fingers crossed. Still haven't finalized the grill design - too many choices now that I can have it laser cut, but will narrow it down over the next couple of weeks. Vacuum chamber is finished and ready to rock on my next vacation in two weeks. Hope to have some samples up shortly. You can see the custom airbox along with the lenses and lens backings that are set to be molded. I had to do the airbox in two pieces, you can see in a couple of the pics how it looks. Should I combine the air filter assembly with the air exhaust of the gearbox? or just cap off the gearbox and handle them individually. 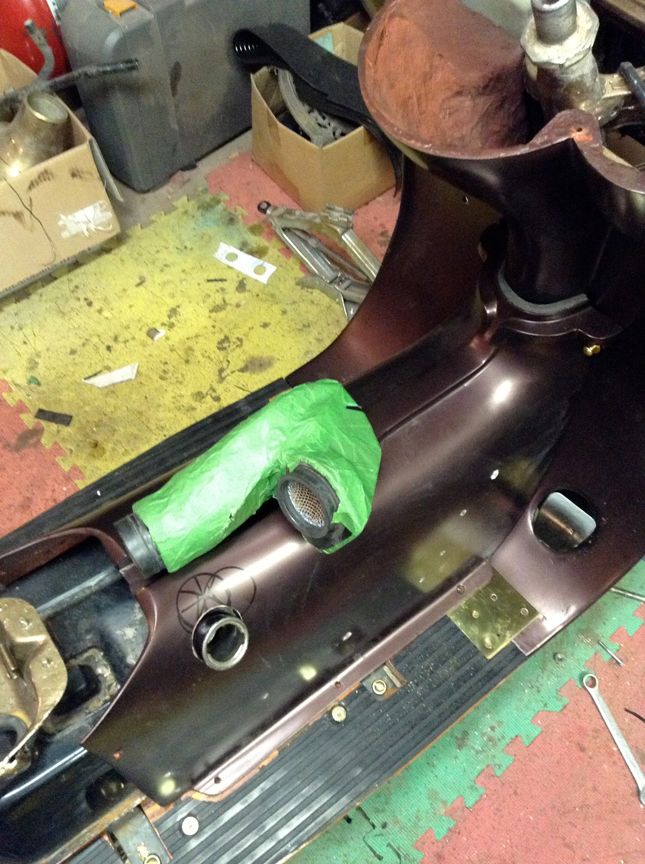 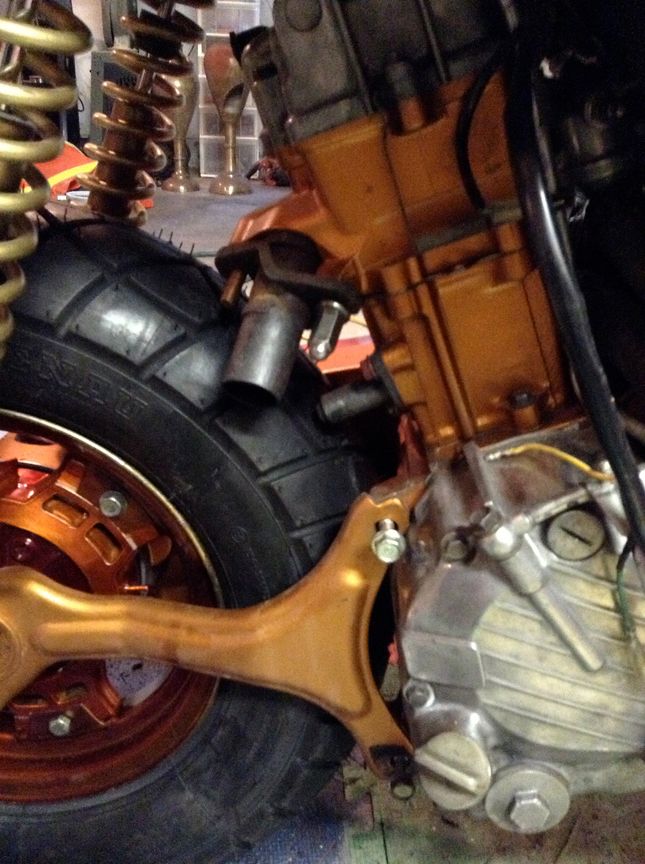 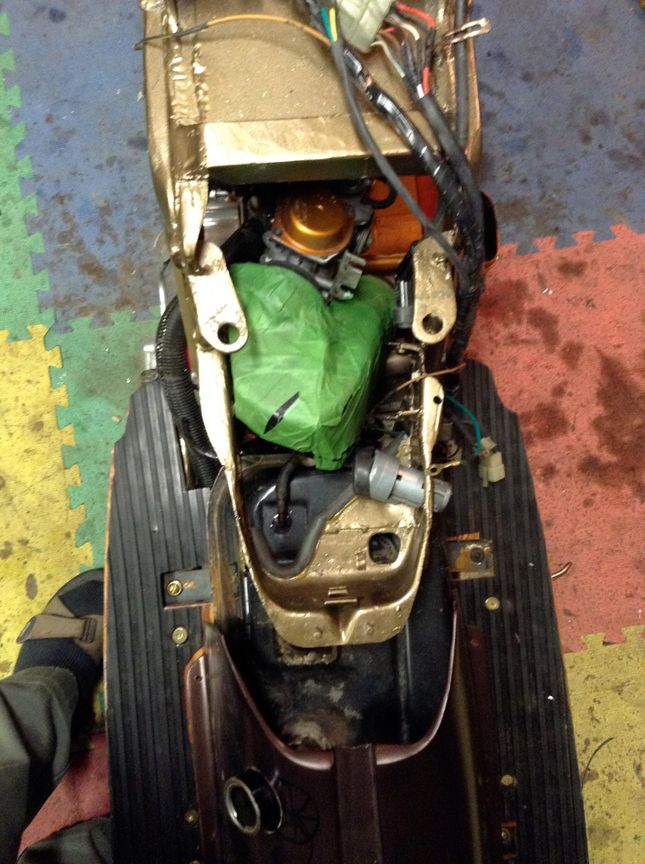 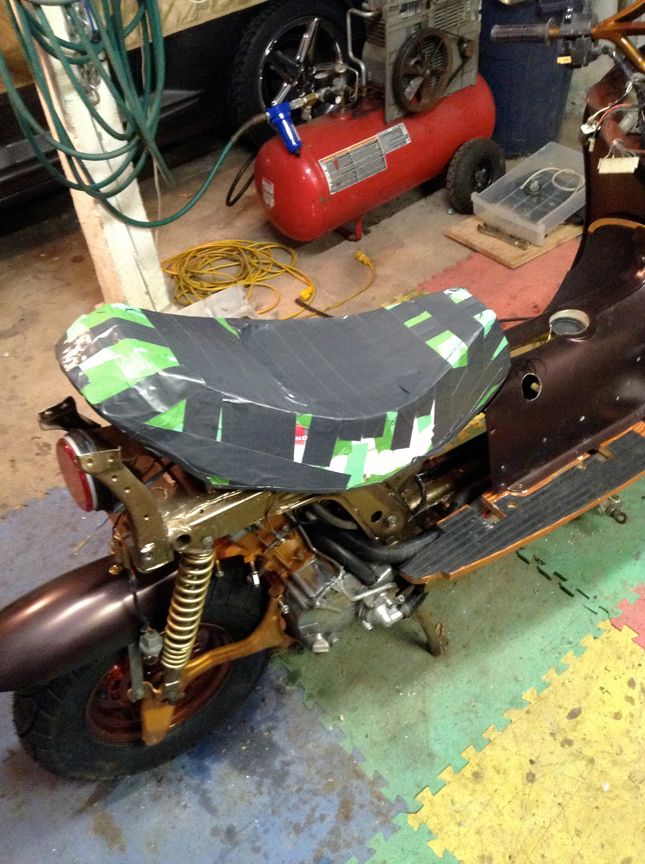 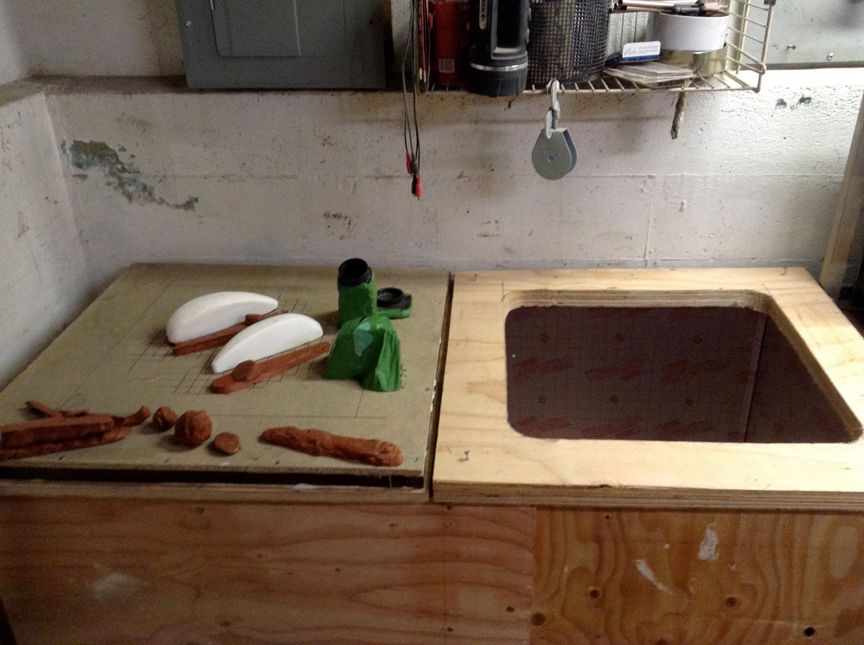 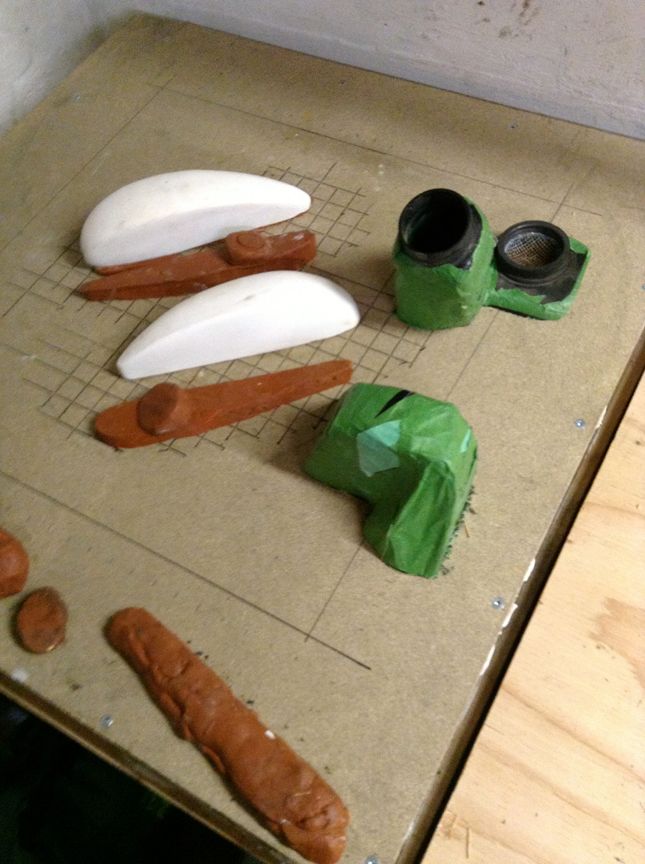 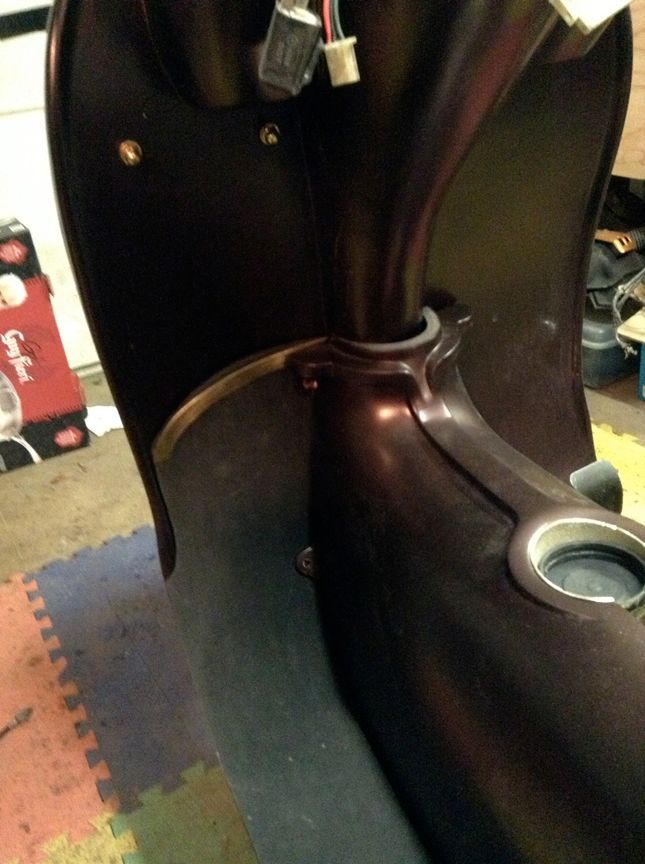 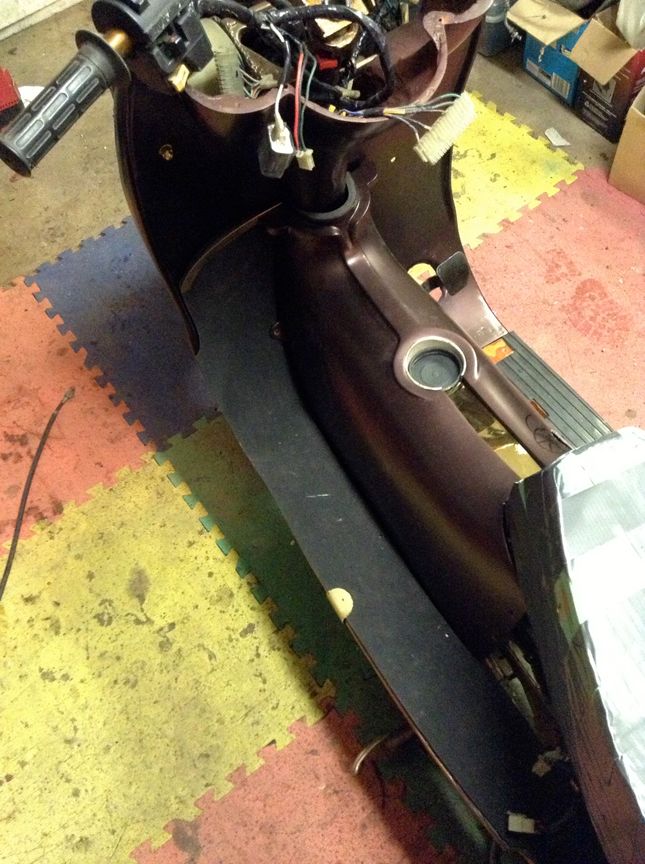 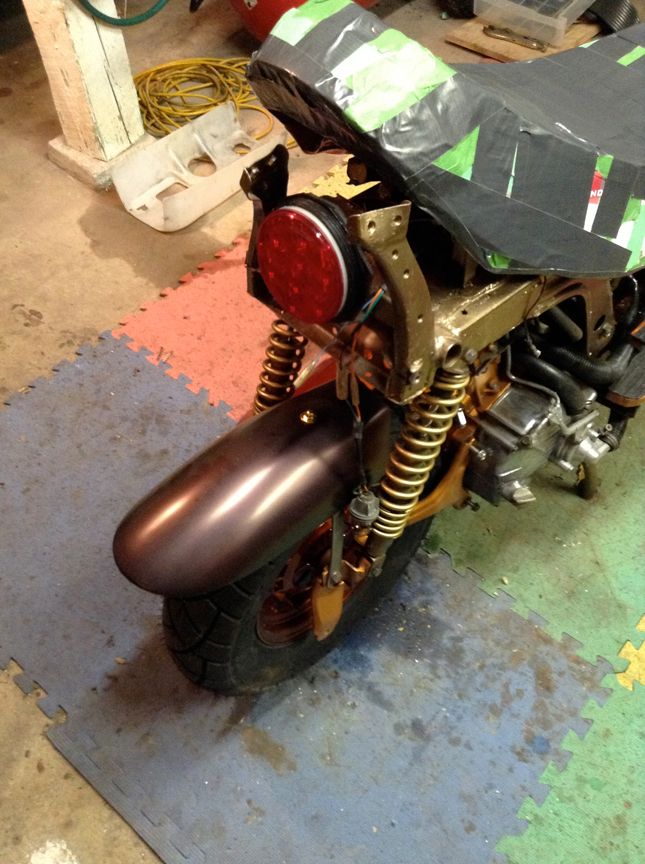 |
|
|
|
Post by justbuggin2 on Oct 1, 2013 0:21:37 GMT -6
are you gonna use vacuum molding for your lenses and air box?
|
|
Junior
  
Currently Offline
Posts: 117
A+'s: 1
Joined: Jan 9, 2012 18:18:11 GMT -6
|
Post by dryshave on Oct 1, 2013 11:36:23 GMT -6
That's the plan!
I'm using an 1/8" amber acrylic plexi for the lenses and an opaque plexi for the lens backing. Leaving a tab/lip on each where they will be glued (fastened together). The airbox will be a softer white plastic material that is more flexible and plan to fasten the same way. I'll use the connecting sleeves off of the original box. The airbox is roughly 70% of the original size. I think that the increased airflow from the external filter will compensate for the smaller compartment.
Got word back from the upholstery guy - will have cord for front cowl by the weekend.
Got word back from the machinist - he's back - maybe have the piece back by friday or monday
Got word back from the exhaust guy- dropping off the muffler for copper sheathing on saturday
- things are starting to pick up.
|
|
|
|
Post by justbuggin2 on Oct 1, 2013 22:50:57 GMT -6
looking great and it be together before you know it
|
|
Junior
  
Currently Offline
Posts: 117
A+'s: 1
Joined: Jan 9, 2012 18:18:11 GMT -6
|
Post by dryshave on Nov 25, 2013 14:40:13 GMT -6
tried to read back to see if I said this yet .... IT'S ALIVE!!!!
Had it running a couple times over the weekend. Started from the ignition button and gas in the line (took coaxing the first time - with a shot of quikstart in the carb) but once the fuel started it flowing, it started again when switched off. Can't tell you how happy it made me to see the old girl finally running... Will post pics and video over the next week or so. Getting the other parts polished at the machinist... it'll be a christmas present...
|
|
|
|
Post by justbuggin2 on Nov 25, 2013 22:36:26 GMT -6
looking great just what I need a new ride in my stable
|
|
Junior
  
Currently Offline
Posts: 117
A+'s: 1
Joined: Jan 9, 2012 18:18:11 GMT -6
|
Post by dryshave on Jan 2, 2014 16:13:00 GMT -6
|
|
Junior
  
Currently Offline
Posts: 117
A+'s: 1
Joined: Jan 9, 2012 18:18:11 GMT -6
|
Post by dryshave on Jan 3, 2014 15:06:37 GMT -6
discovered that if you click on the first image you will go to the video located on my photobucket site - turn up the volume...hehe!
|
|
|
|
Post by justbuggin2 on Jan 3, 2014 16:24:31 GMT -6
looks great
|
|

