JR, That guy seemed to give a random guess on every time I would post, almost as if he was trying to add to his post-count or something. I appreciate his kindness and wanting to help but he just adds confusion to trying to get educated answers. Had to put a stop to it... kindly. Haha.
So tonight was a good night. I have solved what I hope to be the last major issue prior to this thing being roadworthy. Unfortunatly, I was in a rush (wife was wanting to relax a bit tonight), but managed to snap a few shots during the head removal.
So to simplify things, you need to remove everything and get your scooter's components down to this level. This involves removing lots of nuts, bolts, and screws (bike plastics, seats, carburetor, engine electrical connections, and fluids). No special tools required. For those who don't understand the way that your motor, electrical, and vacuum lines work, be SURE to mark those items for faster reassembly. Anyone can do this if you mark where things go. Also, after 20 years of working on engines this is a huge tip, experienced or not - PUT BOLTS BACK IN THE HOLES IF YOU CAN, or clearly mark them on paper, cardboard, or with pictures.
Here is the starting point for purposes of replacing a headgasket:
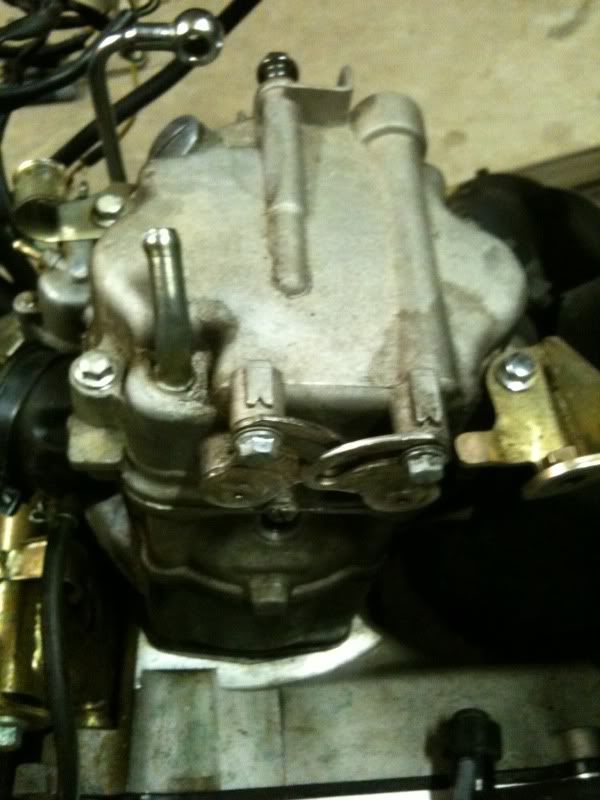
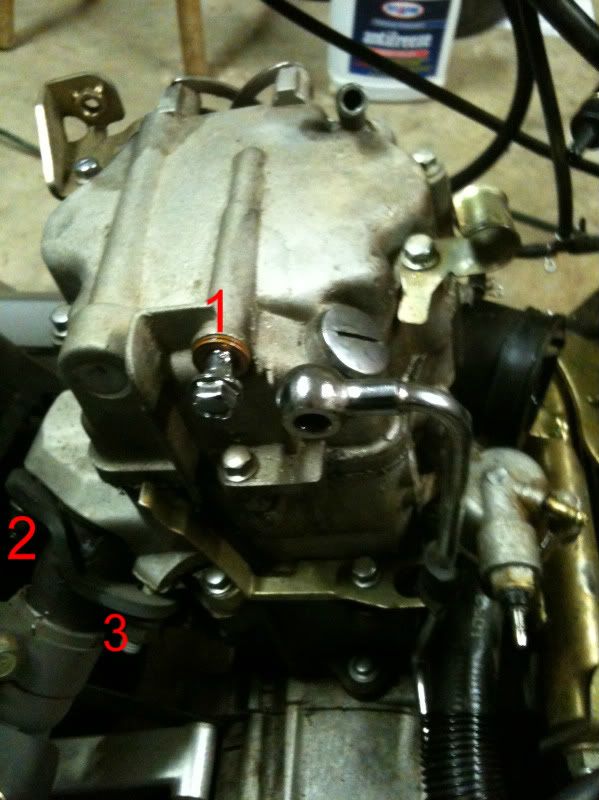
OK - start by removing #1, the oil feed line for the head (chrome line). #1 is actually a banjo bolt. Retain the copper washers and place the bolt back and washers back in the head so you don't lose them. Next, remove #2 & #3. These are the exhaust bolts (12mm). You won't be able to remove the head with these attached. I took it one step further and removed the 2 x front 12mm bolts holding the muffler on so I didn't have to shimmy the head off as much.
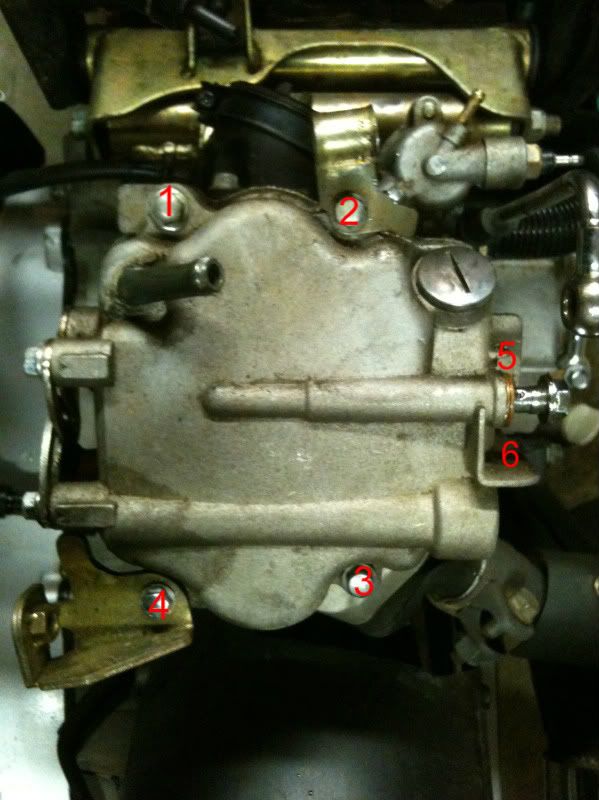
Next, get the valve cover off. This will require removing 6 x 8mm bolts. I must say that once everything is removed, there aren't any tough bolts to get too. You will see #5 and # 6 are closer to the base of the valve cover than 1 - 4. Important: once loosened all the way, leave the bolts in the holes so you don't mistake the different lengths. Once these 6 bolts are loosened, the valve cover will come directly off. Hit it a few times with a rubber malat if the gasket is holding tight. DO NOT PRY with a screw driver.
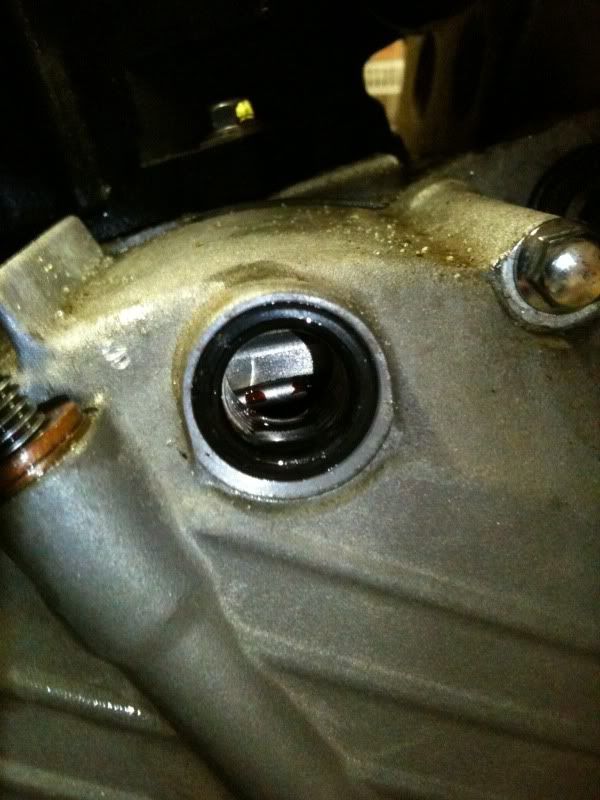
So before proceeding, you should "try" and find TDC (Top-dead-center). There is a large silver flat head screw on the right side of the engine's crankcase cover. Remove this screw (it is basically a window to flag TDC). Take the black plastic CVT cover off of the left side of the engine (3 x phillips screws). Under this cover, there will be a 17mm nut. Turn this nut until you see a black indicator in the "window" on the other side of the engine. You may need 2 people to do this. While turning the engine over, I notice mutliple markings so I picked the most prominant (which turned out to be incorrect).
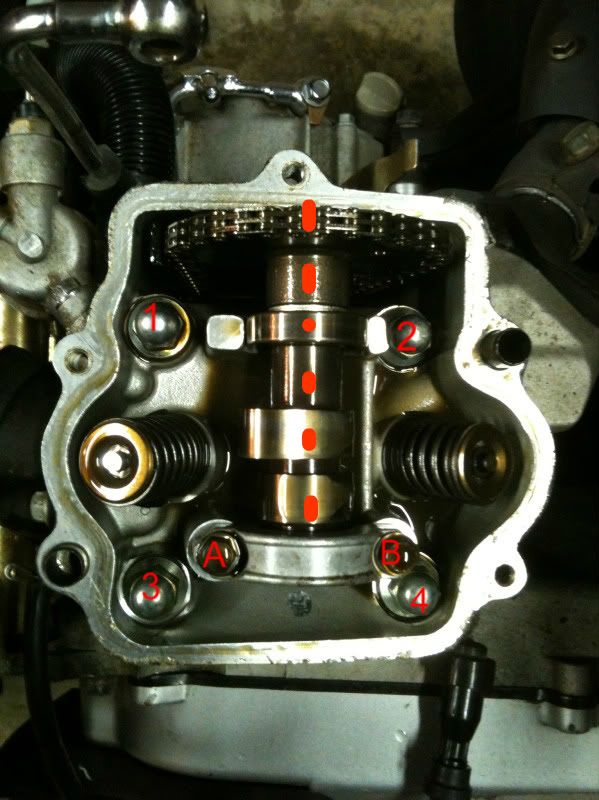
So for removing the head, There is 3 parts. 1.) Mark it 2.)Remove Cam 3.) Remove Head Bolts.
First, mark the dashed areas with nail polish. Be sure to hit that timing chain. Even if you aren't at TDC, you will be able to reassemble the same as you disassembled. Second, remove A & B; the cam retainer. Once you remove the retainer, push the timing chain tensioners outwards and remove the cam. Third, remove the 4 x 12mm head bolts.
Next, PULL THAT HEAD OFF! I didn't experience any resistance. It slide right off, but if you do... smack it with a rubber malat a few times. DO NOT PRY between surfaces as you will damage the machined surfaces (that's a bad thing).
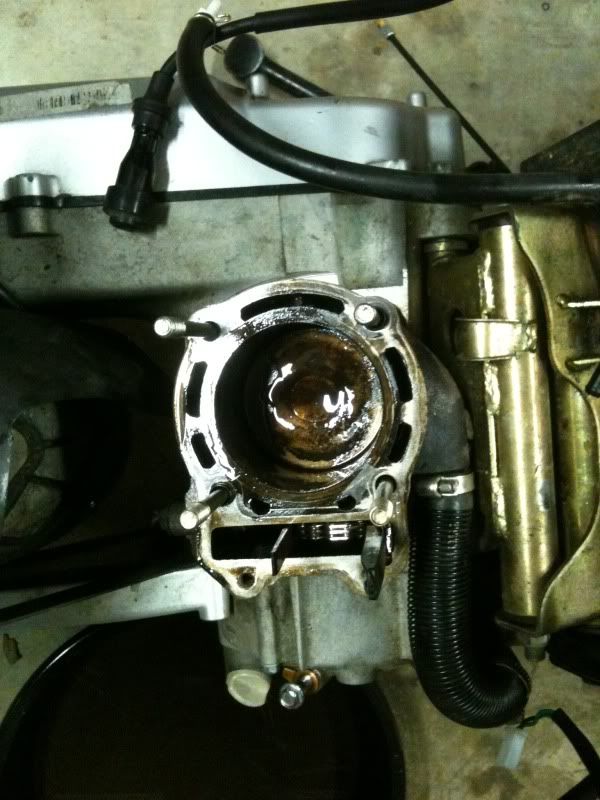
After you have the head off, you can push the piston to the bottom of the cylinder for inspection of the cylinder walls. In my case, they are in 100% perfect condition. No scoring, scratches or abnormal wear. If you see any signs of wear, replace it, they are cheap! You will notice my cylinder looks sloppy in the picture. As soon as you complete your inspection, MAKE SURE you soak it down in oil. If you don't, you will come back to a rusty cylinder within 24 hours.
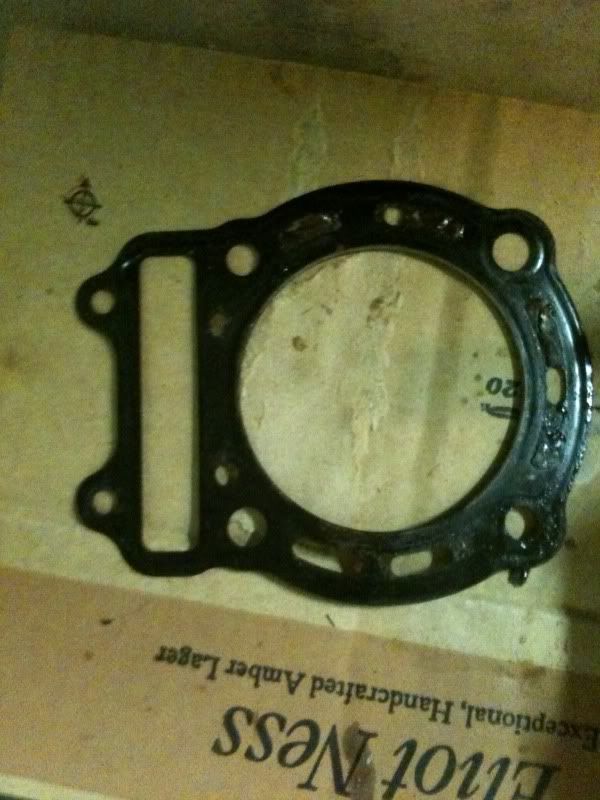
So, this is where I leave this post until parts come in. Below you will see some major headgasket leakage between the combustion chamber (center) and water jacket (smaller holes outline the cylinder). It even appears there could have been some minor leakage on the right side as well.
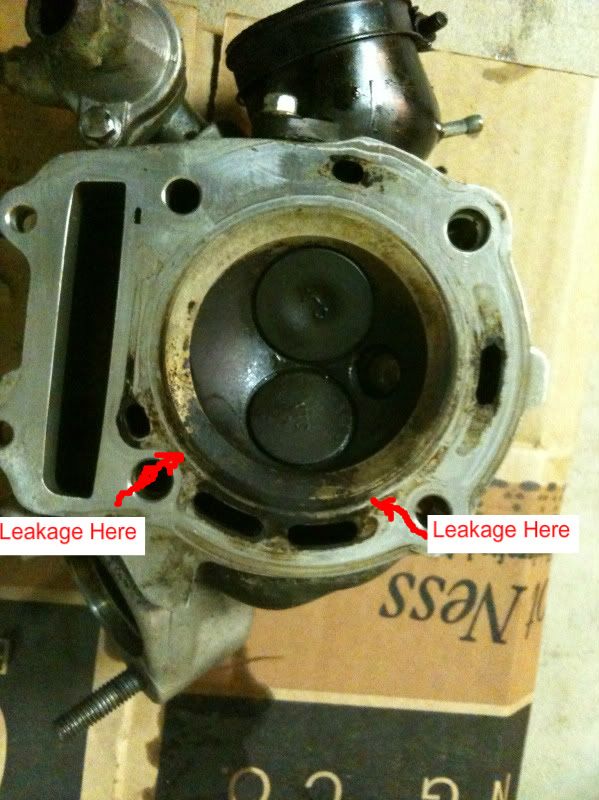
Here you will see the headgasket itself, really not in bad shape so I will need to make sure the head isn't warped.
